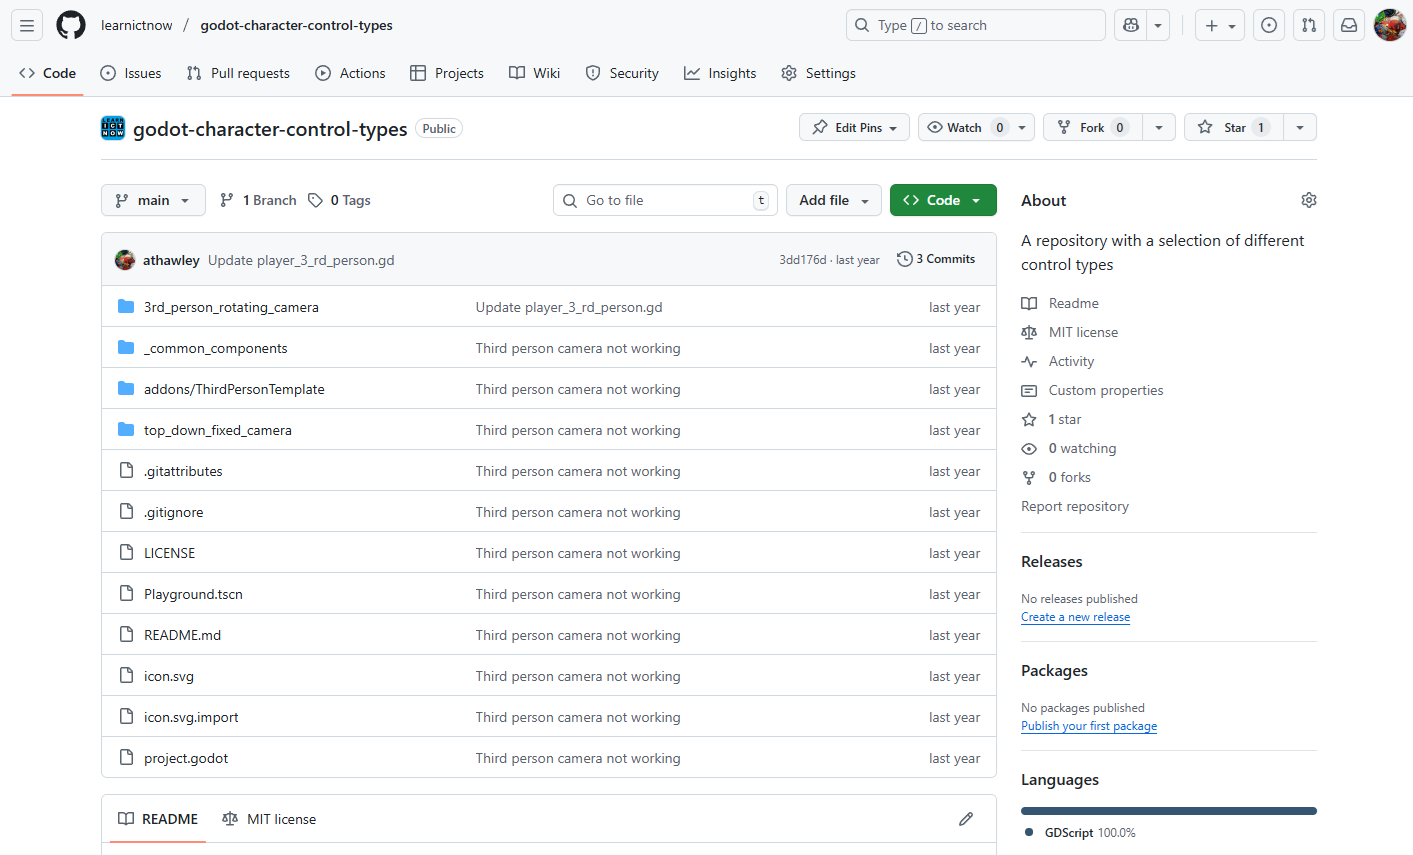
1. Creating a GitHub Account
- Go to https://github.com.
- Click Sign up.
- Enter your email, create a username and password.
- Choose the free plan.
- Verify your email address.
2. Installing GitHub Desktop
- Visit https://desktop.github.com.
- Click Download for [your OS].
- Install the application by following the setup instructions.
- Open GitHub Desktop and sign in using your GitHub account.
3. Creating a Repository
A repository (or “repo”) is like a folder for your project.
Using GitHub Website
- After logging in, click the + icon in the top-right corner.
- Select New repository.
- Name your repository (e.g.,
my-first-project). - Optionally add a description.
- Choose Public or Private.
- Check Add a README file.
- Click Create repository.
4. Cloning a Repository in GitHub Desktop
Cloning means copying the repository to your computer.
- Open GitHub Desktop.
- Click File > Clone repository.
- Select the repository you just created.
- Choose a local path (where it will be saved on your computer).
- Click Clone.
5. Making Changes and Committing
A commit is like saving a snapshot of your work.
- Open the folder on your computer and edit or add files.
- Go back to GitHub Desktop.
- You’ll see your changes listed.
- Write a summary of what you changed.
- Click Commit to main.
6. Pushing Commits to GitHub
Pushing sends your commits from your computer to GitHub online.
- After committing, click Push origin in GitHub Desktop.
- Your changes are now live on GitHub.
7. Fetching and Pulling Changes
These actions help you stay up to date with changes made online or by others.
- Fetch checks for changes on GitHub but doesn’t apply them.
- Pull downloads and applies changes from GitHub to your local copy.
To do this:
- Click Repository > Fetch origin to check for updates.
- If there are changes, click Pull origin to get them.


Leave a Reply
You must be logged in to post a comment.