VEXCode V5 Pro - Robot Movement
This guide will run through how to code the VEX V5 Brain and otors to move the robot autonomously (by itself) and through the controller.
This will look at using C++ to move the robot.
Adding motors and other devices
Click on the icon that looks like a network/smart port.
Click on the + to add a device.
You will now see the list of devices that can be added.
Each will add different features.
You add them all in the same way.
We'll add Two Motors a Controller and a Radio.
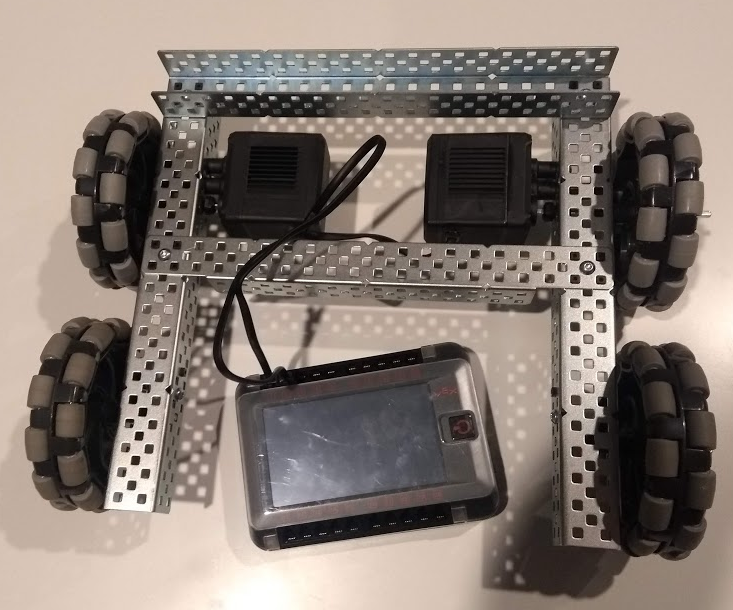
Now as we have a two motor drive robot to code we are going to add the motors first.
After you select a motor you are asked which port it is plugged into
Now you need to configure the motor
You need to give the motor a variable / device name.
For each device leave its type in the name in this case motor.
Also include the purpose of the motor.
In the example above we have included _Left in the name to make it easier to remember the purpose of the motor and its role.
Repeat this for the right motor.
Note with this motor we have changed the direction to reverse. This is because the motor is flipped in its position in the robot.
Now add a Controller to the program and click Done.
If you now look at the command reference there are more examples included to help with coding.
Moving the Robot through code
When you start a program you often want to reset setting on motors to 0.
Add code to reset the degrees the motor has turned and the number of complete rotations to 0.

Add a call to the pre_auton function.
Add a function called moveRotation
This will turn the motors one rotation when called.
Inside this function use the spinFor function.

Choose the motor and call the spinFor command.
This takes three arguments:
- The direction
- The amount to move the motor.
- The units to use. This can be degrees to turn the motor or turns.
In this case we are going to use turns of the motor.

Add both motors

Add the code to the pre_auton function

Run the program.
Note that when it runs one wheel moves and then the next.
This is because the spinFor function is known as a blocking function. This means that it has to finish before another starts.
To solve this we need to add a motor_group.
A motor_group allows us to combine more than one motor (up to 16) together to run then at the same time.
At the top of the code add the motor group
vex:: tells us to use the vex version of the next instruction / type
we are using the type motor_group that vex has created.
Next we have the name of the motor group to create.
In this example it is: MotorGroupDrive
Then inside the ( ) we have the names of the motors to add separated by ,
We add the left and right motors.
Now we go back to the moveRotation function and replace the two lines of code (one for each motor) with one line for the motor_group. The remaining spinFor command remains the same.

Note that by setting up motor groups we have simplified out code.
Congratulations you have now programmed your robot to move.
Now try the following modifications to your code so that the robot can:
- move backwards.
- turn left
- turn right
- move in a square
- move in a rectangle
Some you might not need to use the motor_group
Moving the Robot via the Controller
First we need to plan out what we want the controls to do

We will use the left stick y axis (axis 3) to rotate the left motor forward and backward and the right stick x axis (axis 2) to rotate the right motor.
This means it we push forward on both sticks move forward, pull back on both we go in reverse.
If we push one forward we turn in the opposite direction (e.g. if you push left forward you turn right.
If you pull the right back as well you will turn right quicker.
You will turn the opposite if you pull the sticks in the opposite direction.
To use the controller we are going to add code into the usercontrol function

The code gets added inside the while loop.
We will create a variable to store the direction we are going. This has the data type int (we can also use float)
We assign a value to this using the = operator
Next we access the position function of the Axis3 property of the controller through: Controller1.Axis3.position()
Inside the brackets we put the type of input we want to use.
Percent stores the percentage that the stick has been moved.

Note direction is a reserved for in vex so don't use this to store the direction.
It also stores negative values if it has been moved in the opposite direction (down). This will move the left side in reverse
Now we need to add code to move the motor.

Compile and run the program.
You should now be able to drive the left motor forward and back using the left stick.
Now we need to add the right motor
Compile and test the program