Automated Enemy Spawn Point
This guide will show you how to create an automated object that will spawn enemy objects on a timers. These enemy object will then navigate towards a specified object, for example the player. In this example the target object will be an animated shape.
Setup the Environment
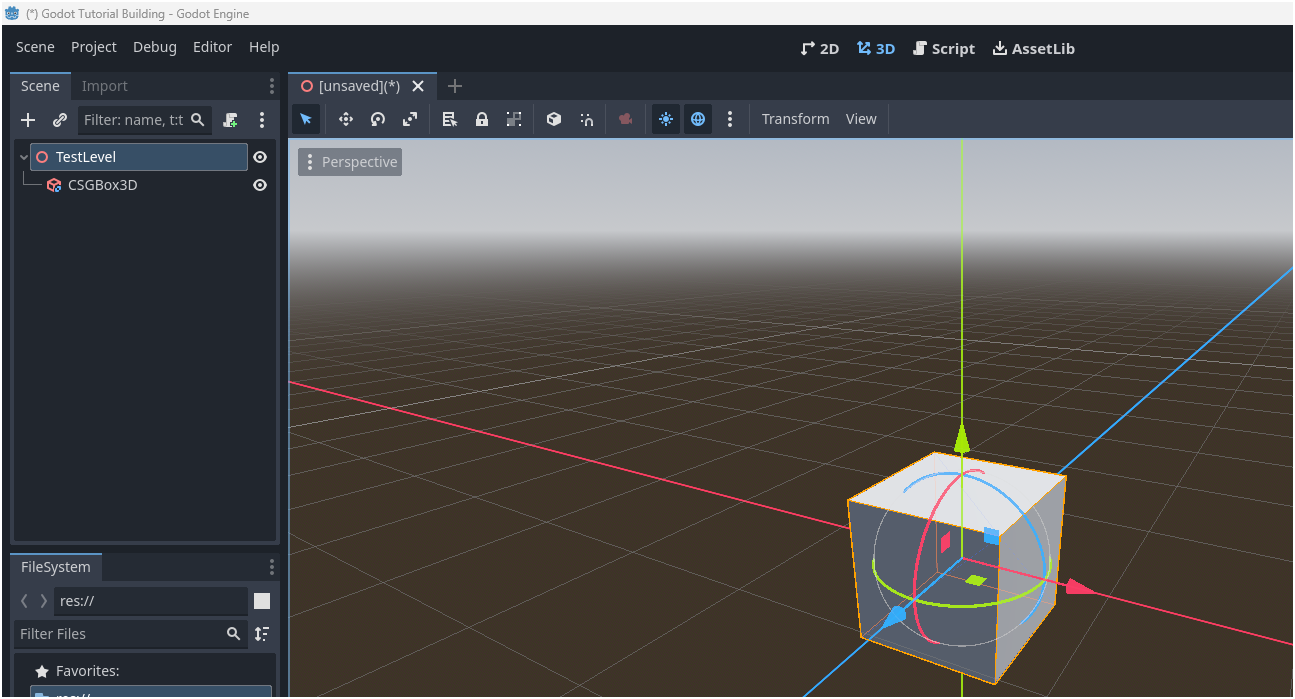
- Create a new 3D scene and add a CSGBox3D to the scene.
- Rename the Node3D to TestLevel
- Save the scene
- In the inspector resize the size of the CSGBox3D and turn on the Use Collision property. This will enable collisions on the object
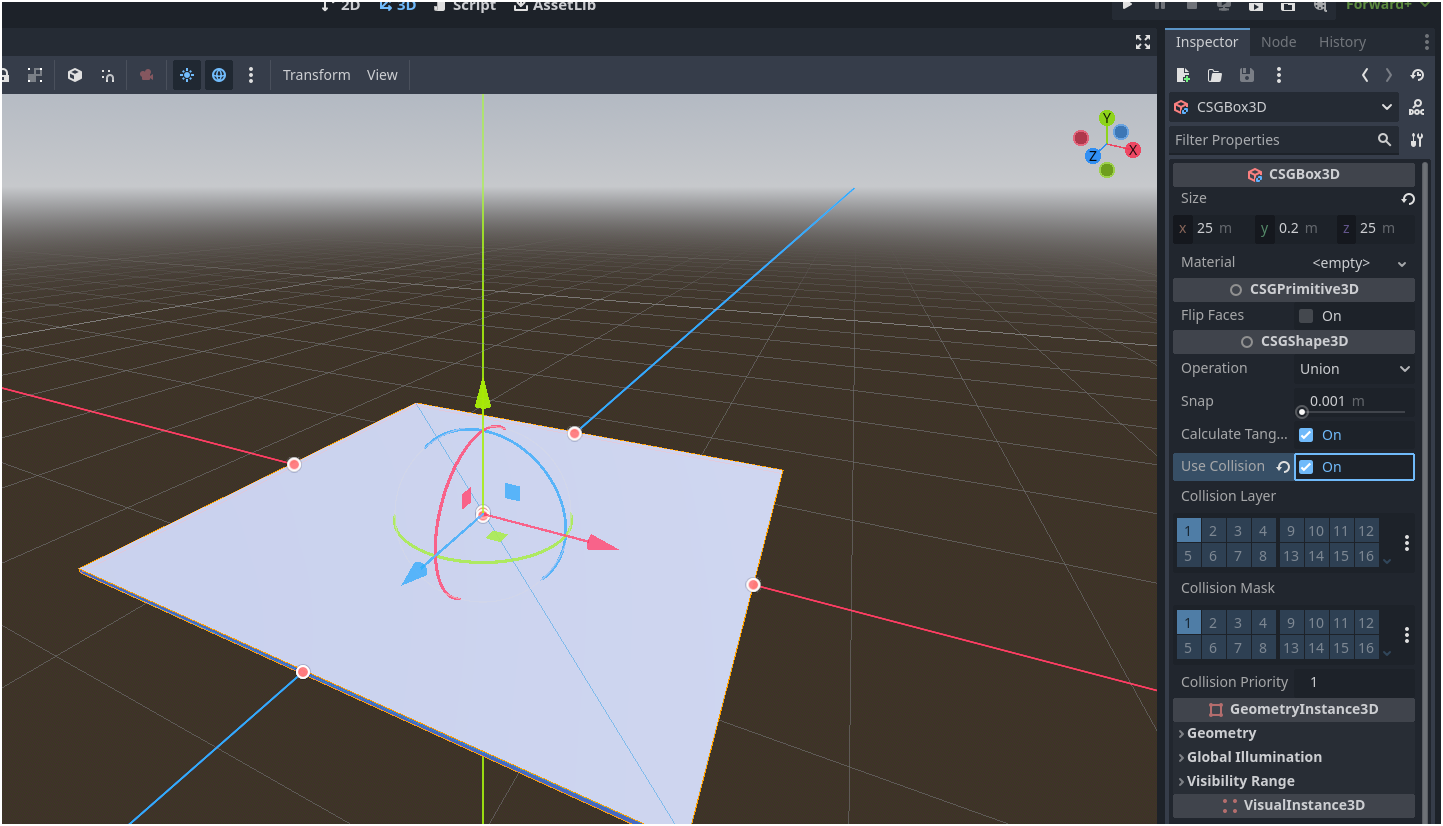
- Save the scene
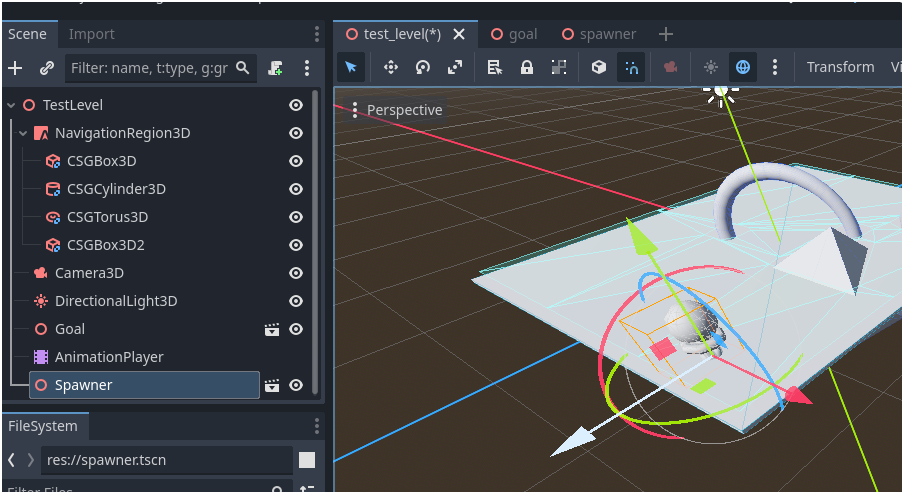
- Add a NavigationRegion3D node to the scene.
- Make the CSGBox3D (and any other level geometry a child of the NavigationRegion3D)

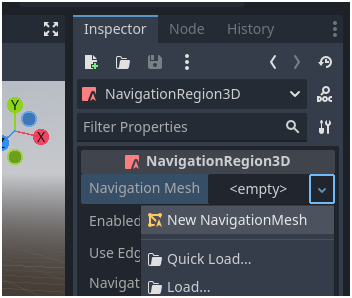
- Add a new NavigationMesh to the NavigationRegion3D
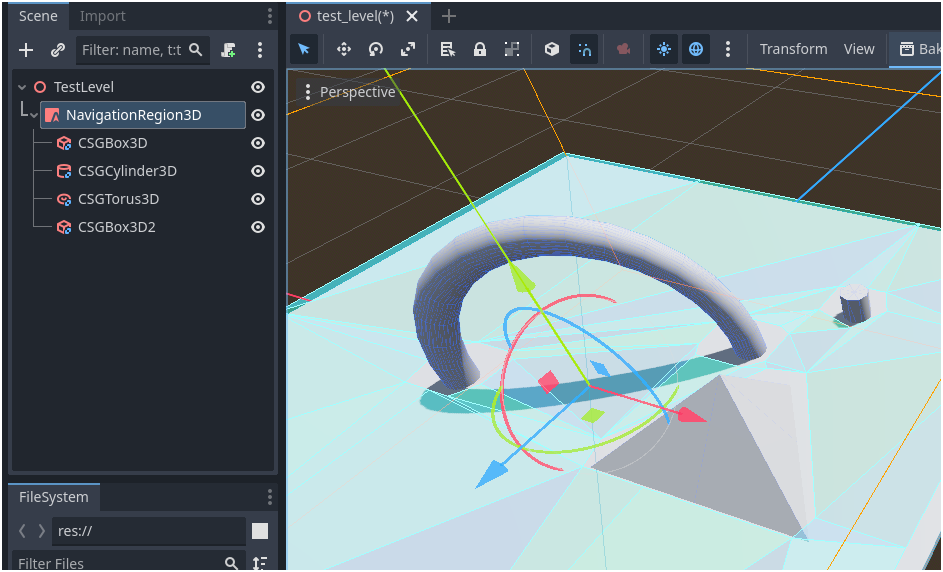
- Click Bake NavigationMesh, this will add an area that objects (NavigationAgents) can nagivate in Godot. You will see a light blue area to show where the agents can move.
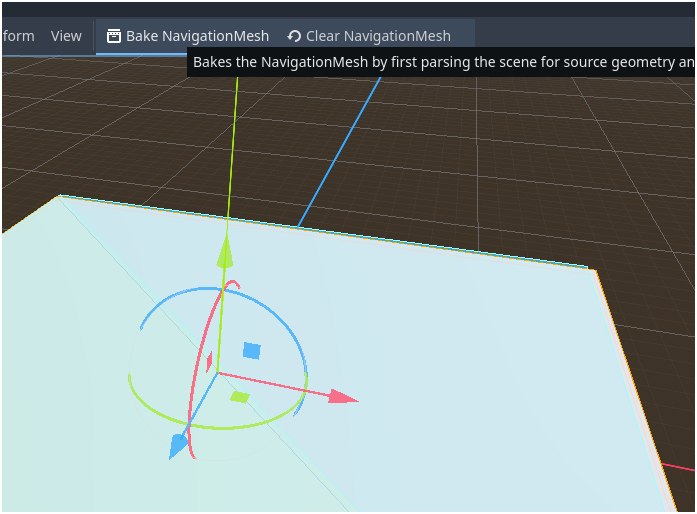
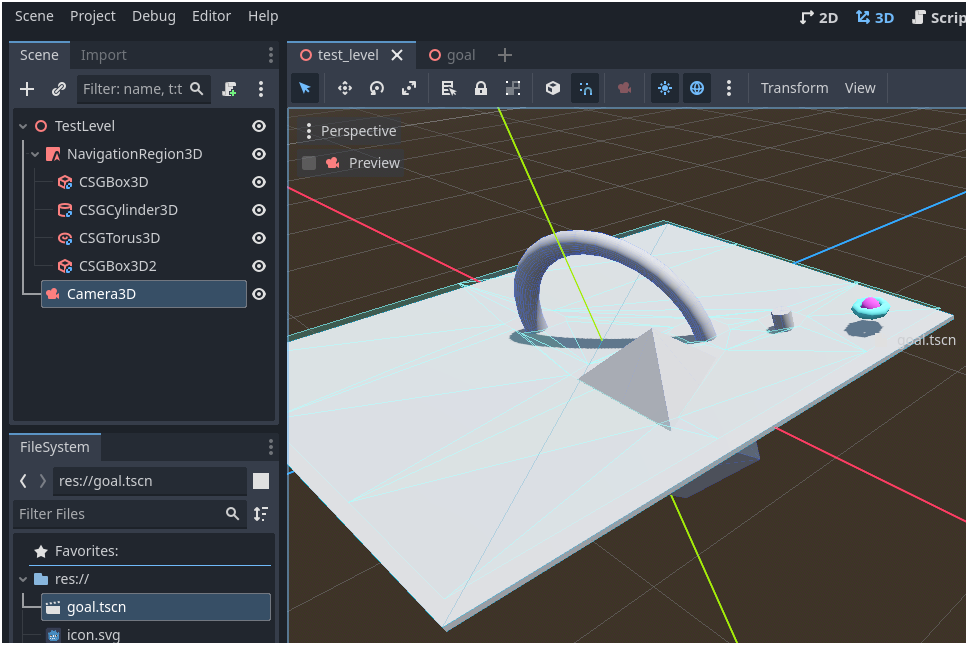
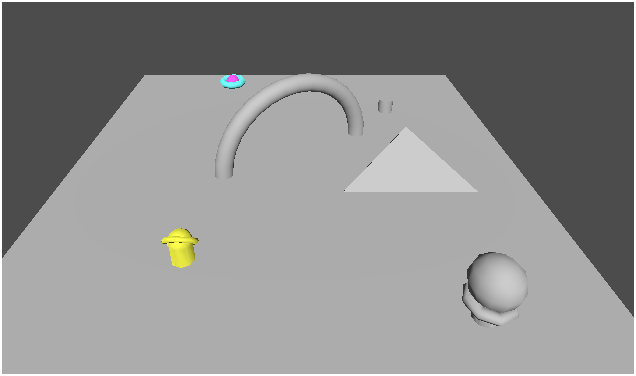
- Below is an example of a more complicated environment. Remember to bake the NavigationMesh each time you change the level environment.
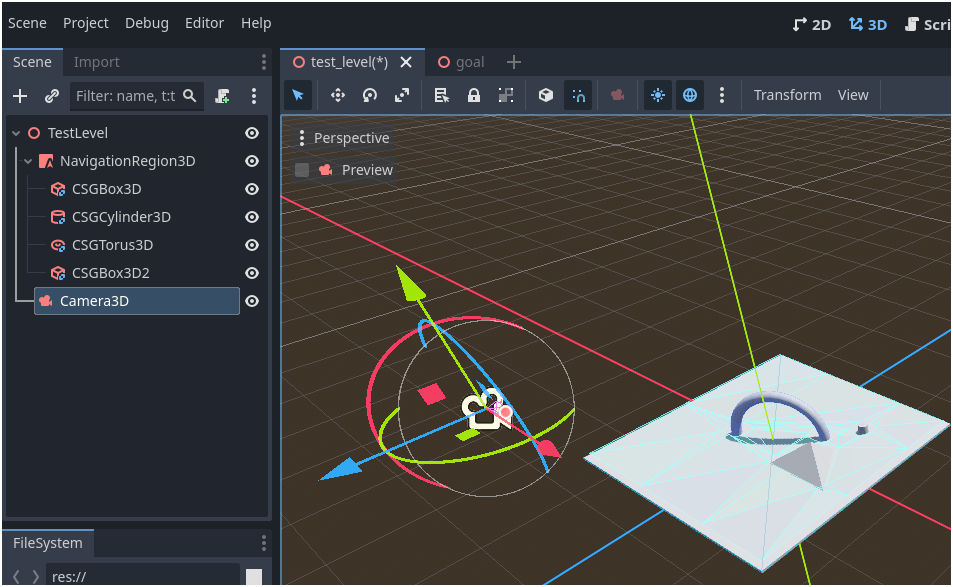
- Add a Camera3D object to the scene and position the camera so that you can see the environment.
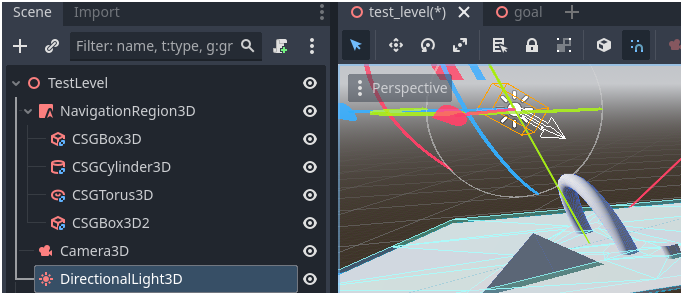
- Add a directional light to the scene and rotate it so that it is lighting the scene.
Create the Target
Here we will create the target that the spawned items will move towards. We will animate this target so that it moves back and forward to make it easier to check if the tracking navigation is working.
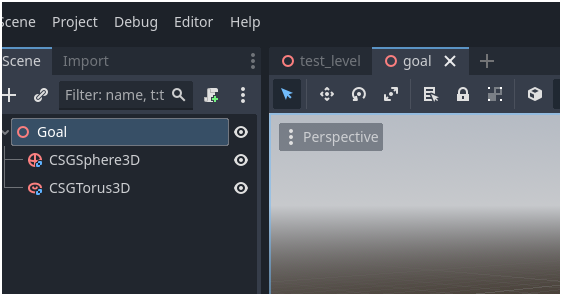
- Create a new 3D scene and rename the Node3D to something like Goal.
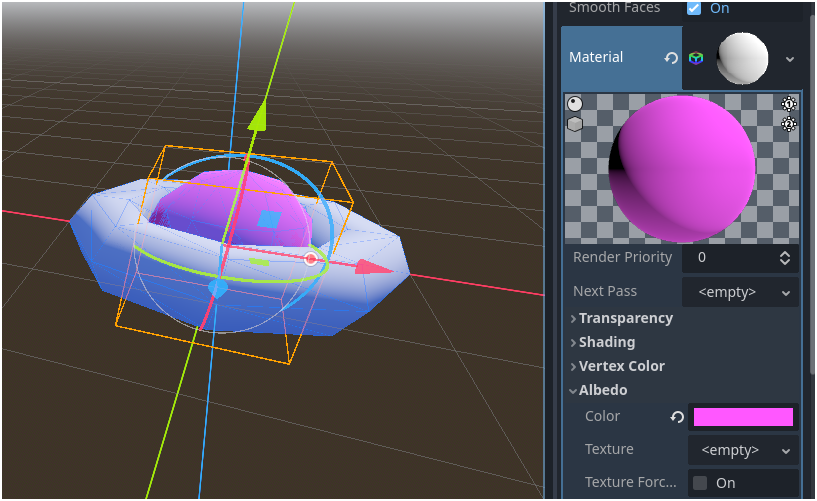
- Add materials to the objects.
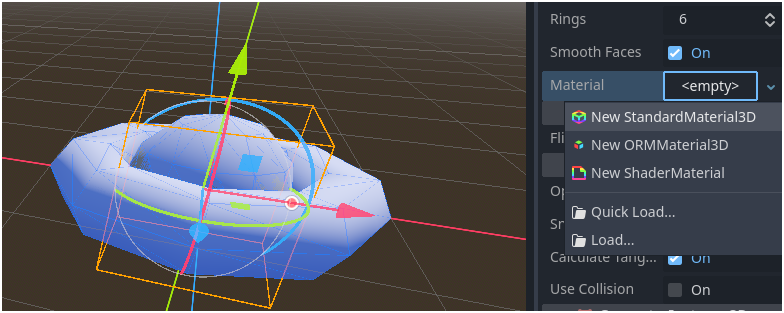
- Then set the Albedo colours.
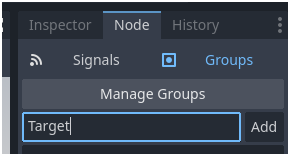
- Select the root node of the target scene (goal)
- Click the Node panel and then Groups

- Add a group called Target or similar. This will be used to detect if we have collided with the target later.
- Save the scene.
Adding Animation to the Target on the Environment Level Scene
- Switch back to the Test Level scene
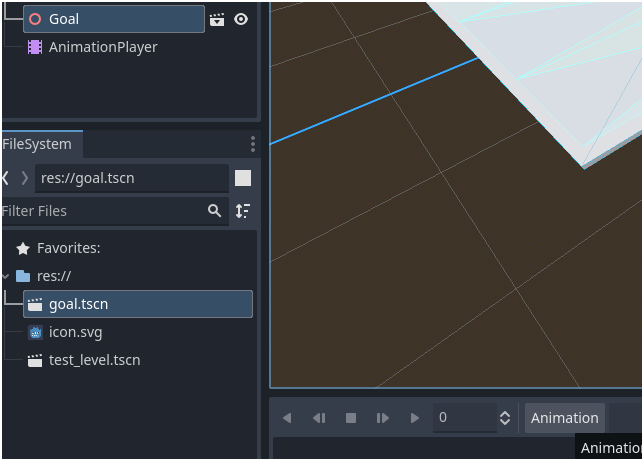
- Drag the goal scene from the File System panel onto the scene.
- Add an AnimationPlayer node to the level
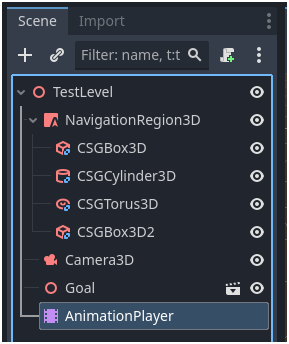
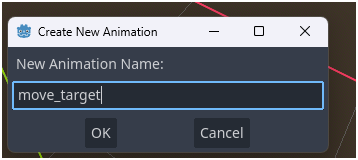
- Select the goal object and click Animation then new
- Name the animation something like move_target.
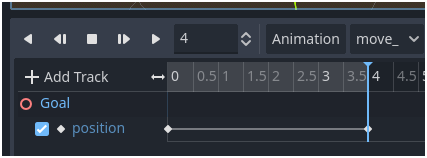
- We now have an animation that we can record. Extend the animation out to the length you would like it to last. In this example 4 seconds.

- We now need to set keyframes for the animation.
- At 0 on the timeline click the key next to Position in the Transform section of the Inspector. This will set a keyframe here.
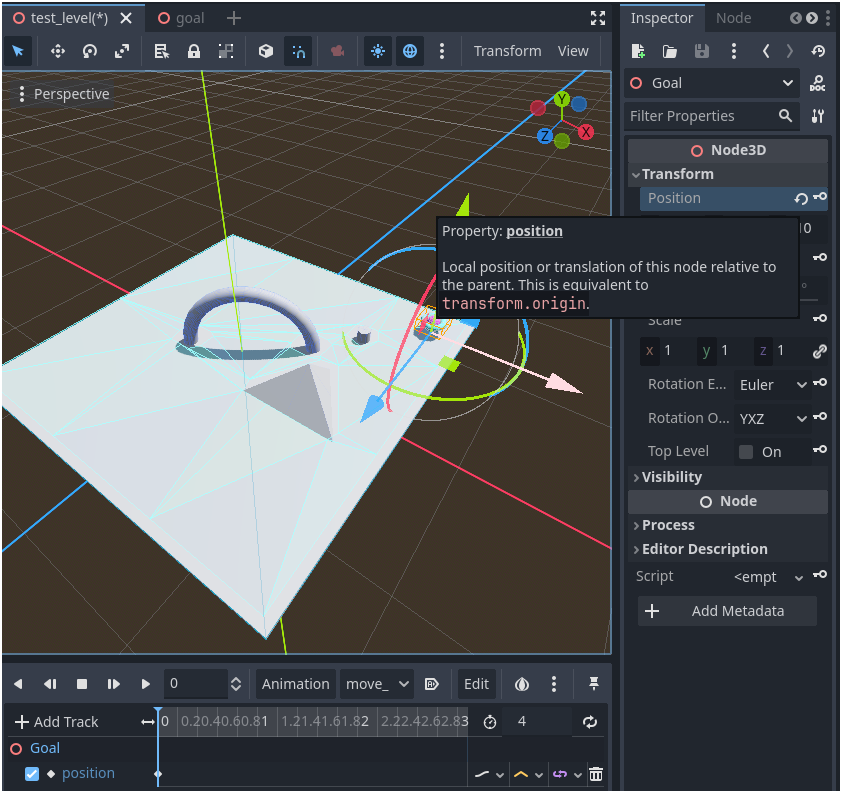
- Do the same at the end of the animation at timestamp 4 seconds.
- Select different times and move the goal. Make sure to click the keyframe button next to position.
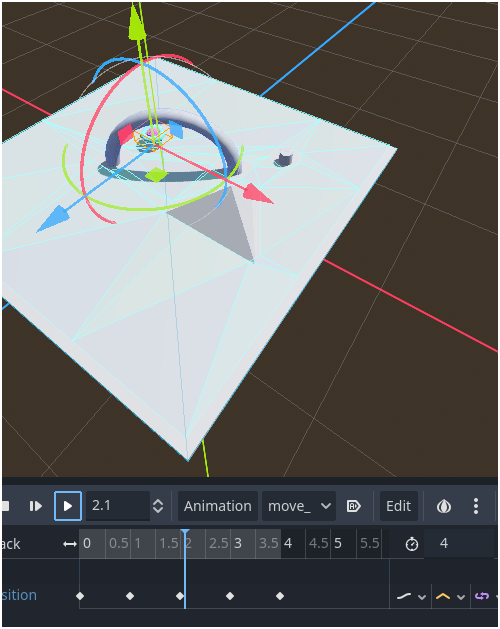
- Repeat for all points you want to move to. You can add other animations such as scale and roatation in the same way.
- Click the A button for Autoplay to automatically play this animation.
- Then click the Animation Looping button.

- You can hit play to preview the animation.
- Test your level, right click on the test_level.tscn file in the File System and select Set as main scene.

- Press F5 to run the scene.
Create the Enemy Spawn
Here we will create a tower object that has will spawn the enemy objects (that we will design later)
Create the Spawn Point
- Create a new 3D scene, rename it enemy spawner and add some objects or models.

- Add a Marker3D to the scene where you would like the Enemies to be spawned. Rename this SpawnPoint.
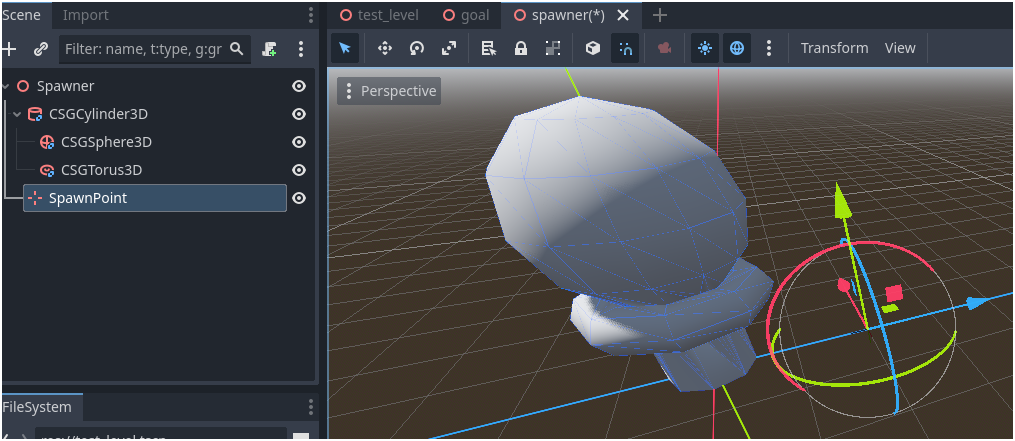
- Save the scene.
- Add the scene to the test level.
Create the Enemy
- Create an enemy object as a new scene. Use a CharacterBody3D as the root node of the scene.
- Add a CollisionShape3D and set the Shape to Capsue or whatever share you intend to use for collisions.
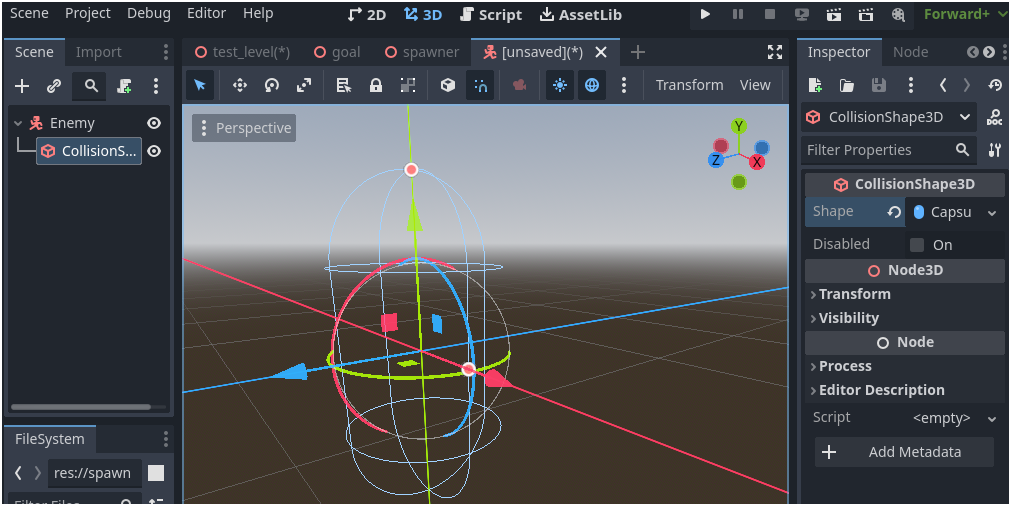
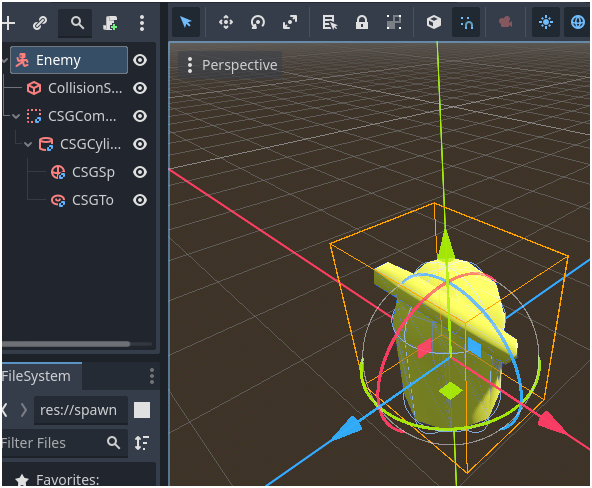
- Add the CSG Mesh or other meshes for the body of the enemy.
- Add any materials that you want to include.
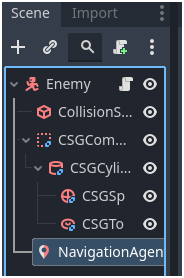
- Add a NavigationAgent3D to the scene.
Chasing the Target through code
Here we will use code to get the enemy to move towards the target. We will achieve this through code.
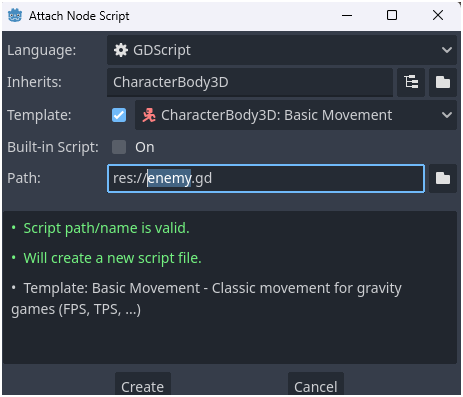
- Attach a script to the Enemy. Make sure to have the CharacterBody3D noxde selected (use the default CharacterBody3D template)
- Remove lines 16-29 from the example code.
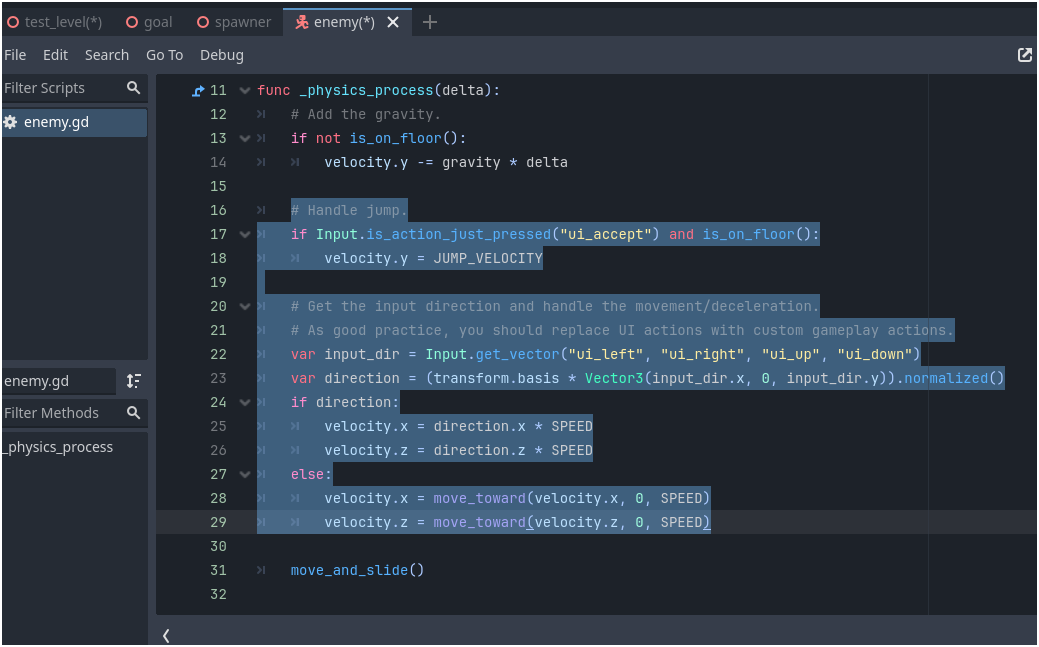
- Add the code below to the Enemy.gd script. This will enable you:
- to set a target node using movement_target_node
- the actor_setup() function waits until the scene has loaded before trying to move the object. This prevents errors with movement
- call_deferred in the _ready function waits until other setup has finished before moving on.
- The code in the _physics_process function moves the enemy. See the comments in the file for explantions of the code.
Completed Code for Enemy
extends CharacterBody3D


var SPEED = 5.0
const JUMP_VELOCITY = 4.5

# Create the target for the enemy to chase. Initially set it to chase itself.
@export var movement_target_node: Node3D = self

# Get the navigation agent and refer to it as this variable
@onready var navigation_agent: NavigationAgent3D = $NavigationAgent3D

# Get the gravity from the project settings to be synced with RigidBody nodes.
var gravity = ProjectSettings.get_setting("physics/3d/default_gravity")

func _ready():
	# Run the actor setup function once enerything else has been setup.
	call_deferred("actor_setup")

func actor_setup():
	# Wait for the first physics frame so the NavigationServer can sync.
	await get_tree().physics_frame

	# Now that the navigation map is no longer empty, set the movement target.
	navigation_agent.set_target_position(movement_target_node.global_position)

func _physics_process(delta):
	# Add the gravity.
	if not is_on_floor():
		velocity.y -= gravity * delta

	# Check if we have reached our target
	if navigation_agent.is_navigation_finished():
		return
	else:
		# If we haven't reached out target update the target with it's new position. This means we can chase a moving object
		navigation_agent.set_target_position(movement_target_node.position)

	# Get our current position in terms of the entire level
	var current_agent_position: Vector3 = global_transform.origin
	# Get the position we are to move to next
	var next_path_position: Vector3 = navigation_agent.get_next_path_position()

	# Update and Set the velocity of the object
	var new_velocity: Vector3 = next_path_position - current_agent_position
	new_velocity = new_velocity.normalized()
	new_velocity = new_velocity * SPEED

	set_velocity(new_velocity)

	# Move the object
	move_and_slide()
- Add the enemy to the test level scene.

- In the enemy.gd section of the Inspector click Assign and assign the Goal node at the movement target.
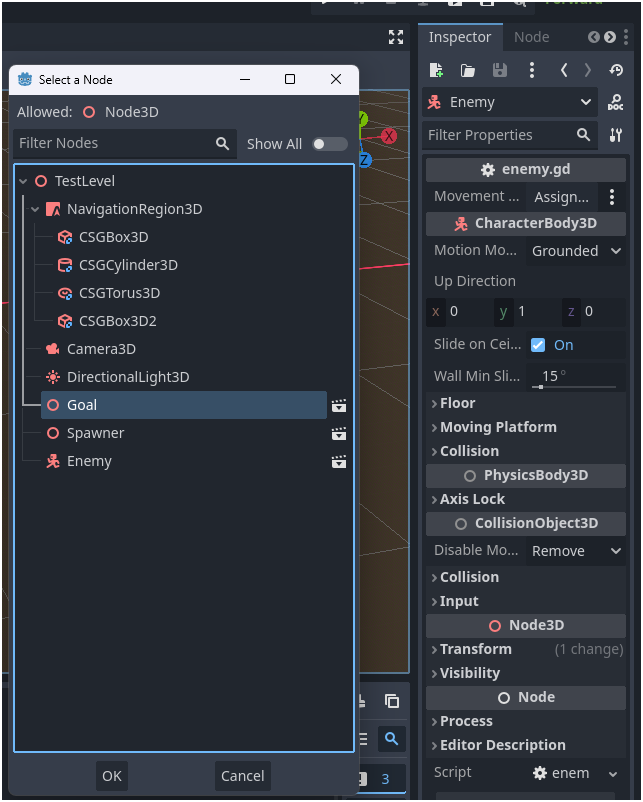
- When you run the test level the enemy should now chase the goal.
Spawning the Enemy at the Spawn Point
- Remove the enemy from the test level scene.
- Open the spawner scene
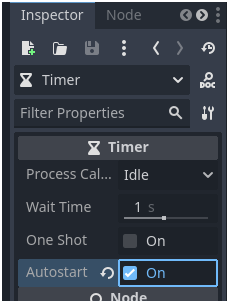
- Add a Timer node to the spawner scene.
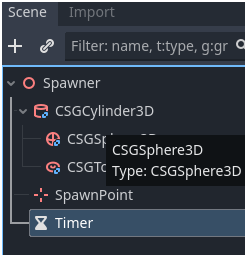
- Set the timer to autostart.
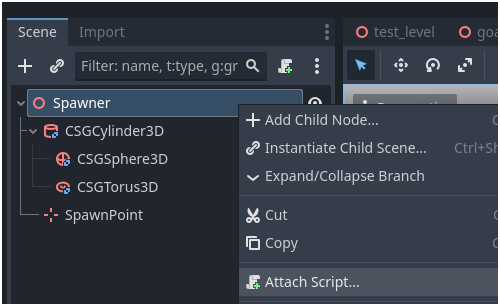
- Attach a script to the Spawner scene root node.
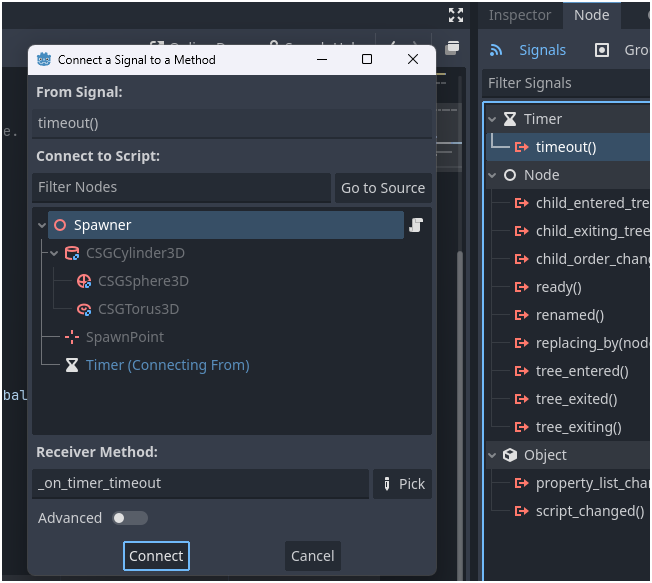
- Add a timeout signal to the timer node.
- Add the code below to the spawner.gd script.
Completed code for Spawner (spawner.gd)
extends Node3D

# Store the enemy to spawn, here is loads the default enemy but can be customised.
@export var spawner_enemy:PackedScene = load("res://enemy.tscn")

# Set the target object that the enemy will head towards (usually the player)
@export var spawner_target:Node3D = null

func _on_timer_timeout():
	# Create an enemy object
	var spawn_object = spawner_enemy.instantiate()

	#Move the enemy that has been created to the spawn point position in the world
	spawn_object.position = $SpawnPoint.global_position
	# Set the target for the enemy to follow
	spawn_object.movement_target_node = spawner_target

	# Make the enemy visible by adding it to the current scene (not the spawner)
	get_tree().current_scene.add_child(spawn_object)
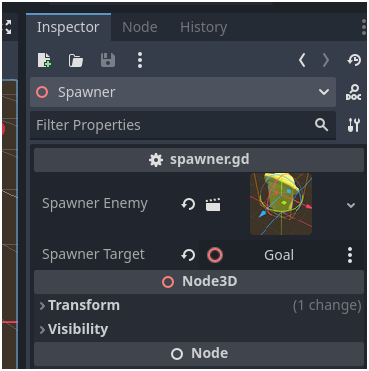
- Once you have added the code select the spawner node on the Test Level Scene.
- In the Inspector set the Spawner Enemy to the enemy scene in the FileSystem
- Set the Spawner Target to the goal node in the Test Level scene.
- When you run the scene now the enemies should spawn according to the timer.