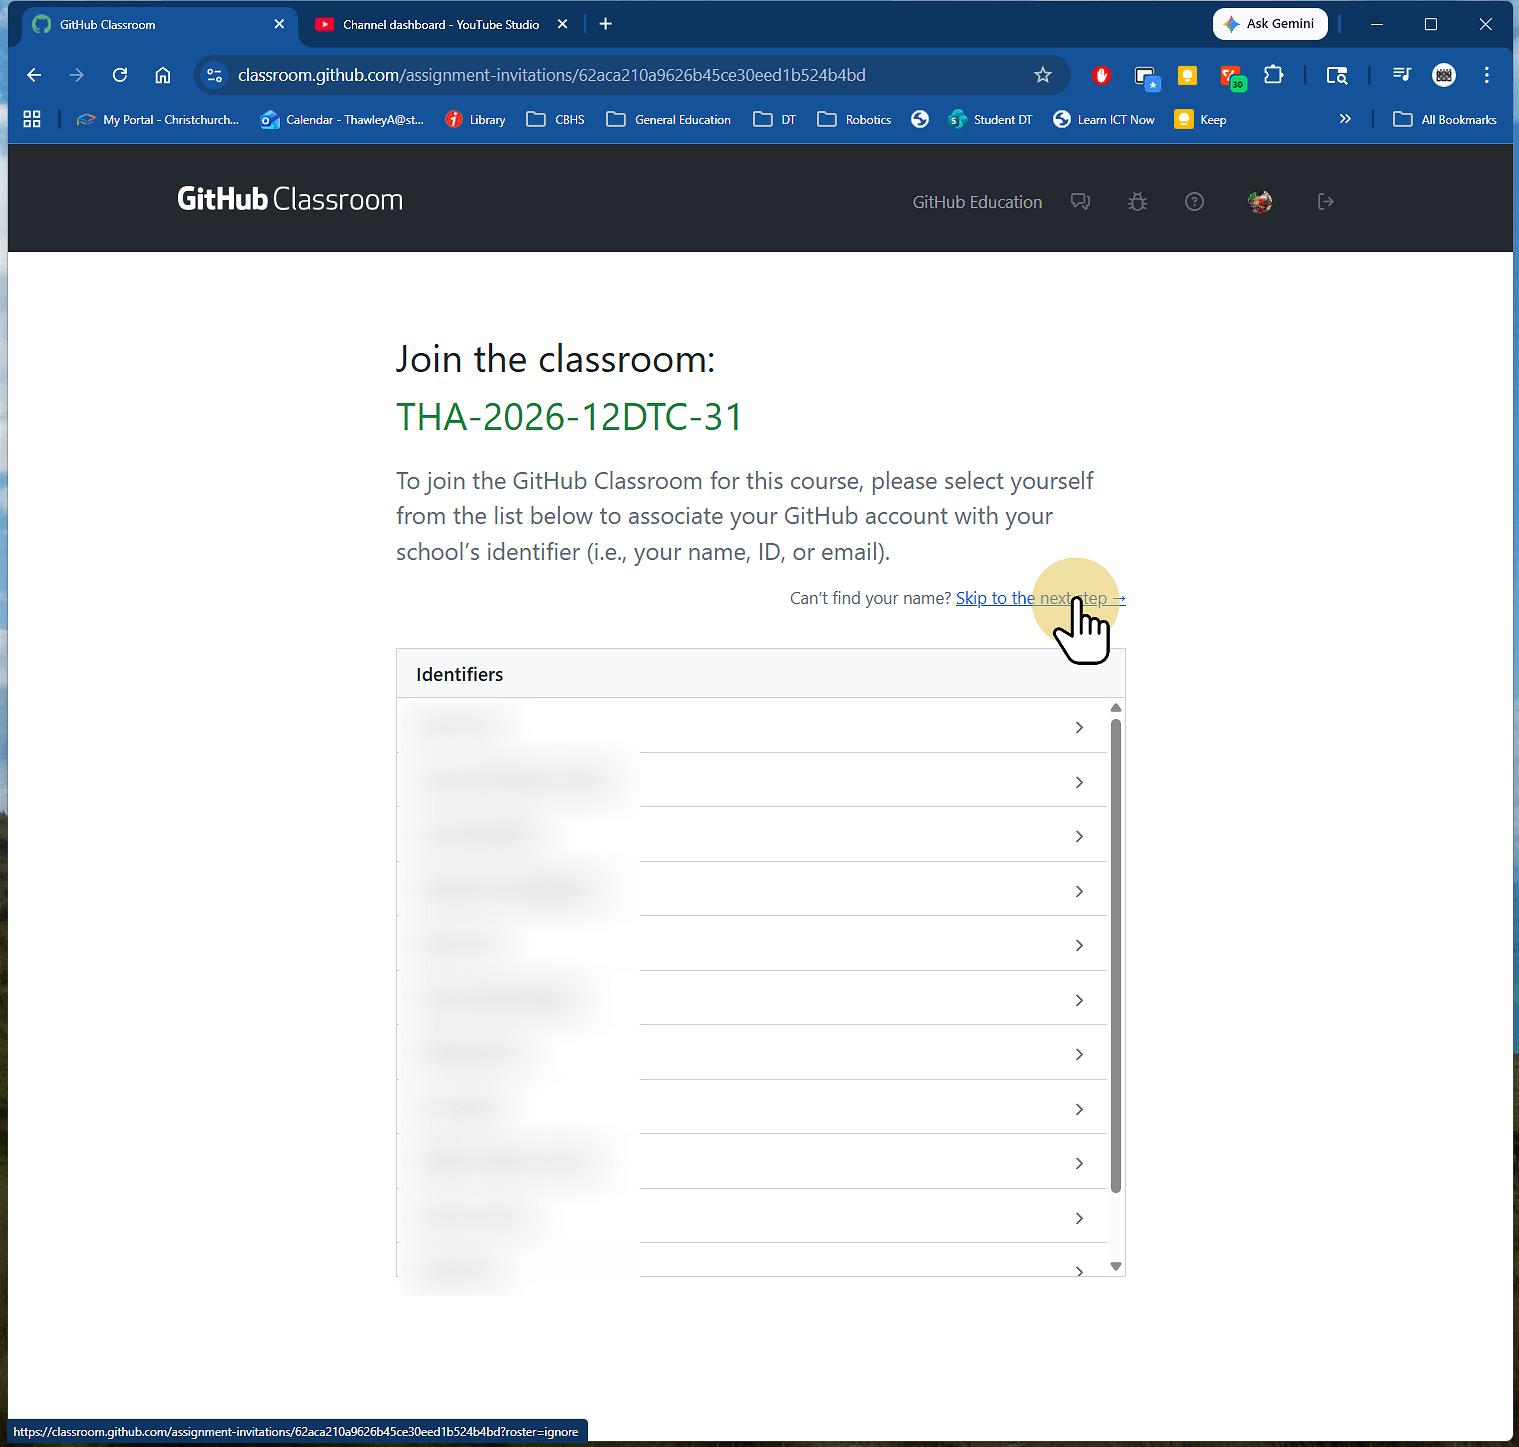
1. Select your name and select continue
If you are not on the list select Skip to the next step
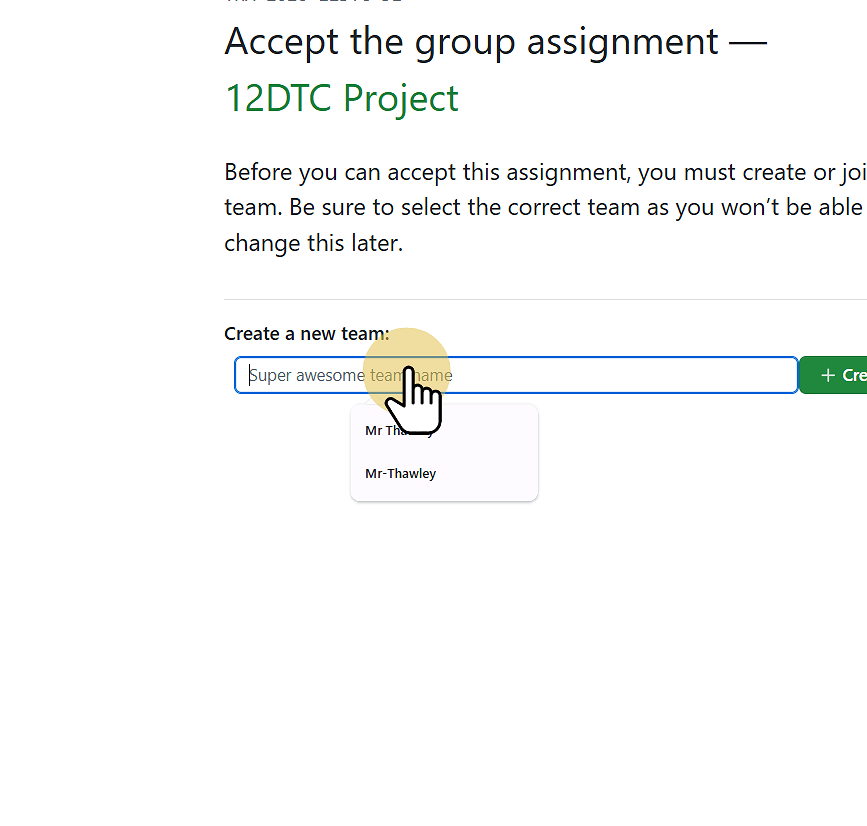
2. Enter a name for your team
Not that only one team member should complete this step.
The other team members can select the team to join.
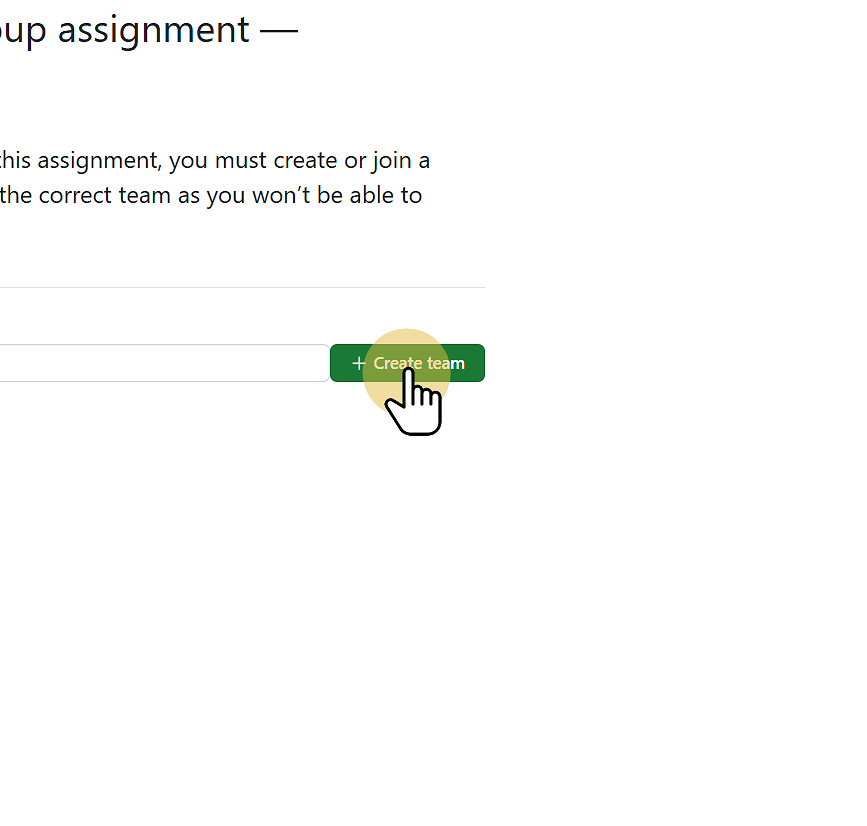
3. Click Create Team
Or Join Team if you are joining a team
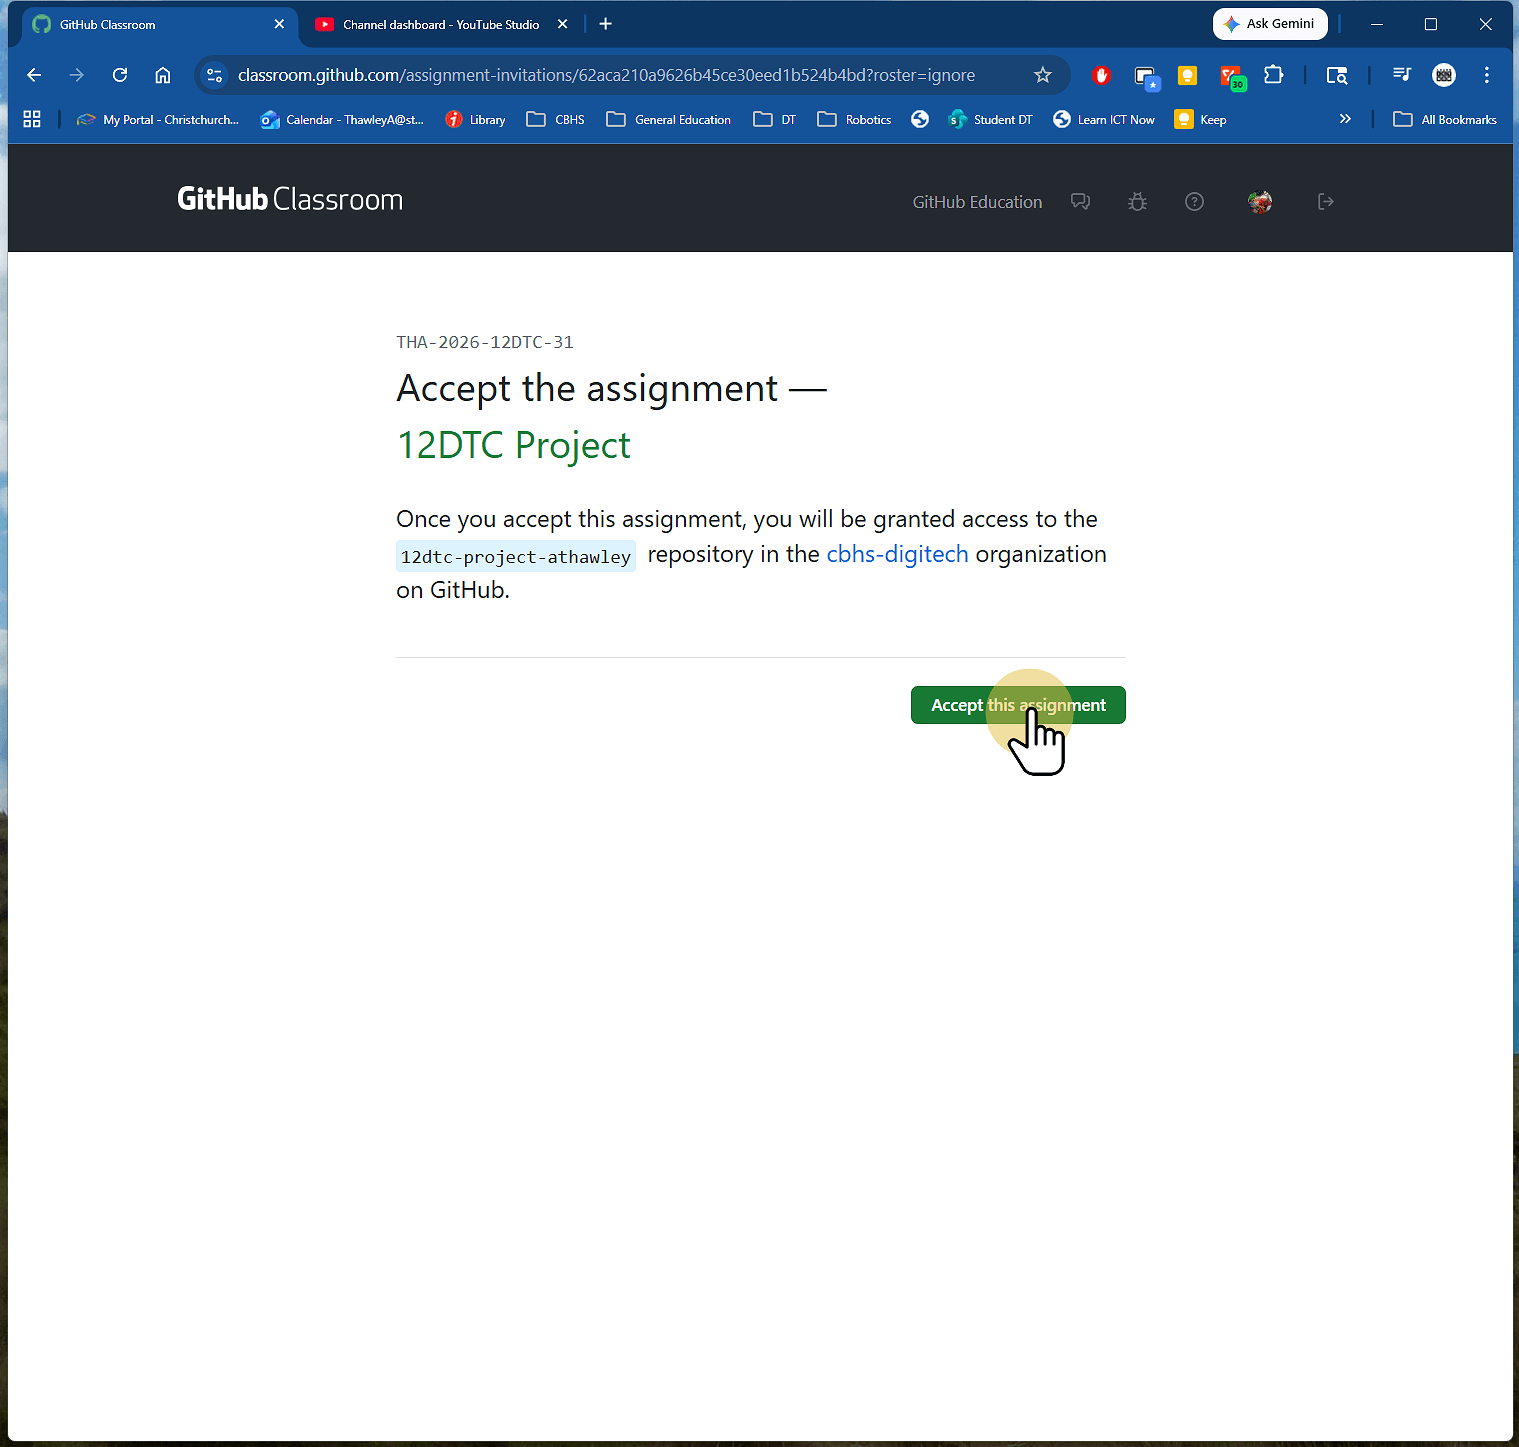
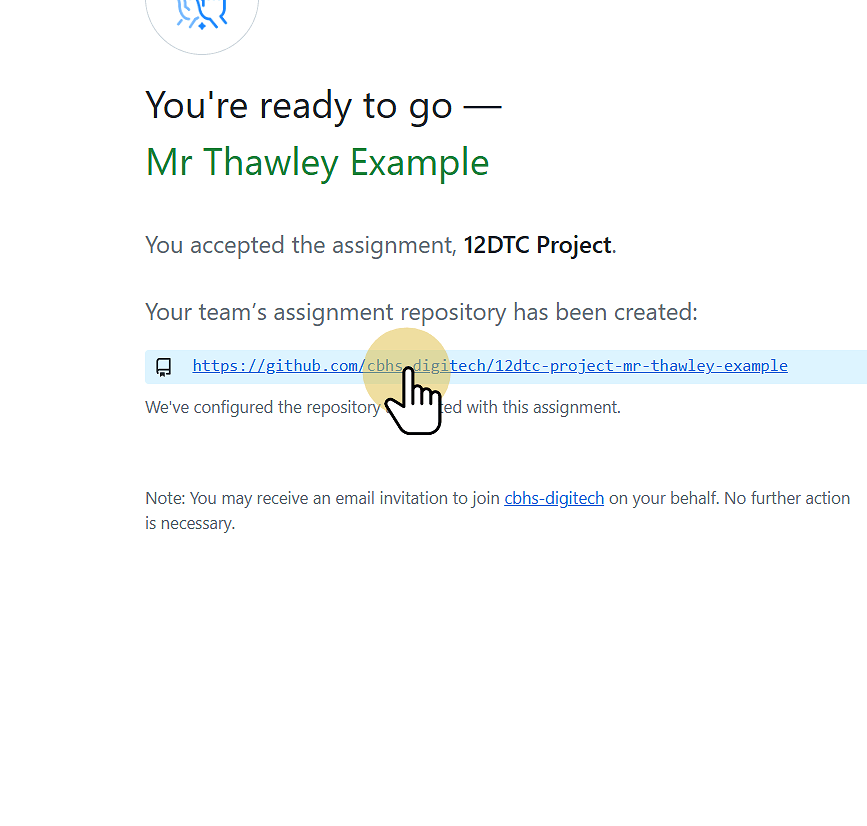
4. Click accept the assignment
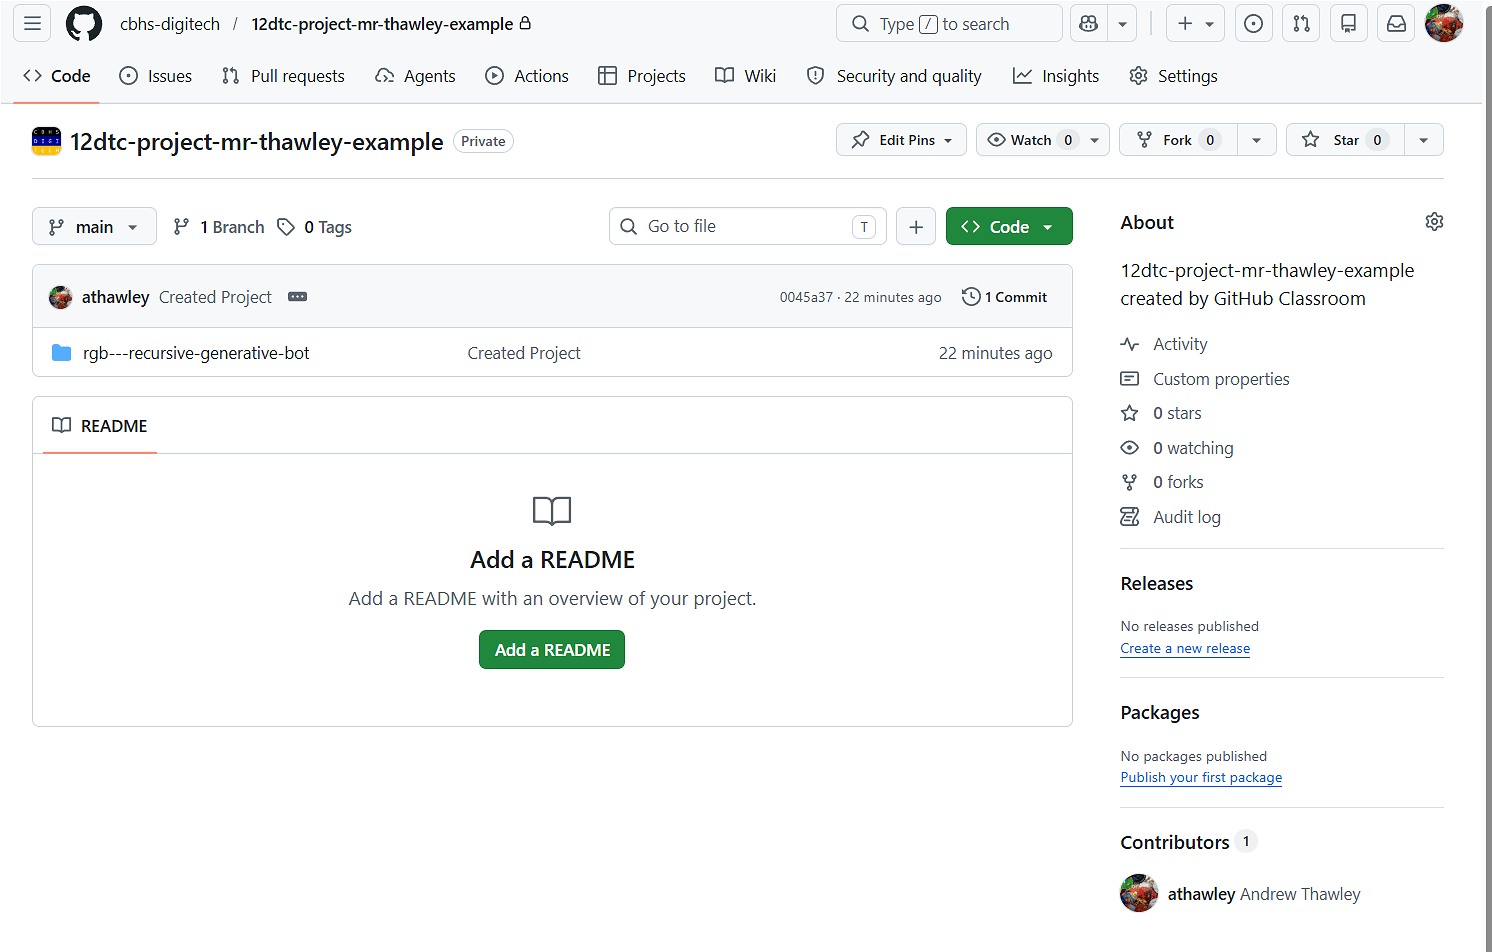
5. Click the assignment Repository to open the Repository
Note a Repository is an Online container for your files. It has the ability to track different versions of your files. It is often shortened to repo.
You might Need to refresh this page (F5) to get the link.
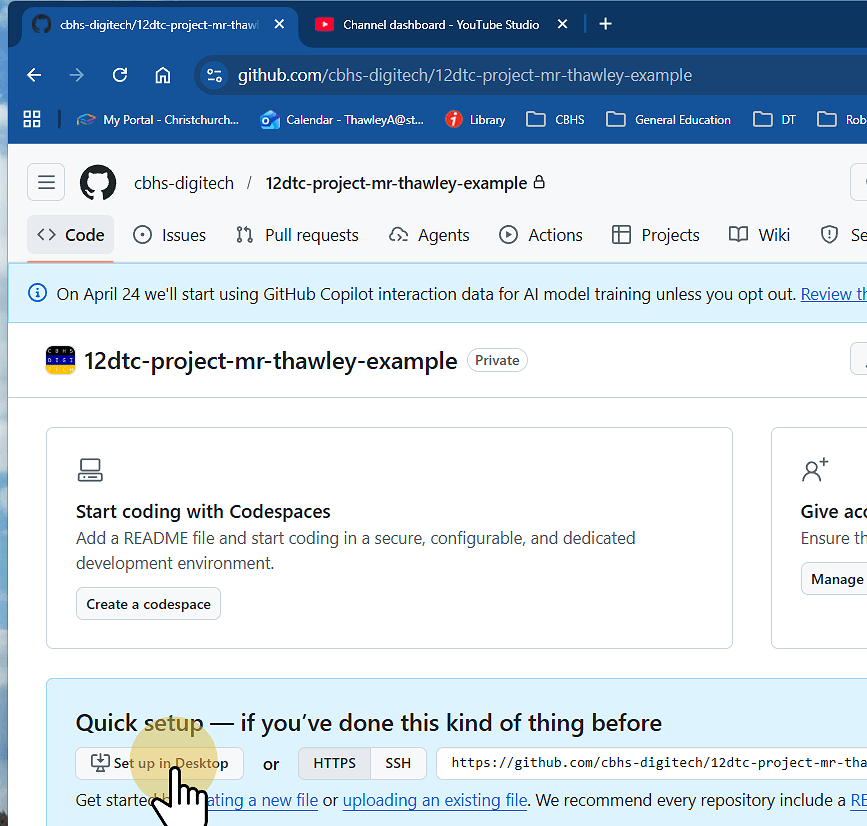
6. Click set up in desktop or Switch to GitHub Desktop
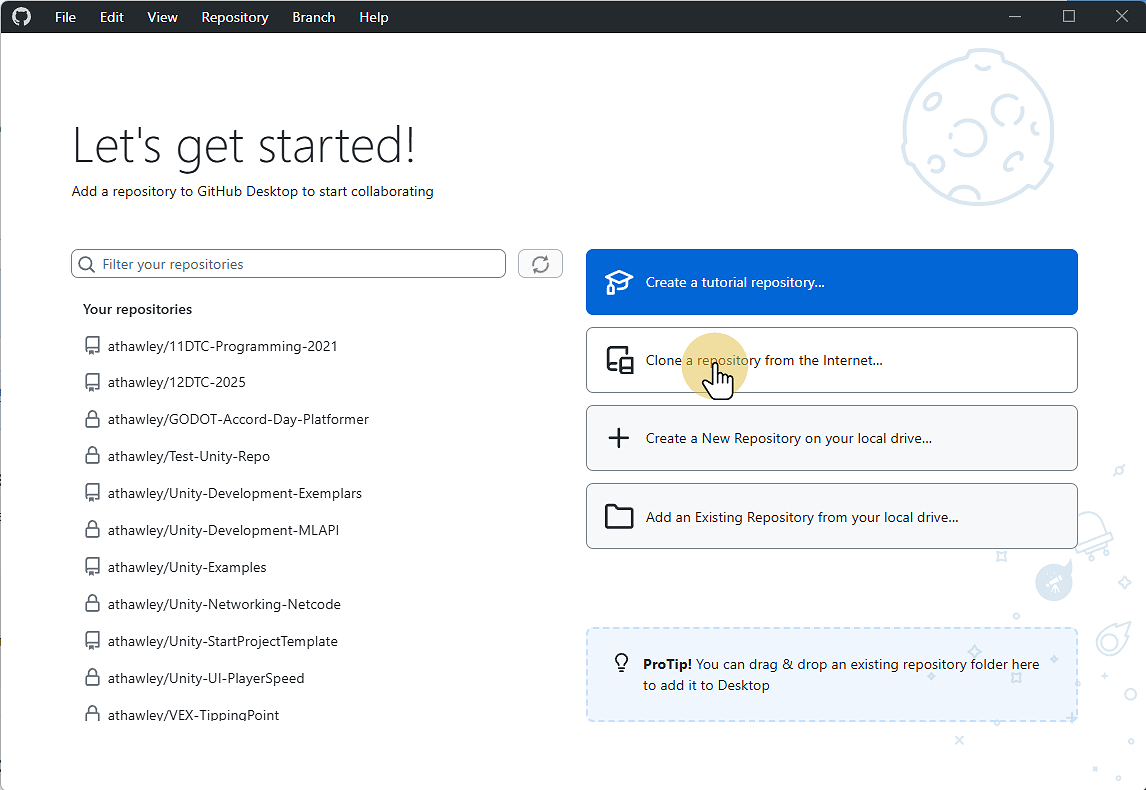
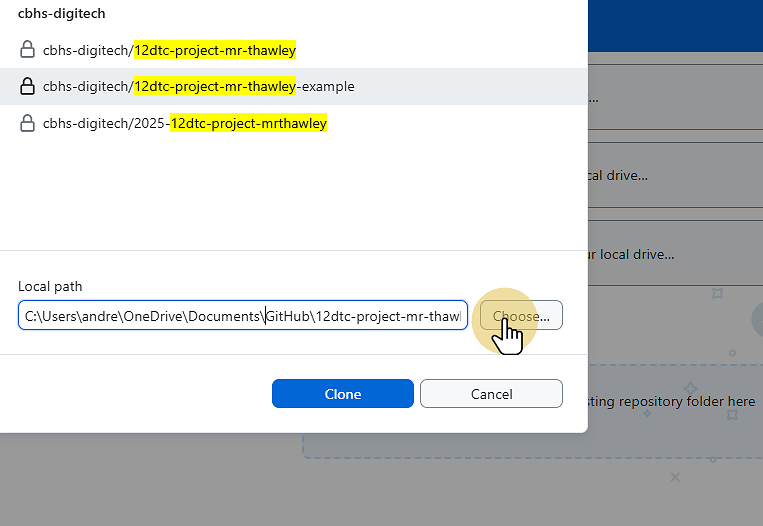
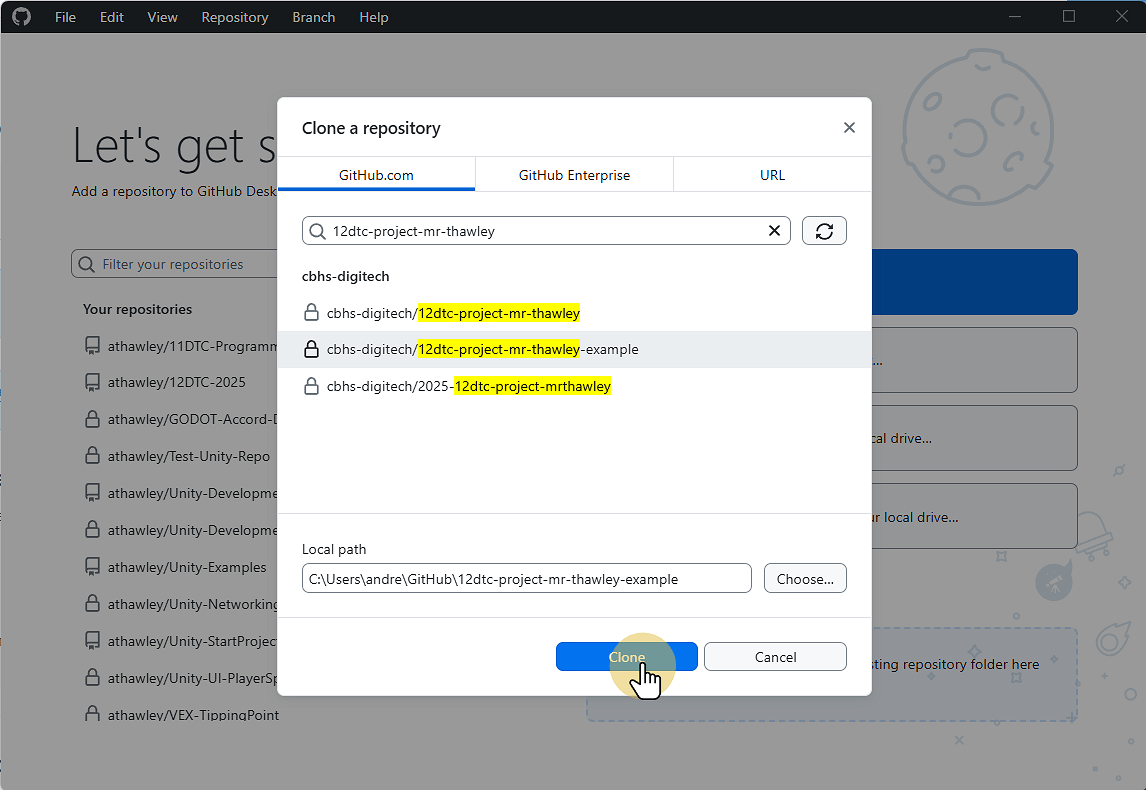
7. Select Clone a Repository from the Internet
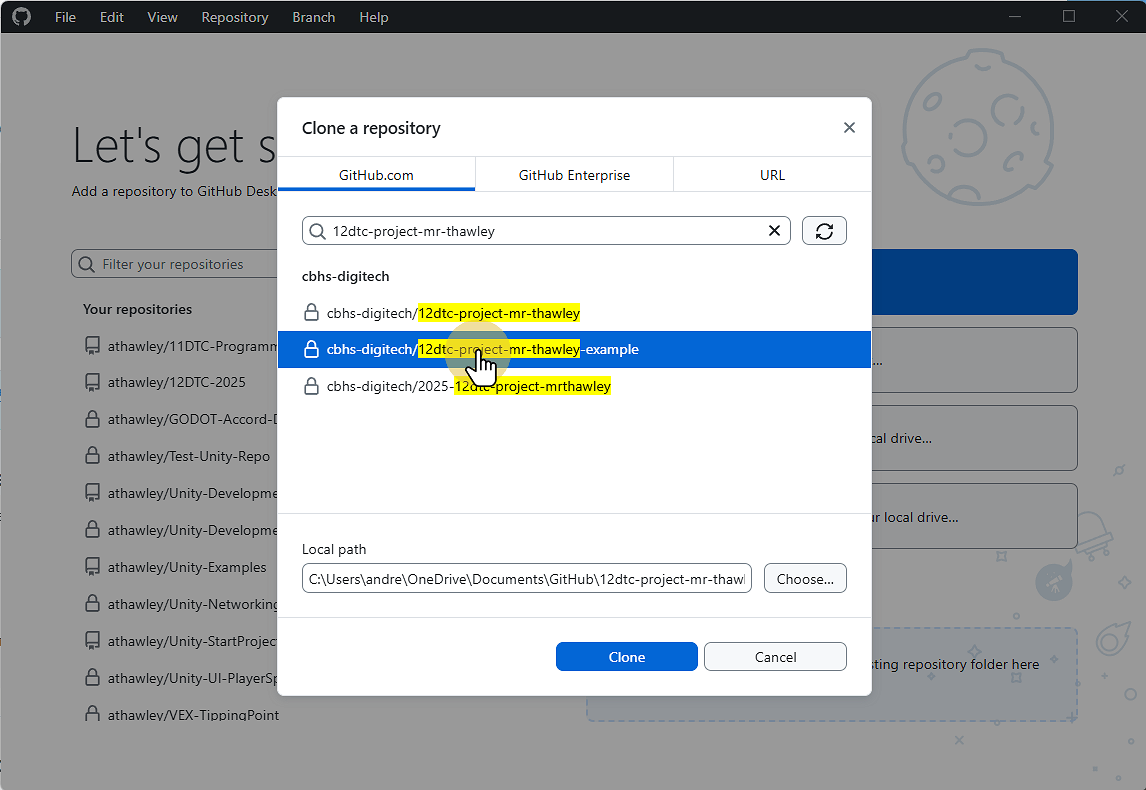
8. Search for the name of the repo (DO NOT CLICK Clone YET)
We Need to Ensure that our Project is not saverd to OneDrive as this will break the backup process and OneDrive links. This is because making a Project creates multiple files and then deletes them and OneDrive gets confused.
9. Click Choose
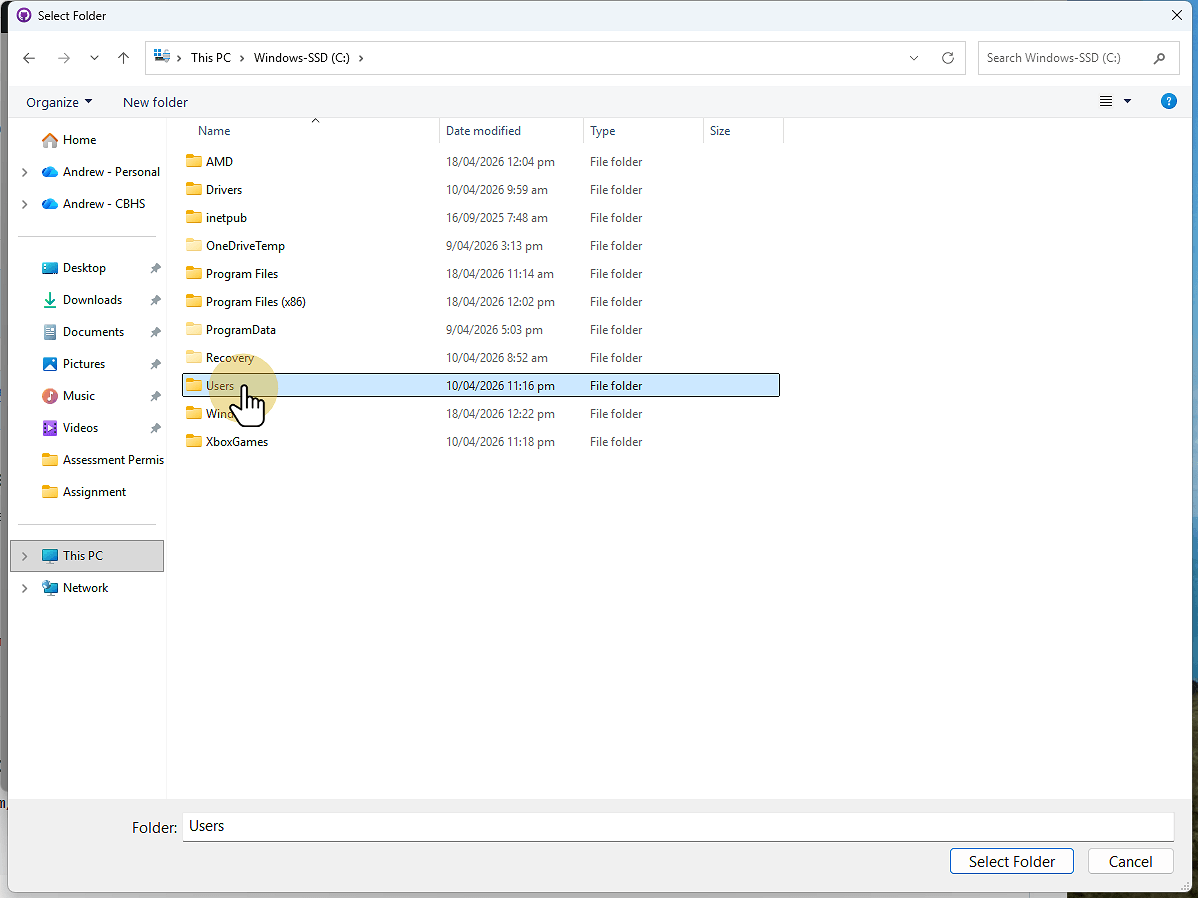
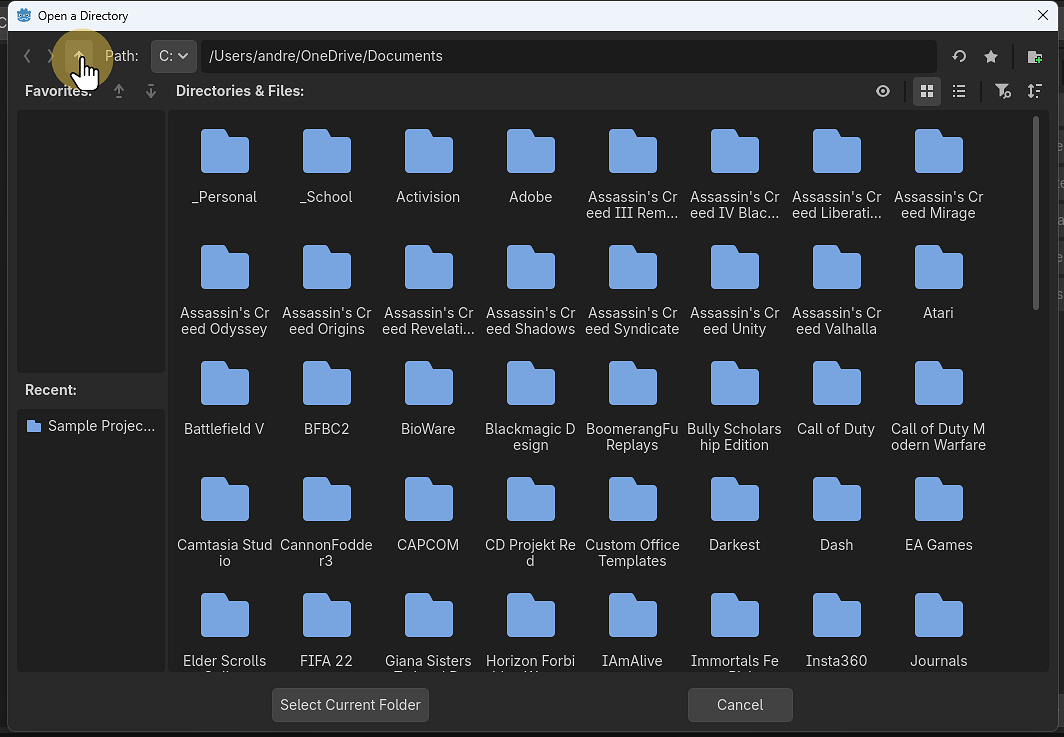
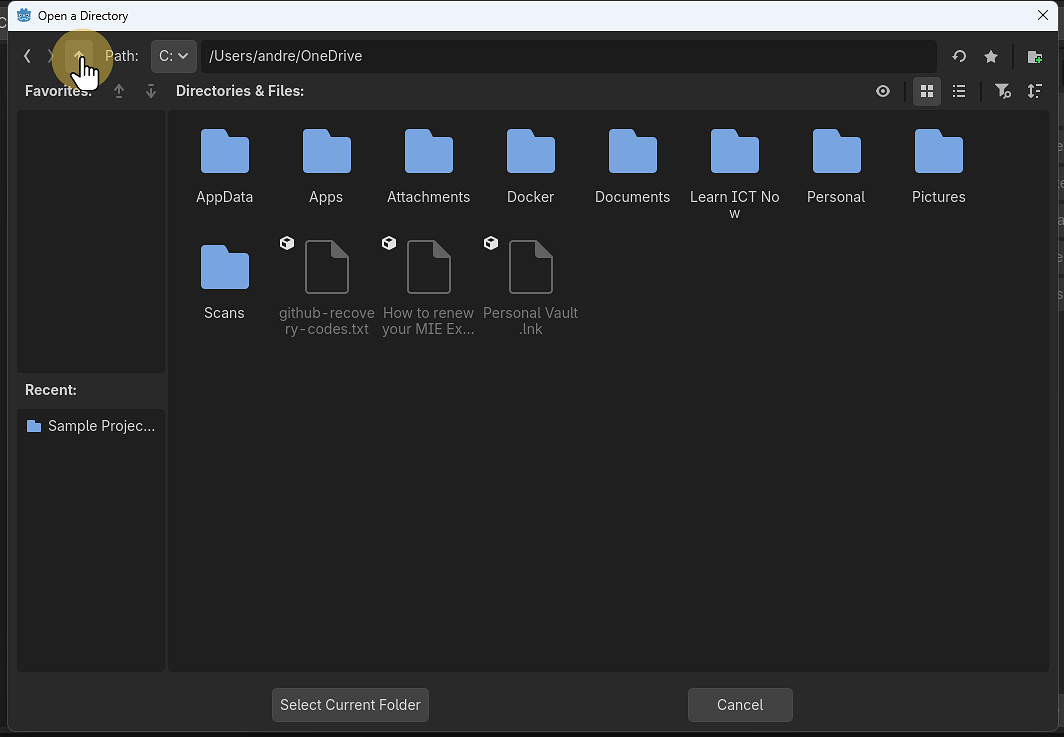
10. Change the folder to users\username
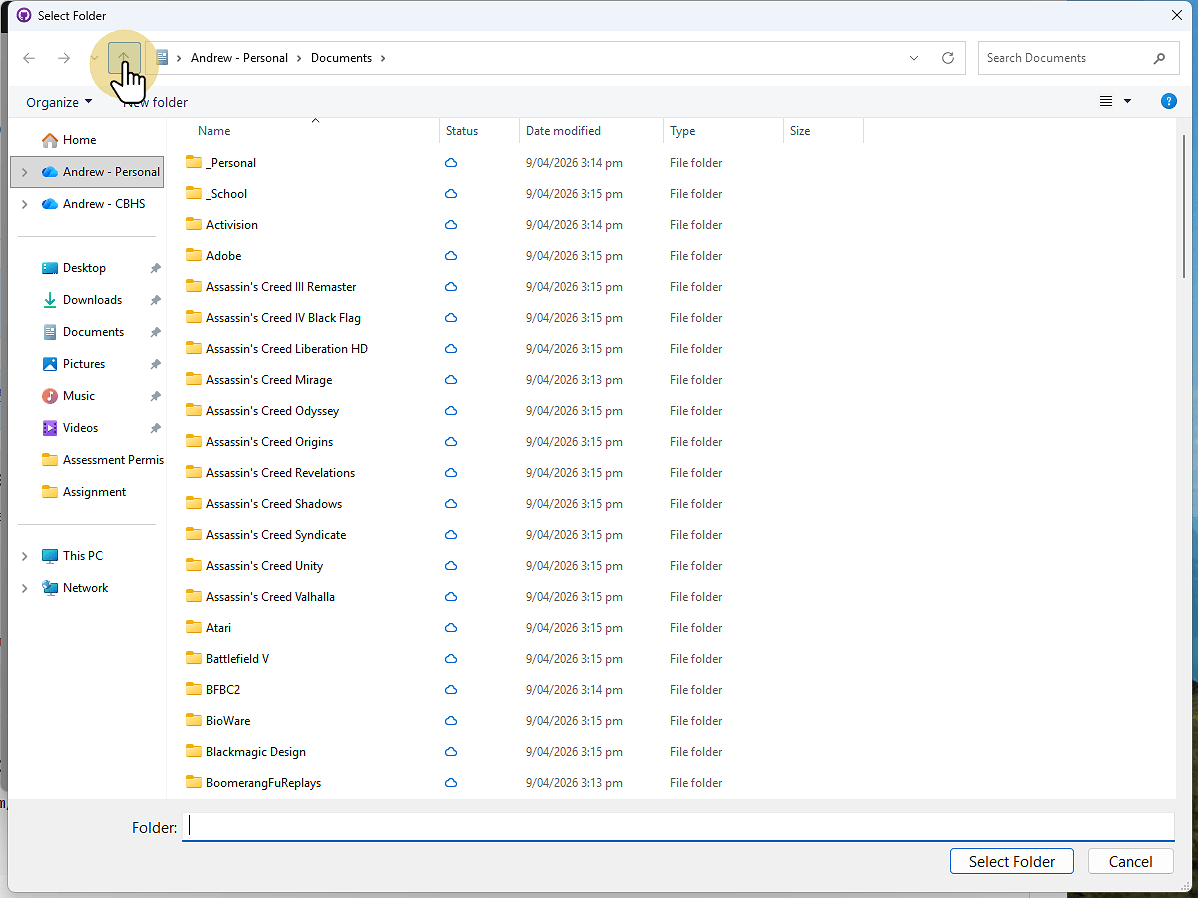
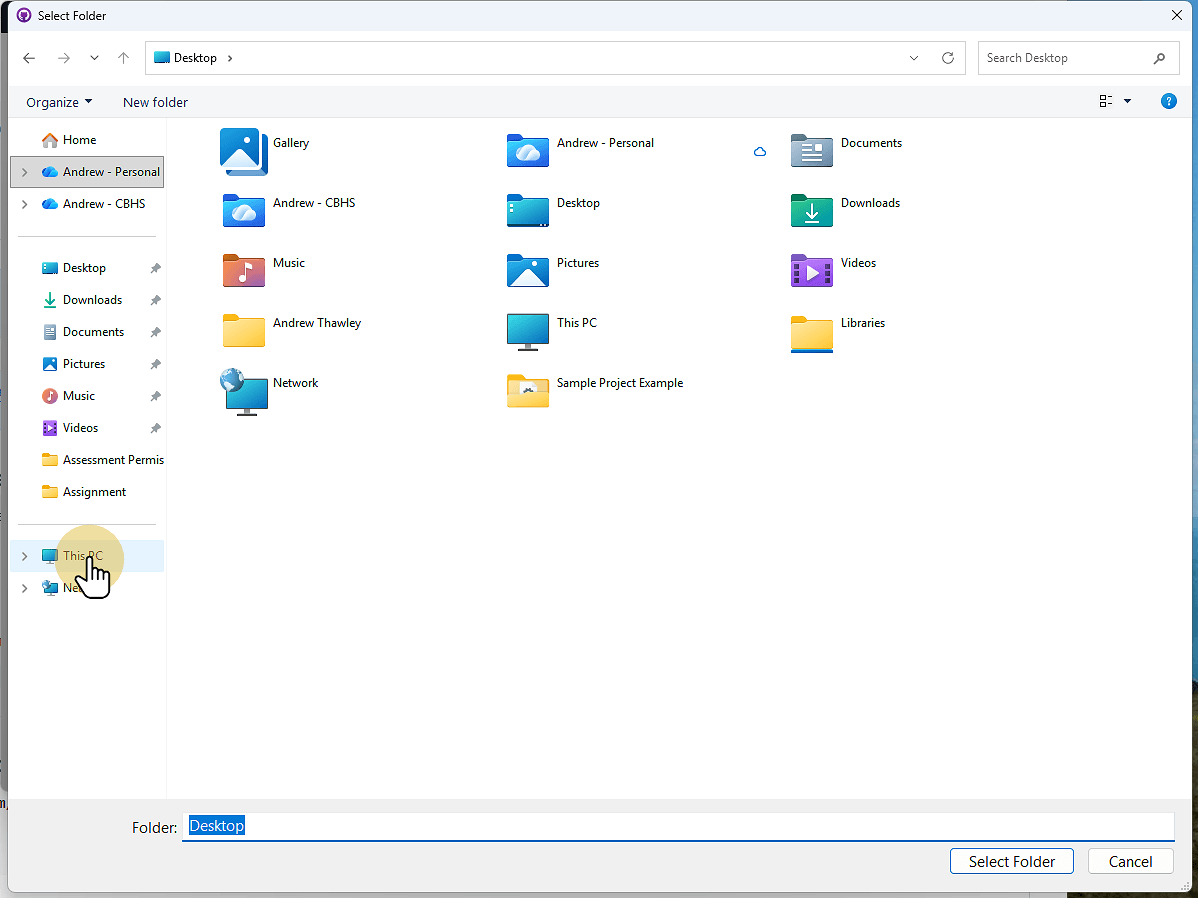
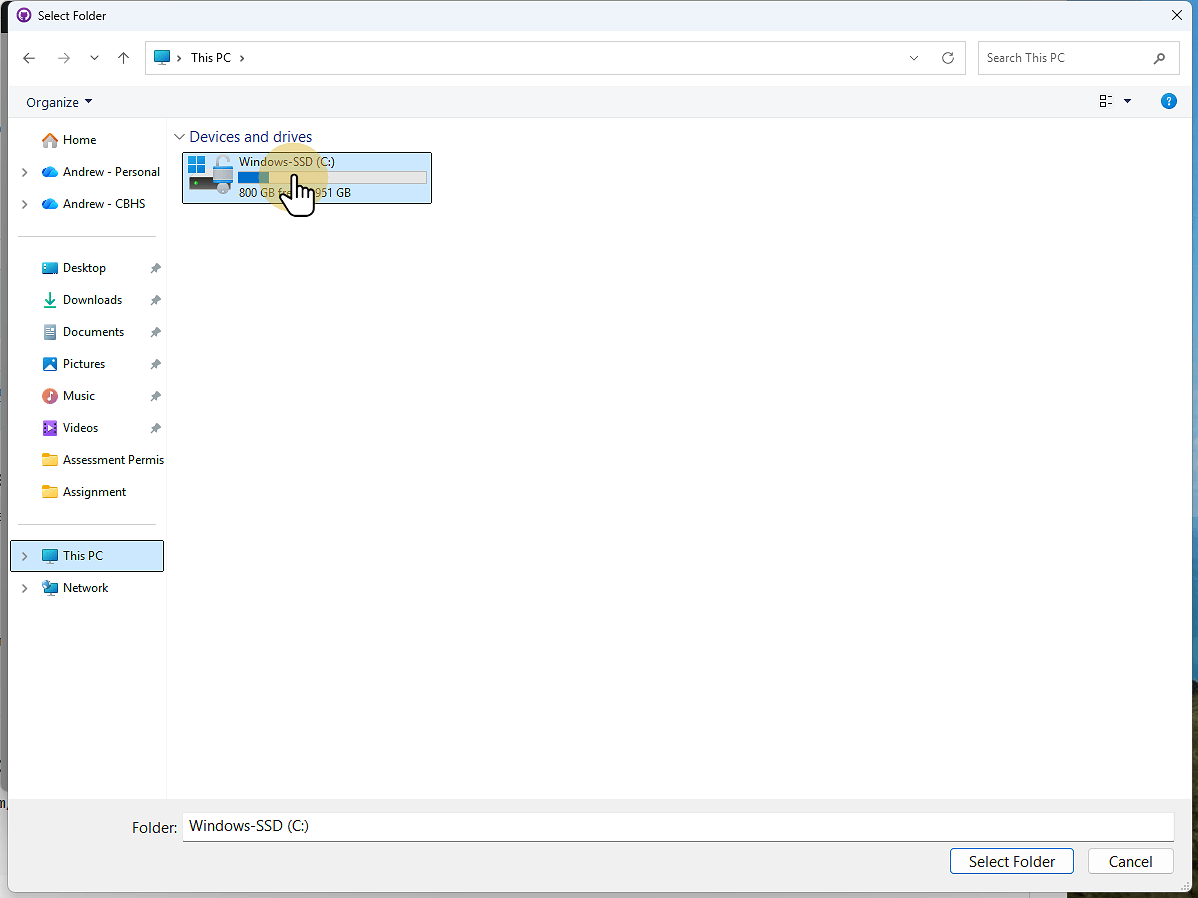
11. Click This PC
12. Go to C:
13. Go to Users
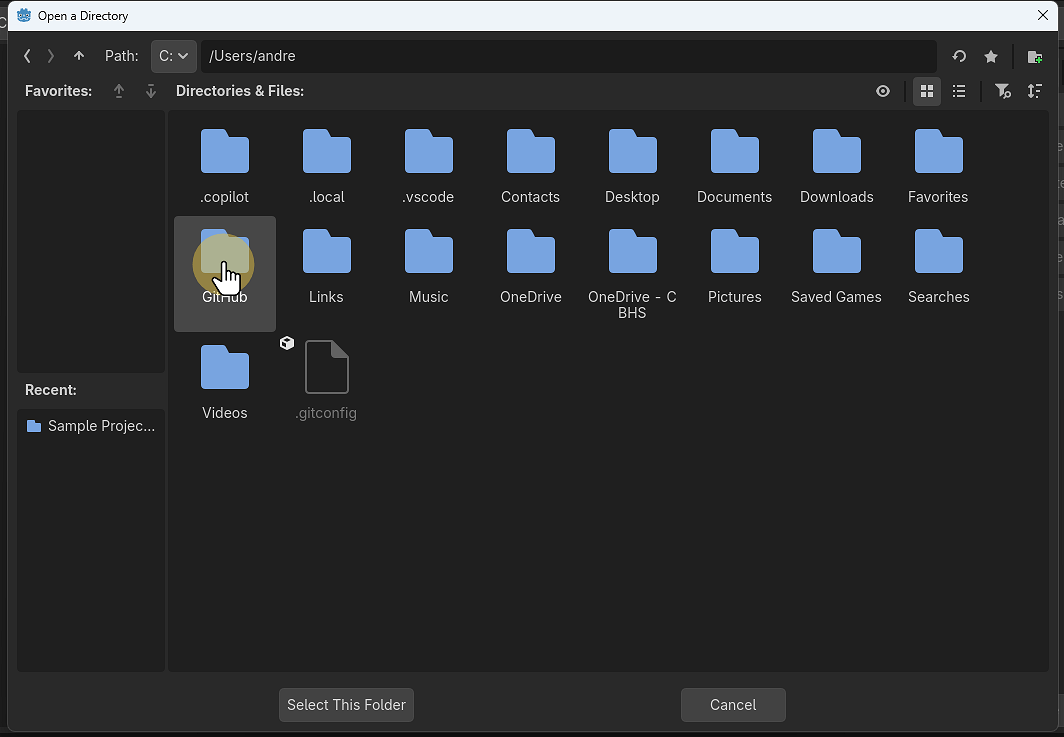
14. Click your username
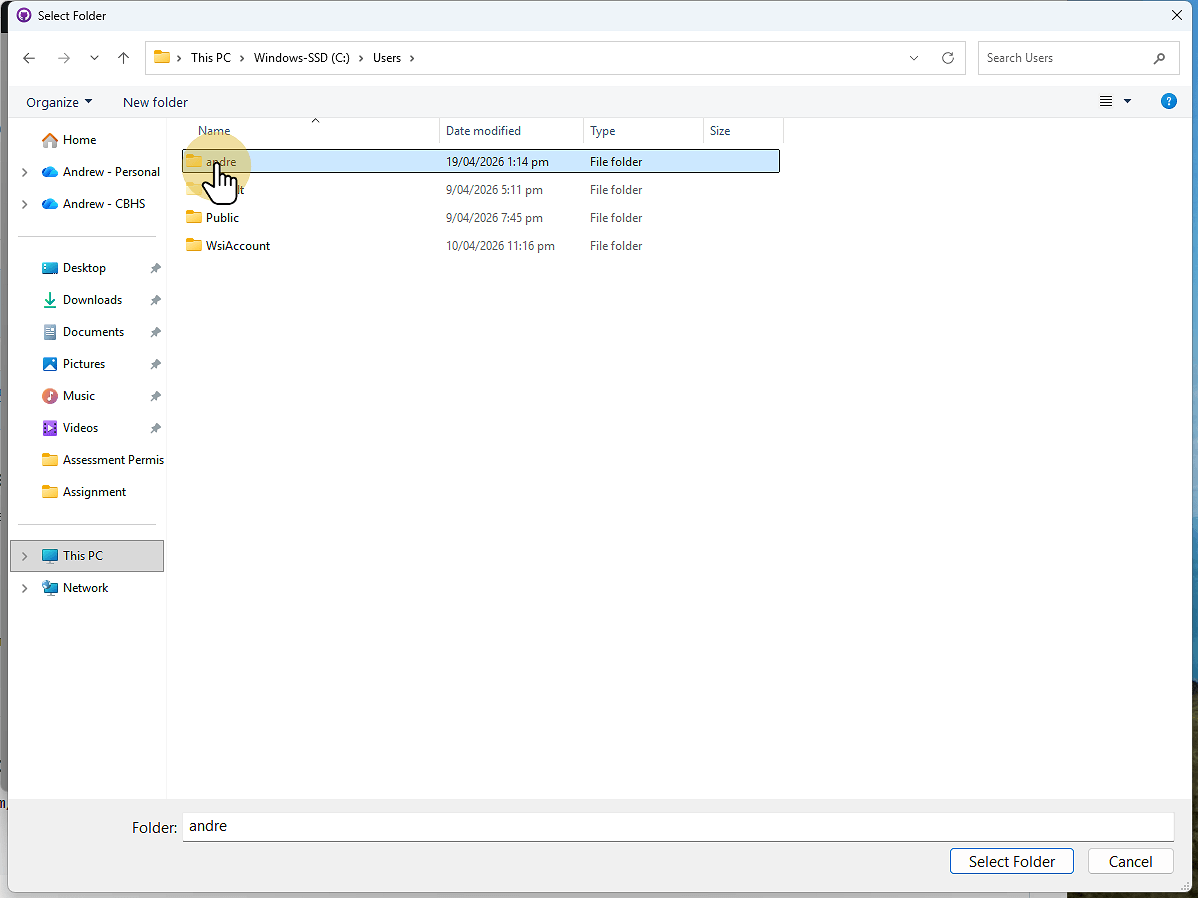
15. Click New Folder
Note that files saved here are not automatically backed up.
We Need to make commits to GitHub (shown later) to back up our work)

16. Rename the folder GitHub (right click on New Folder)
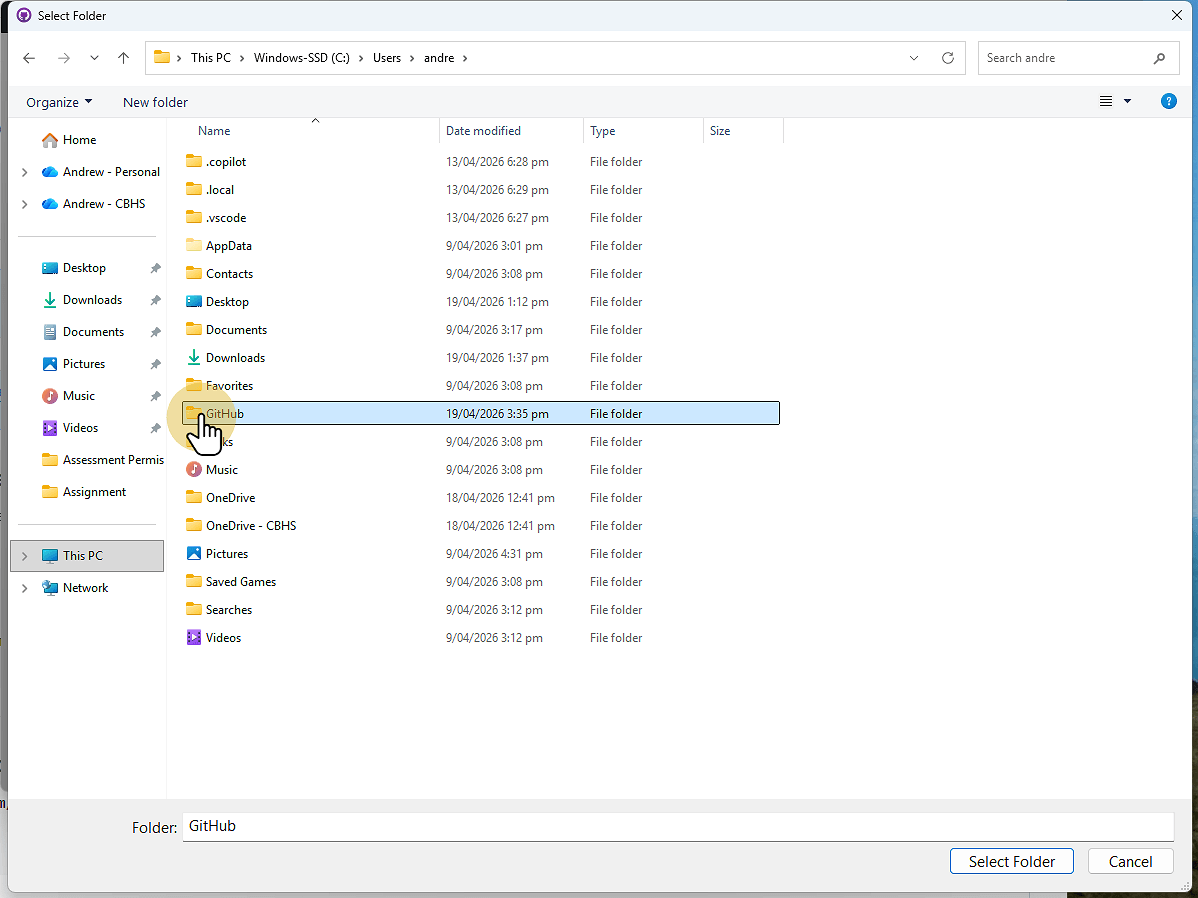
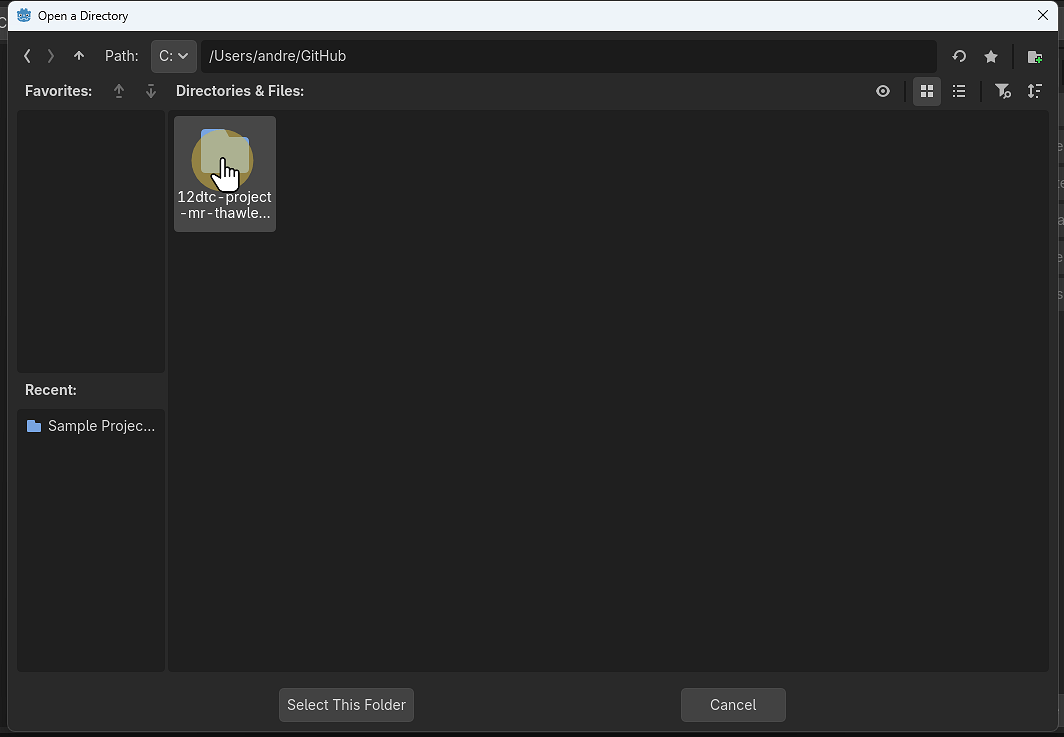
17. Go into the GitHub folder and select this folder
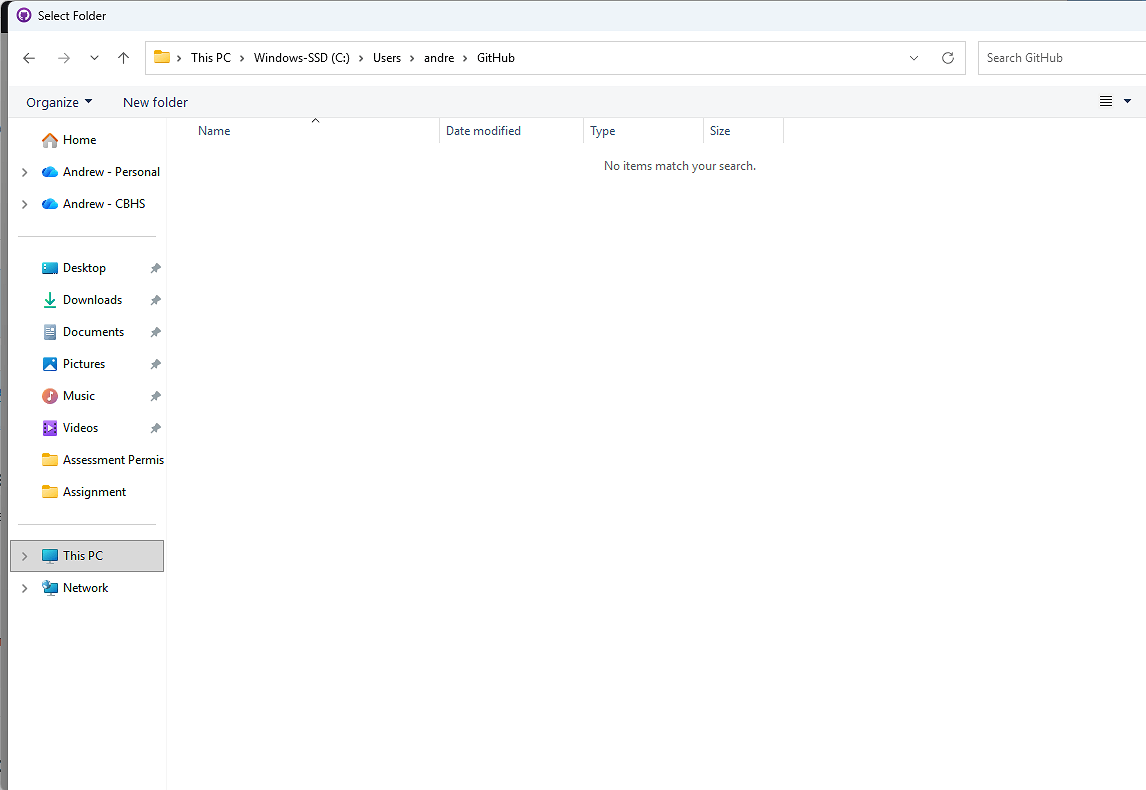
18. Click Clone
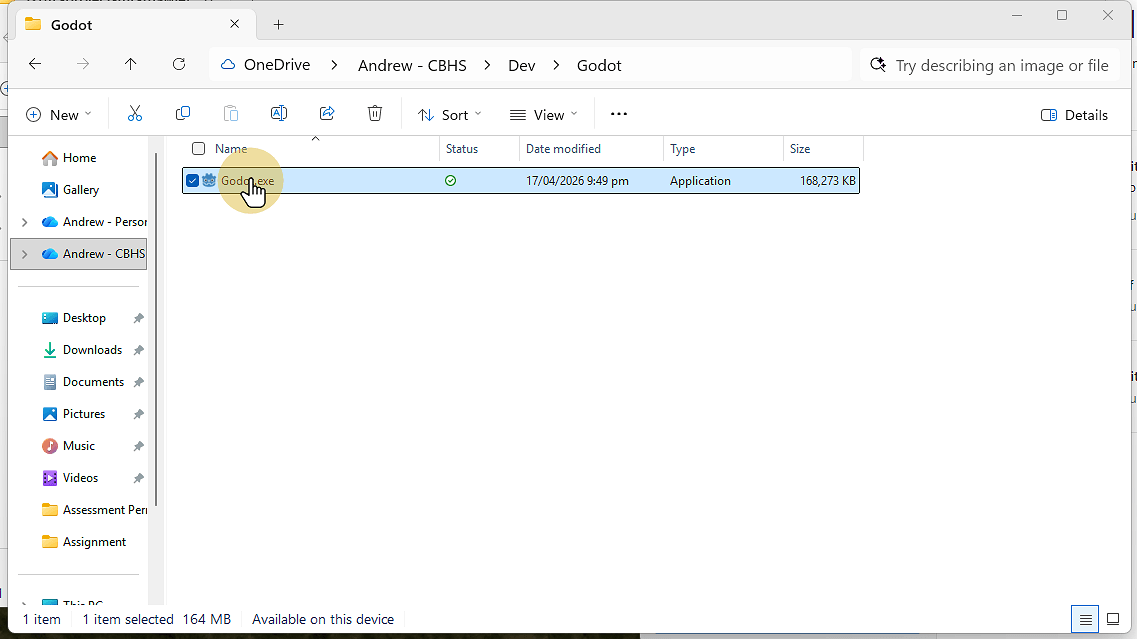
19. Click show in Explorer
This is where your files will be saved

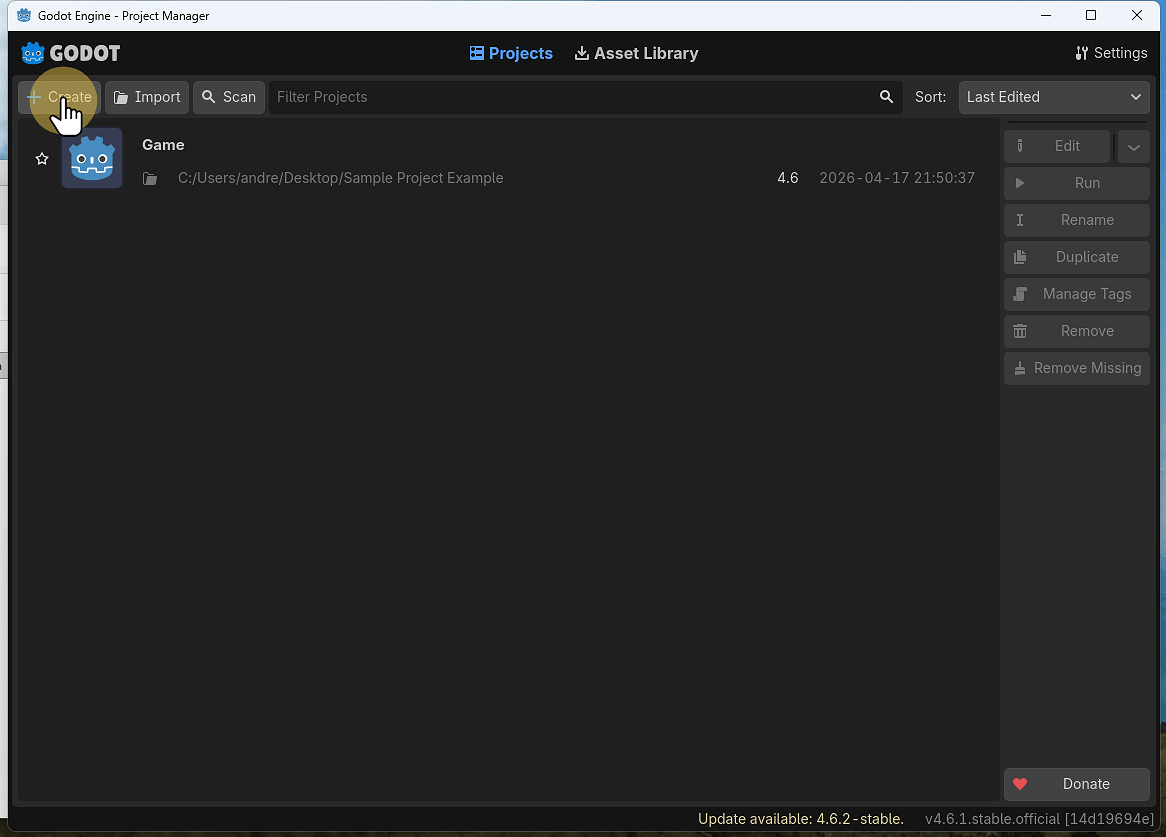
20. Run Godot
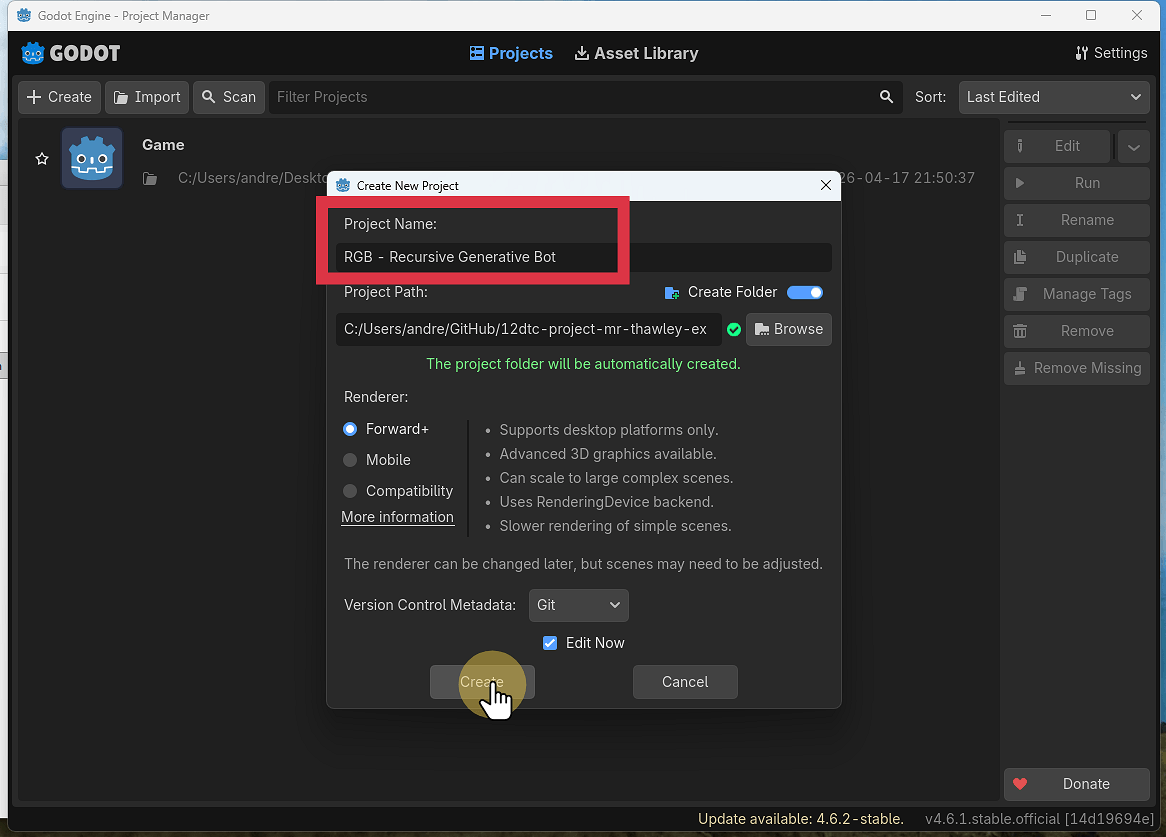
21. Click Create
22. Click Browse
We will change the folder to be the location that we created in GitHub Desktop
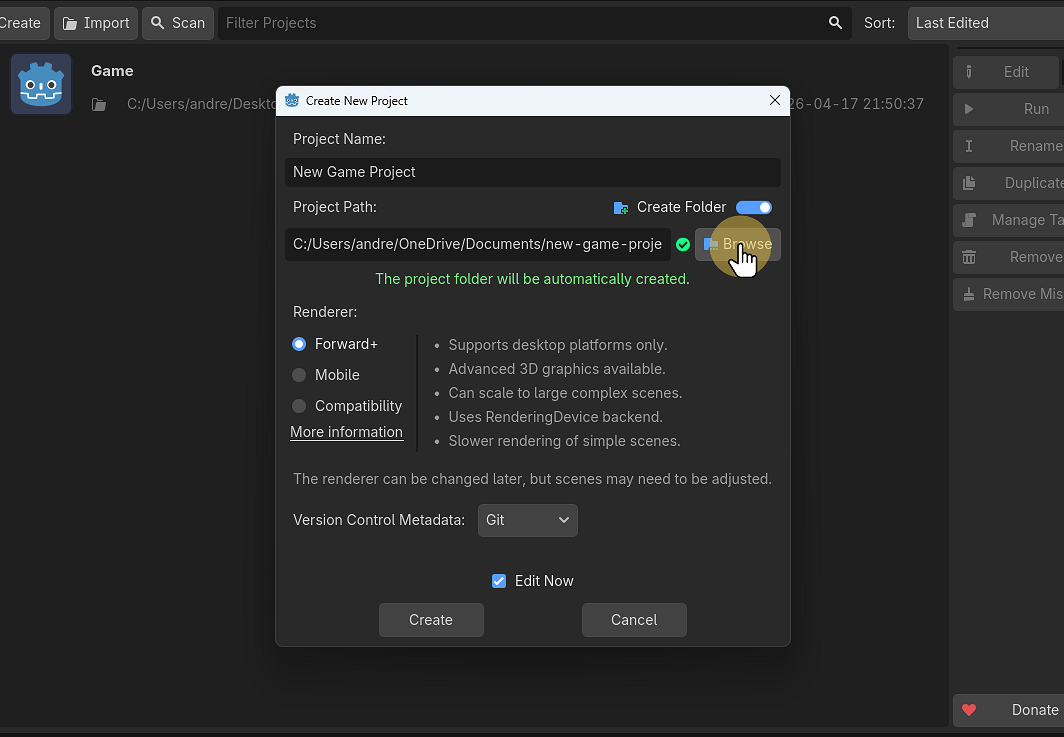
23. Click ^ and go to users \ username \ GitHub
24. Click ^ and go to users \ username \ GitHub
25. Click ^ and go to users \ username \ GitHub
26. Open the Project folder and choose Select This Folder
27. Name the Project and select Create
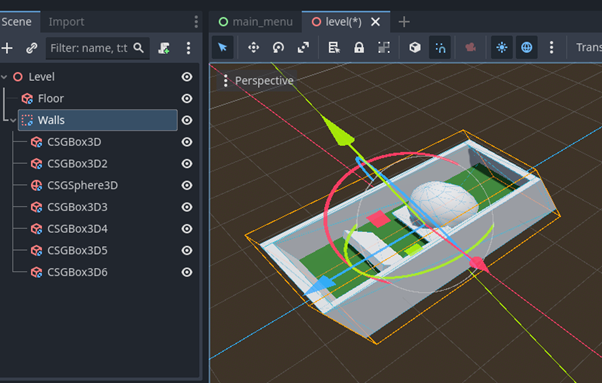
28. We now have a Godot Project
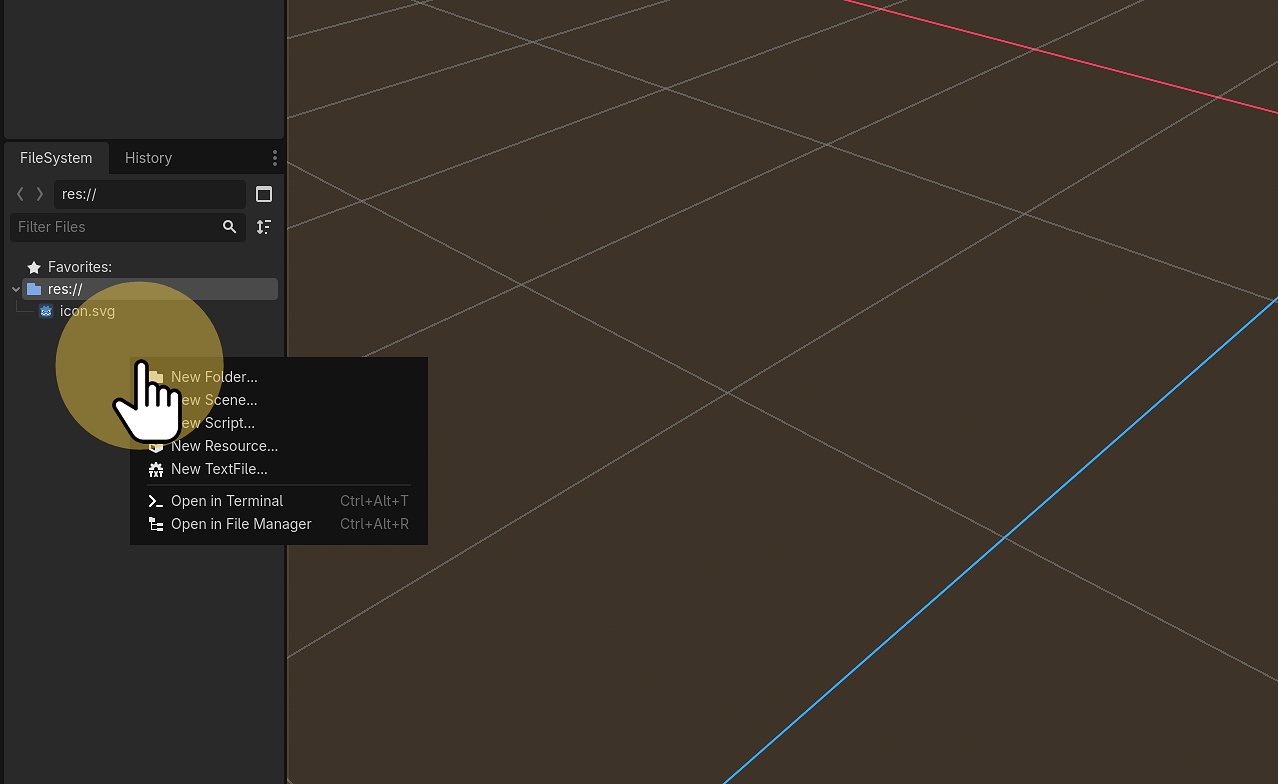
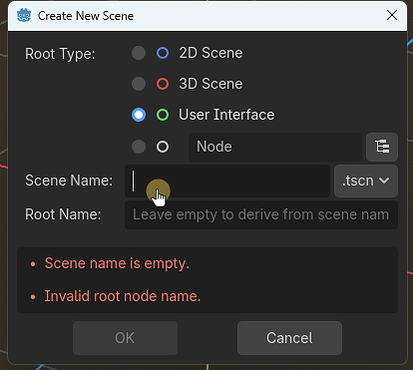
29. Add some files and folder to test the GitHub repo
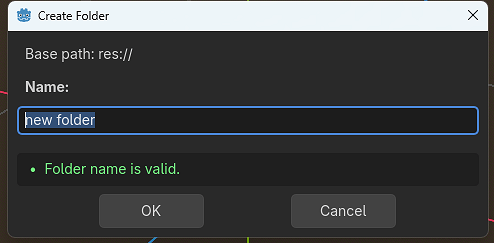
29.1.
30. Switch back to GitHub Desktop
- Green represents new files
- Red represents files that have been deleted
- Orange/Yellow represents modified files.

31. Copy Here you see the files that have been changed since the last commit
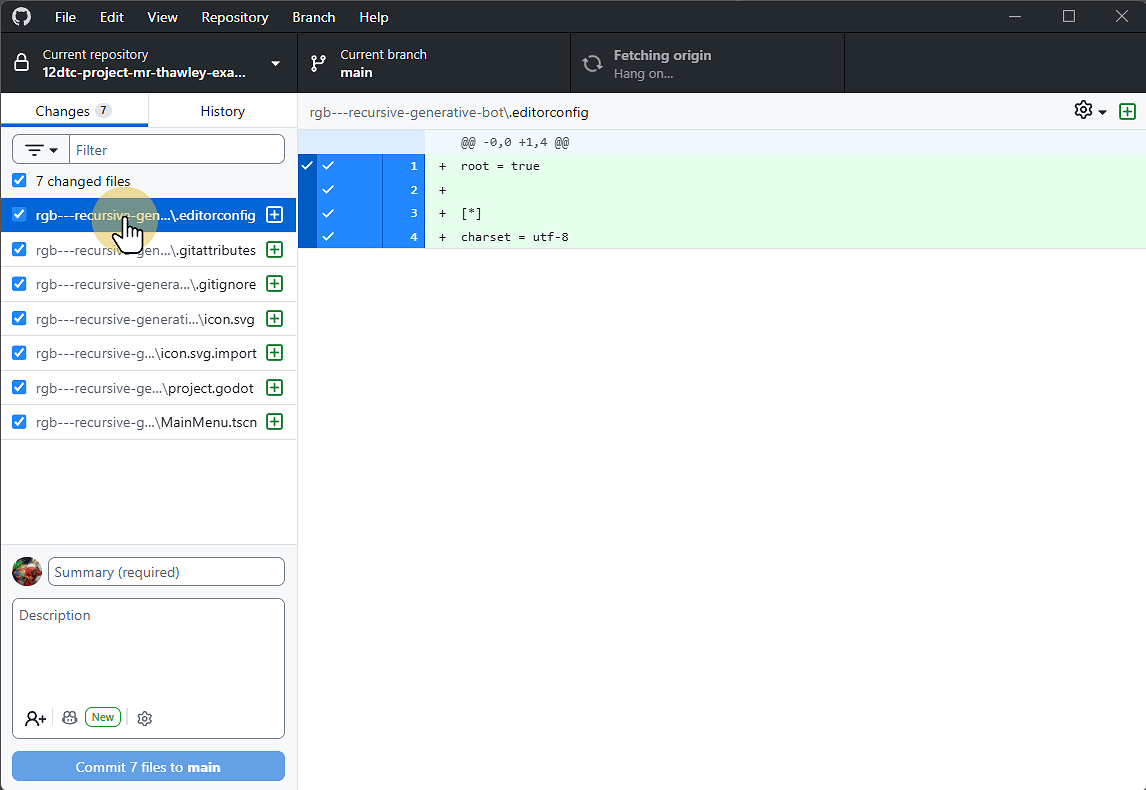
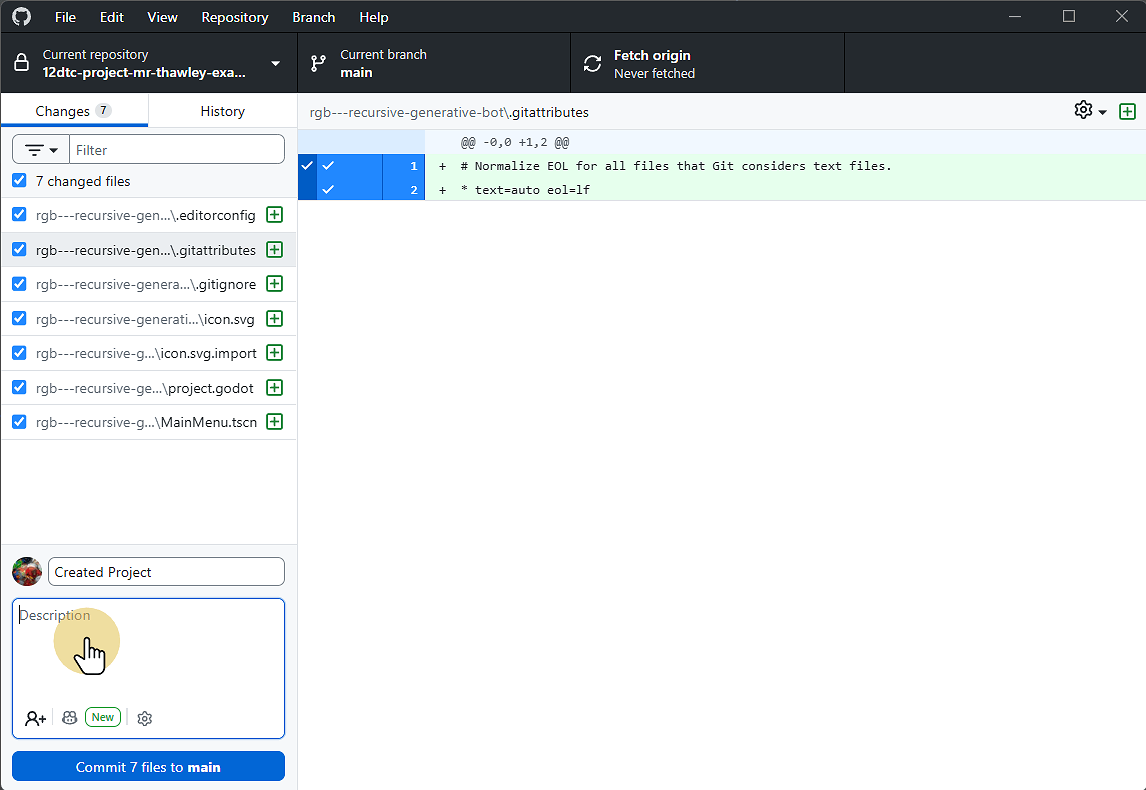
32. Enter a summary for the commit
This should be a high level title of the work done
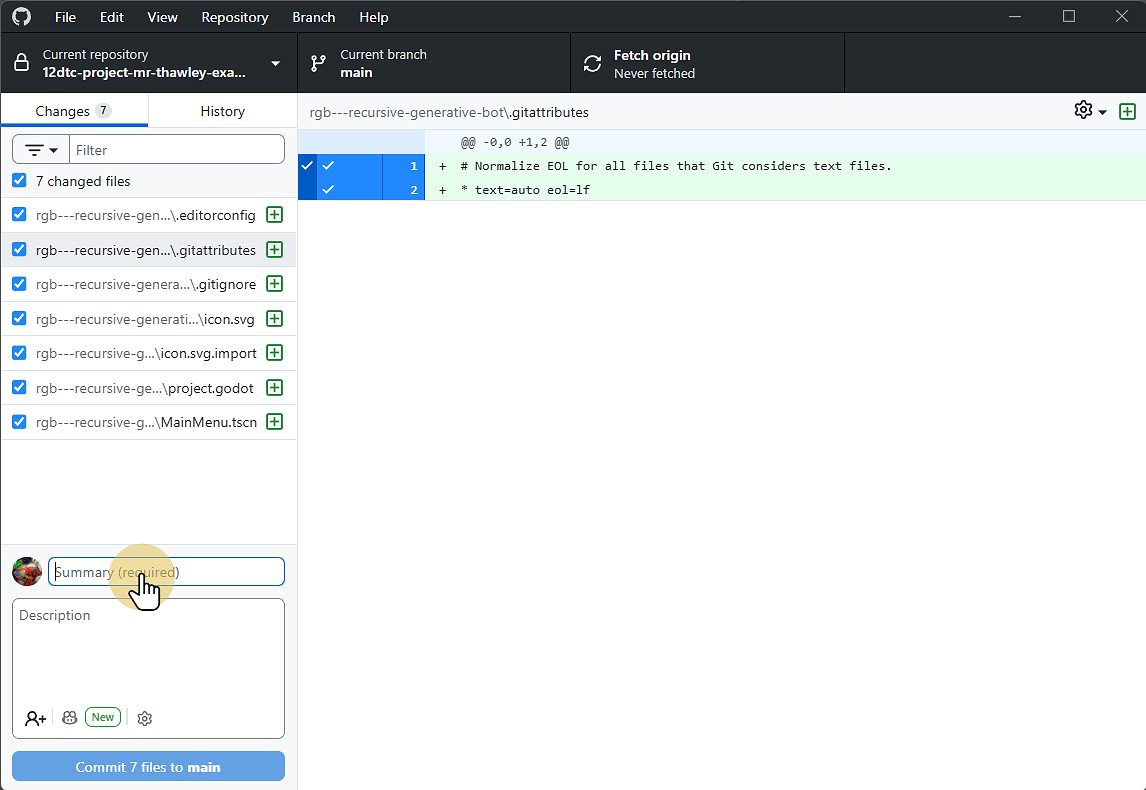
33. Enter a description of the work in this commit
This will outline the changes and work carried out in this commit.
For example it should mention if certain features have been added or modified.
34.
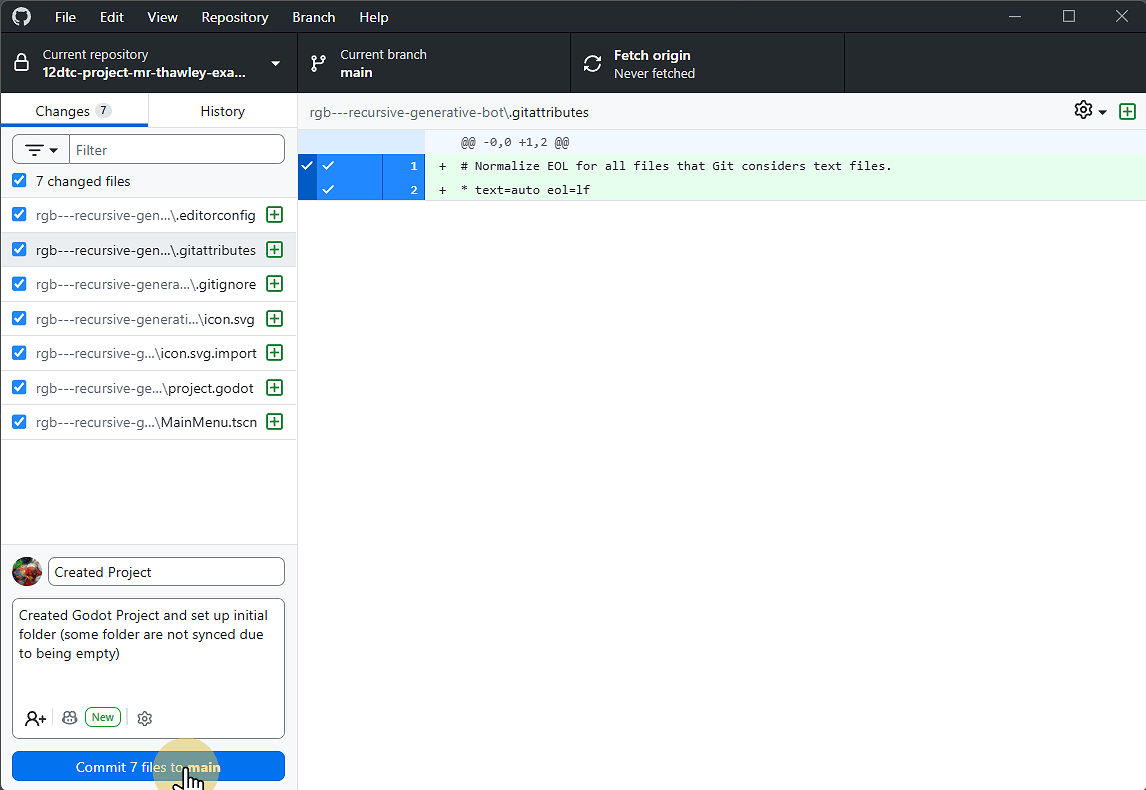
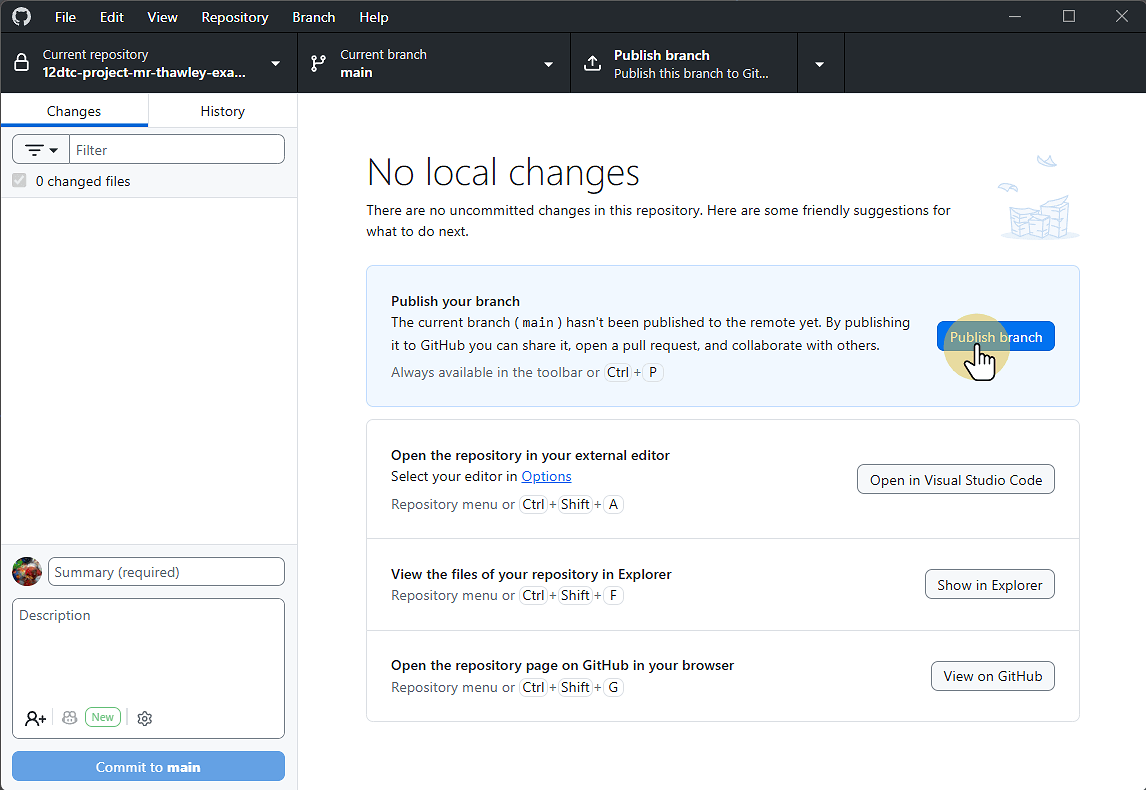
35. Click Publish Branch to upload your work to the Repository
This creates a version of your work Online that you can go back to at any point.
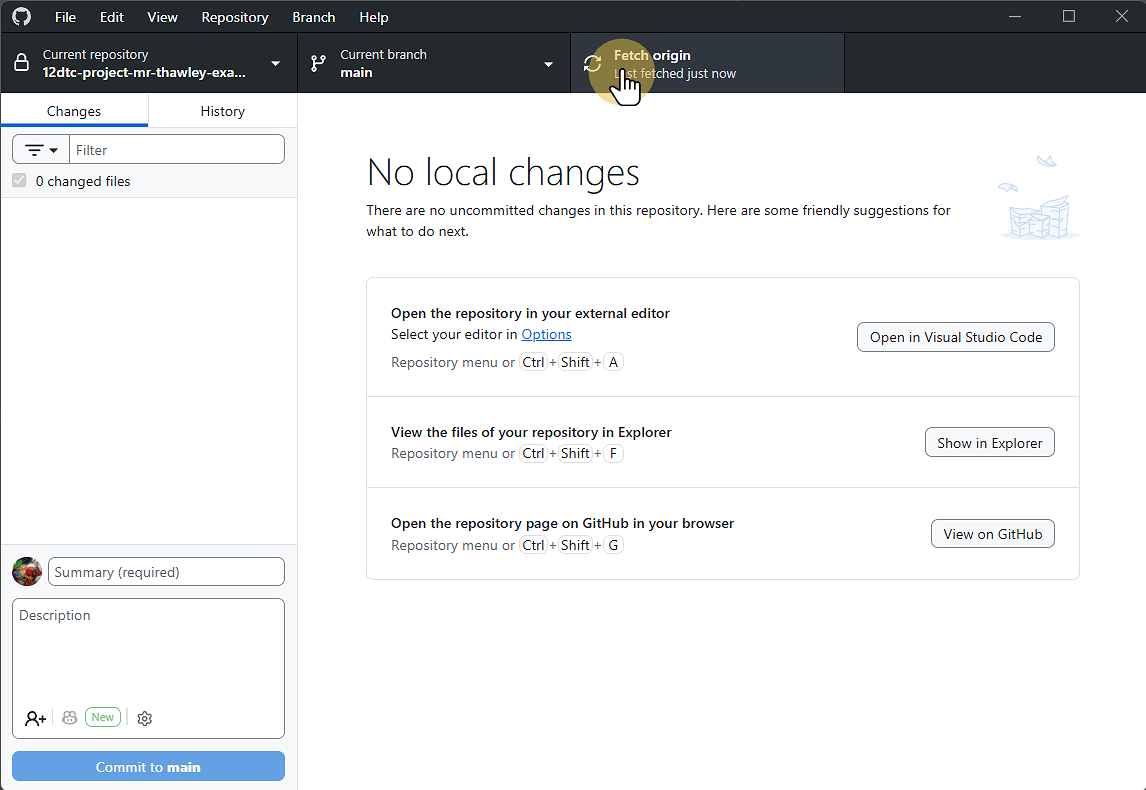
36. Always click Fetch origin before starting any work or commiting your own changes
This will prevent issues with conflicting files.
you can click view on GitHub to see the up to date Online version.
37. Here is the Online Repository