There are a few steps to run through for setting up developer mode on an Oculus Quest. You would want to do this if you are developing apps in VR using Godot and want them built as an native Android application rather than running while connected to a PC.
First you need to create a Developer account and verify it. This should be using the same account you use to login to your Oculus Quest 2 (or another account that is logged into the device).
Go to: https://developer.oculus.com/documentation/native/android/mobile-device-setup/ and follow the instructions.
Create organisation
The instructions below will summarise the key steps.
If you are creating an organisation (sole developer) go to: https://developer.oculus.com/manage/organizations/create/
You might be told you're not logged in.

Log in using the account you wish to use (if you're logged in with Facebook this will happen automatically).
Now you need to verify your account. You often need to do this before creating an Organisation
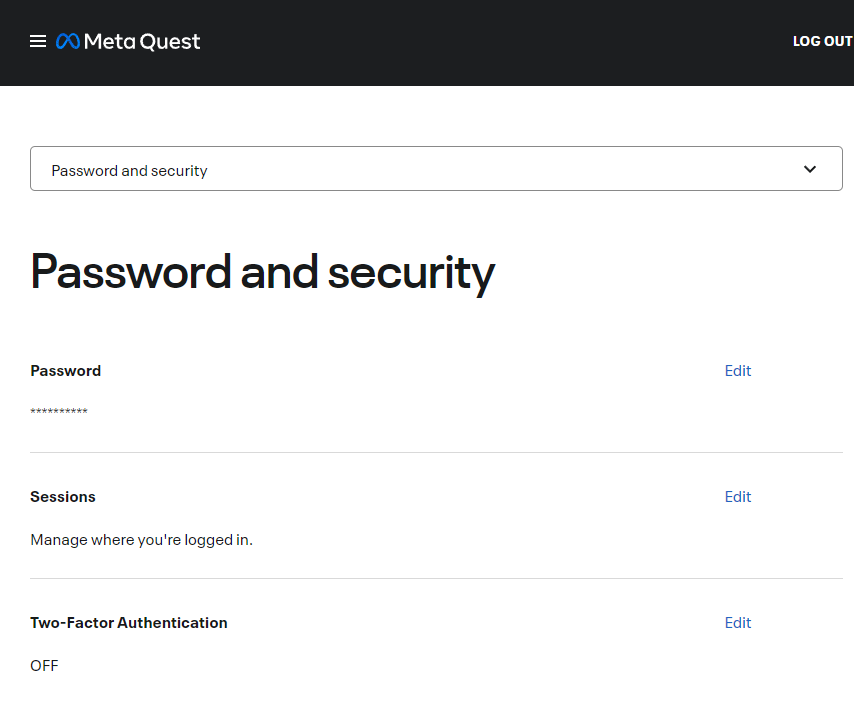
Use two factor so you don't have to enter credit card details.

Edit the two-factor authentication so that it is switched on.
When you have done this go back to the developer page. You should see a message stating that your developer account has been verified.

Click on the + to go to create new organisation.
Enter a name and agree to the terms.

Enabling Developer Mode on the Oculus Quest 2 headset
Now you have a verified developer account open the Oculus app on your phone that is linked to your device.
Select your device.

Select Headset settings (make sure you device is on)

Select Developer Mode

Enable the Developer Mode slider (if this isn't available you don't have a verified developer account and organisation).

Connecting you Oculus Quest 2 to your Computer
Connect via USB-C / USB 3 cable.
Put your headset on an click OK on the pop up to Allow USB debugging
Click Allow device to access connected files.
If you're on Windows install the Oculus ADB Drivers (you'll also need Android installed).
https://developer.oculus.com/downloads/package/oculus-adb-drivers/
Extract the zip file and then right click in the android_winusb.inf file to install the drivers.

Installing the apk
Make sure you have adb (Android Debug Bridge) installed.
Connect the Oculus Quest 2 via USB
Open a command prompt and change to the folder where adb is installed (if when you type adb nothing happens).
e.g.
C:\Users\andre\AppData\Local\Android\Sdk\platform-tools>
Enter the following command, replacing "FILEPATH" with the location of your apk to install.
adb install -r "FILEPATH"
The app will install.
You should see a success message.

You app is now installed however you won't see it by default.
Go to your apps in the headset.
Select the filter and select Unknown Sources (All won't show them).
You'll now see your app and can select it to run the app.
Also if you have Android export templates installed correctly you should be able to select the remote debug option next to the scene selector in the top right of Godot.
