Godot: Single Level 2D Platformer (Part 7) Improving Graphics with Tilesets and Tilemaps
We have used basic placeholder graphics to incorporate some key features into our first level.
However this is not very efficient and has resulted in an inconsistent art style (note art style is different to graphics).
This continues on from part 6 but can be carried out earlier. We will use the an art pack from kenney.nl for our graphics. You can download it from here.
Godot has a good TileMap tutorial here.
Extract the file into your Assets \ Images folder.

Now we want to add a TileMap node and create a TileSet.
A tileset is a set of images that we can use to tile the display, they all have the same size.
The easiest way to achieve this is to have all of the images stored in one file and slice the image up.
You can also use individual images for each tile.
This example will use one image file and set individual tiles from this image. You would repeat the same process for separate files and create one file from each image file.
Below you can see an example of a tile map image.
We will split this image up later.

Open your Level scene in Godot.
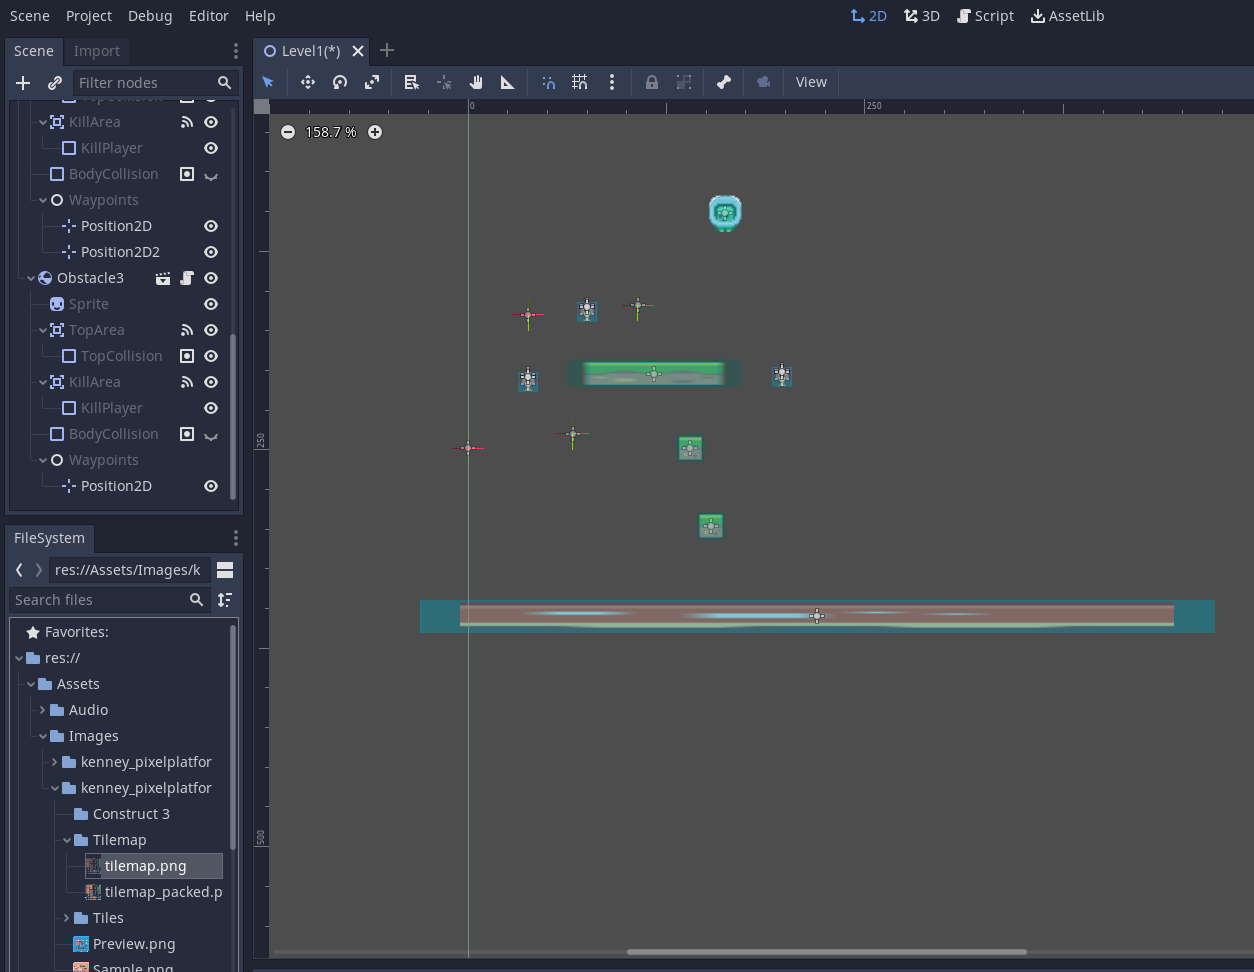
You can now also see the imported tiles / images (note that Godot will import these files when you drag them into the folder or Godot detects changes made to the project folders.
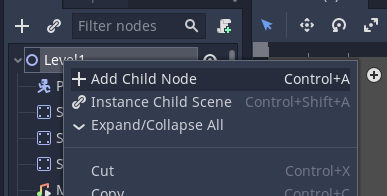
Select the root node and choose Add Child Node...
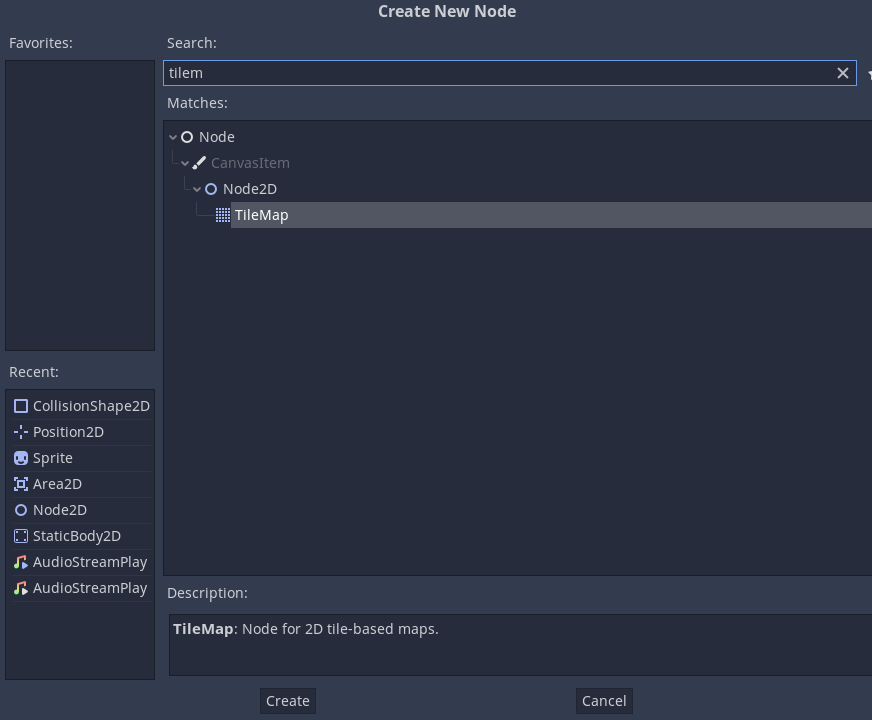
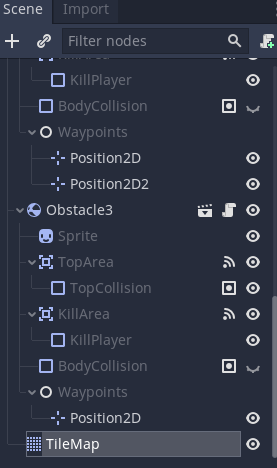
Search for TileMap and add it to the scene.
Note that Each tilemap is on its own layer so if you want the player to move behind some tiles they will need to be added on a different tilemap (like you would with other nodes). To do this you need to change the z index.
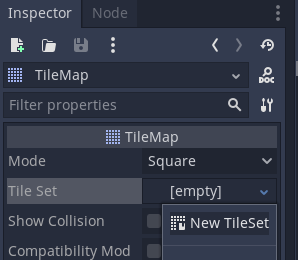
Select the TileMap
In the inspector select Tile Set --> New TileSet
Under Cell we have the size of the tile, the default size if 64 pixels. We need to change this to the size of the tiles that we will be using. We will change this later once we have set up the tile we will use.
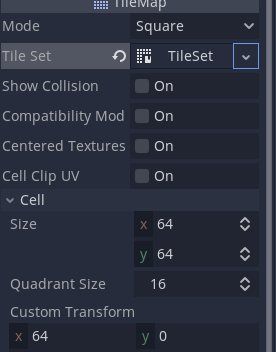
Click on TileSet
![]()
The window will change and you will have an edit section appear at the bottom
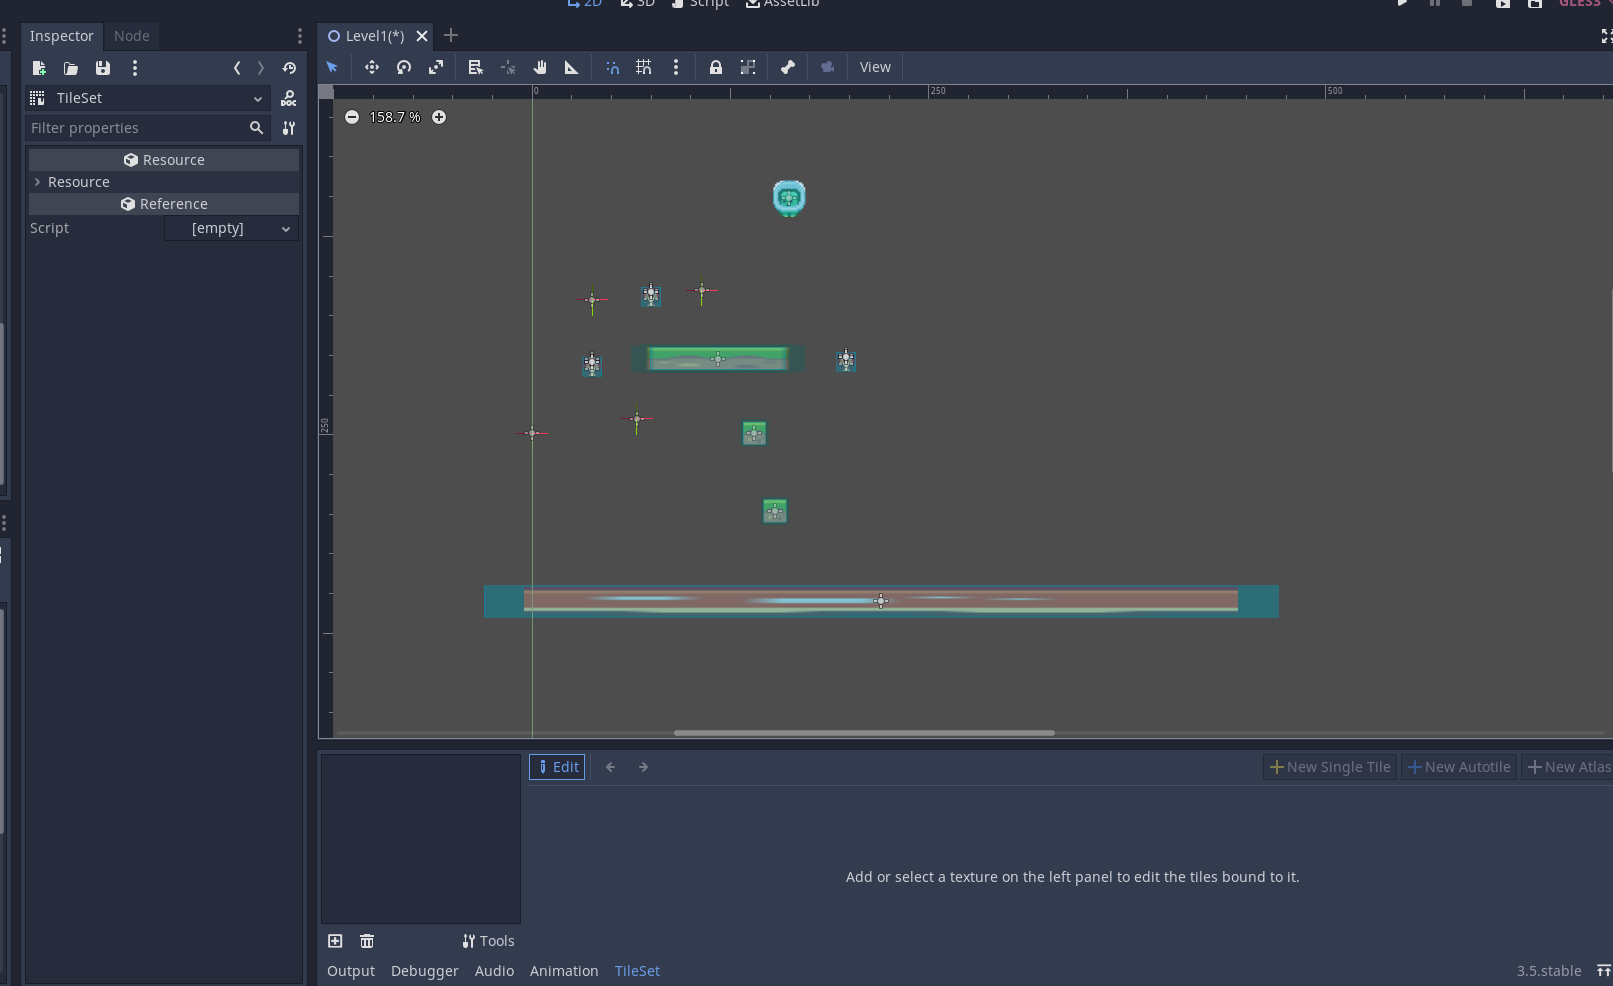
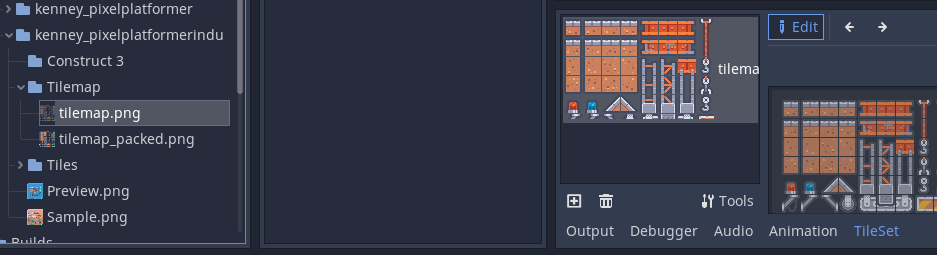
Drag the tilemap into the rectangle in the panel.
You might find it easier to resize the panel and zoom in with the +
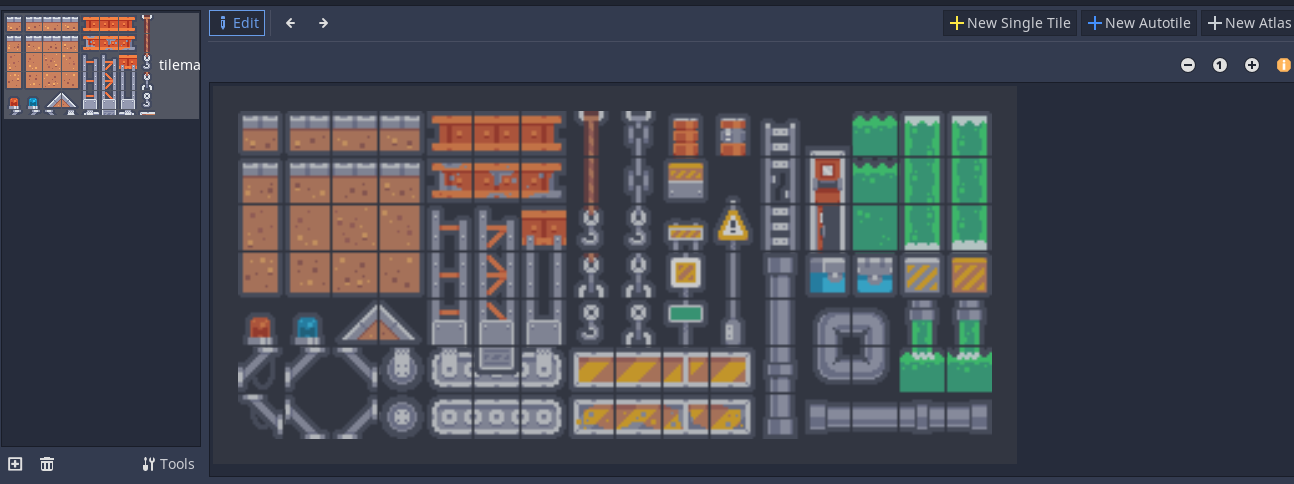
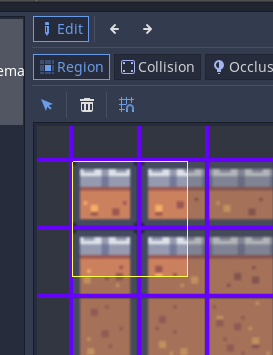
Click New Single Tile
We will use this to highlight the tile to use.

Click the grid icon to enable the snap and show grid.
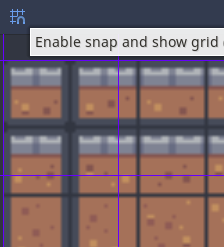
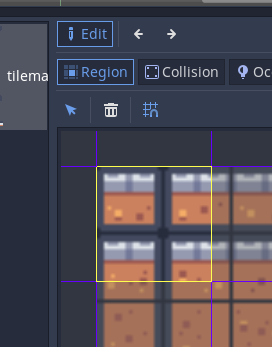
Select a single tile area.
Note that the tile is not the right size. We need to adjust it.
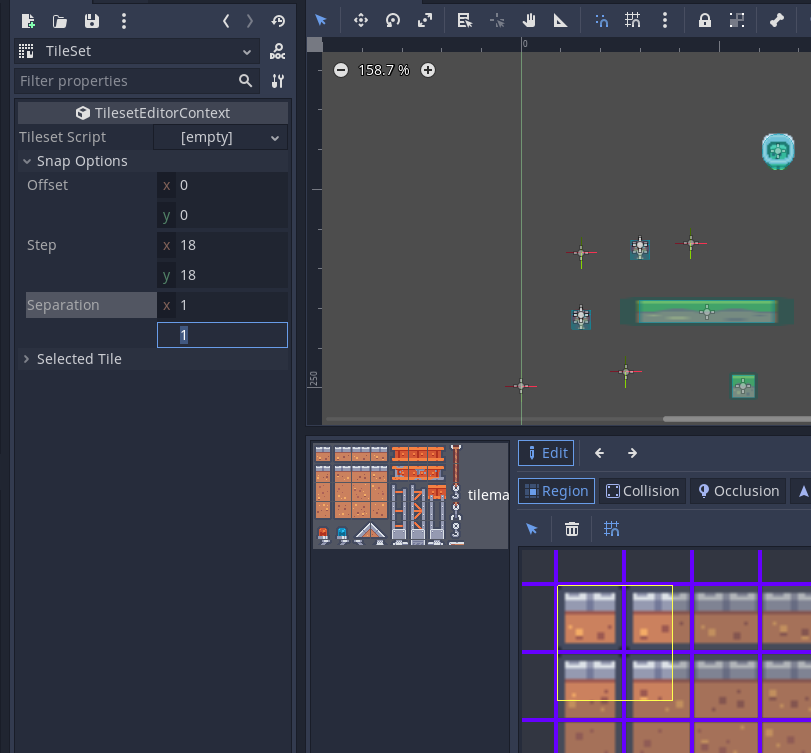
Open Snap Options
In this file the tiles are 18x18 pixels and have a 1 pixel separation (often tilesets do not have a separation)
Note that the yellow tile is still highlighted.
Click the Trach icon to delete this tile.
We can now go and click New Single Tile and select the tiles that we wish to use. This can be time consuming. This is the process you would use if you have multiple different files to use as tiles.
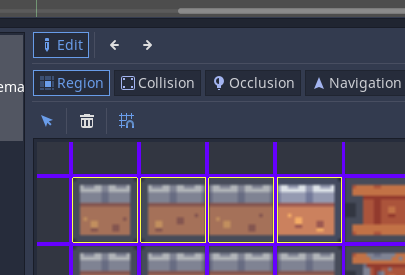
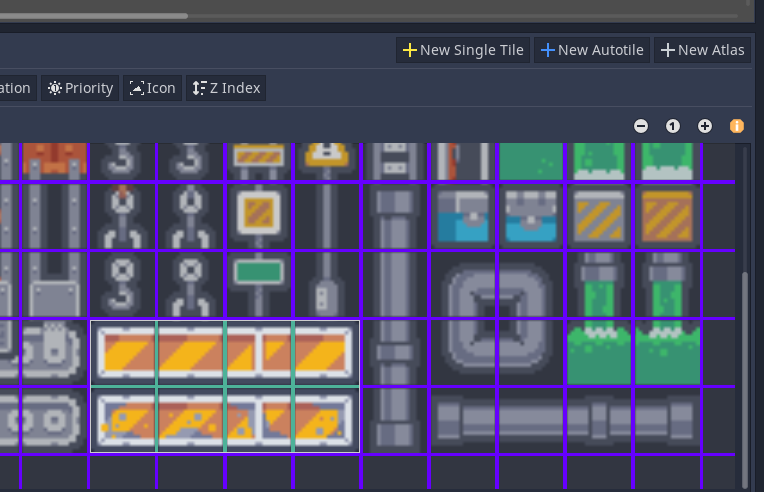
You can also use New Atlas to select multiple tiles at once.
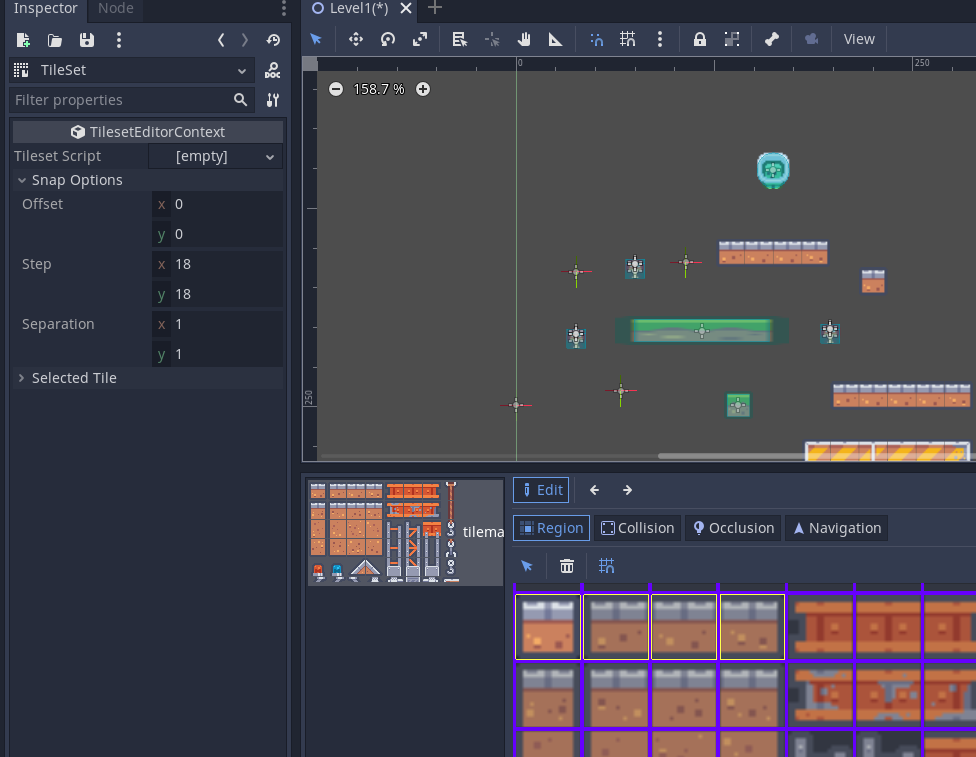
Click on the TileMap node in the Scene panel.
You will not see the tiles on the right.
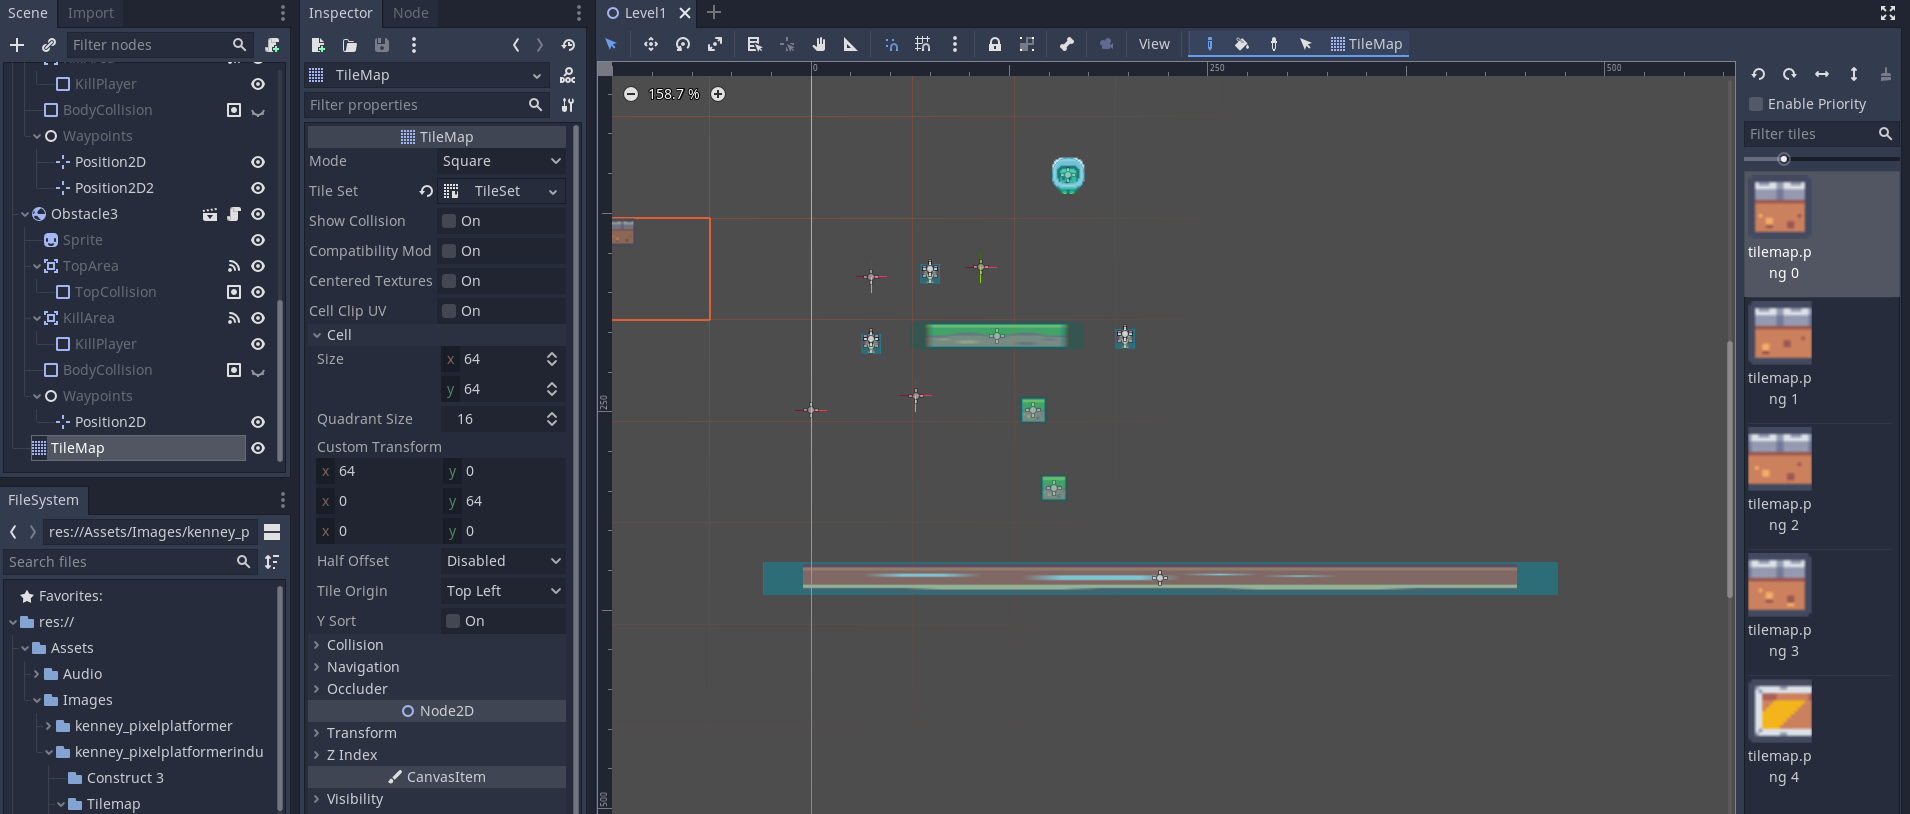
Note that the box is larger than the tile size. This is because we haven't changed the Cell size. Change this to 18 now.
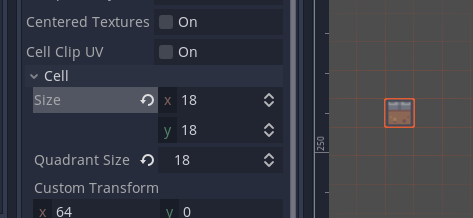
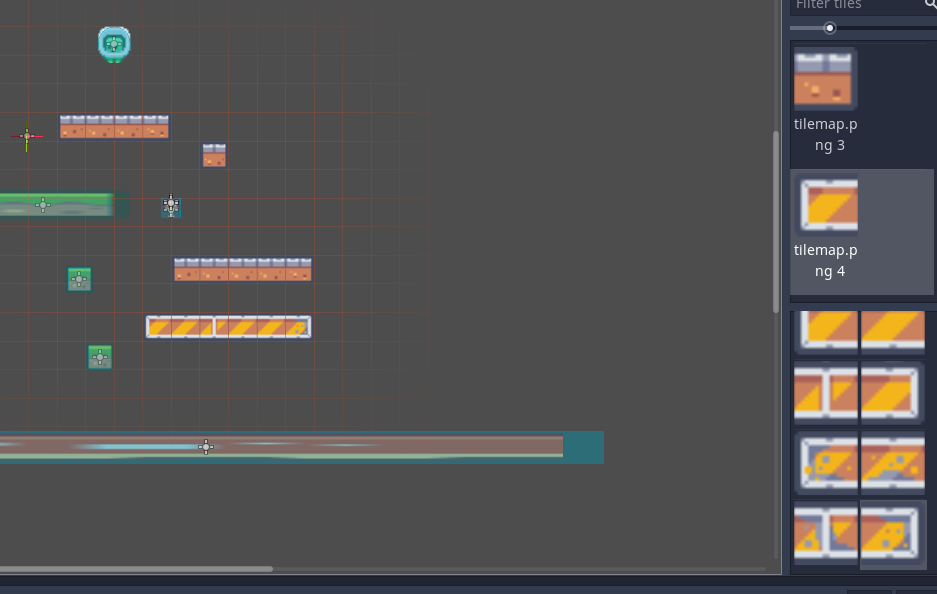
Now we have tiles that are the correct size you can draw them onto the screen and they will snap into place.
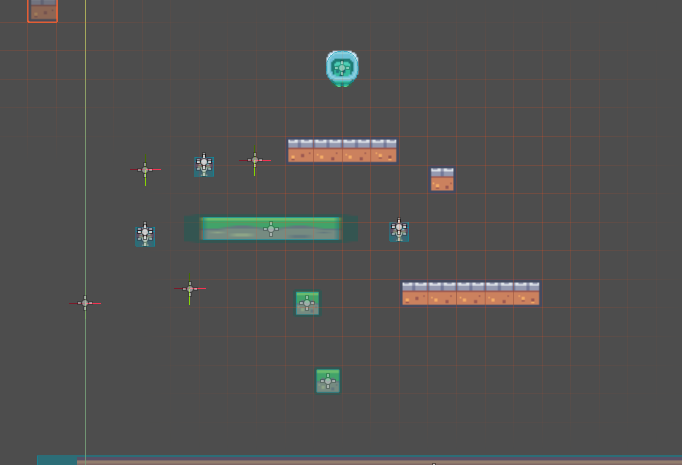
If we use the tile atlas we crated we can see multiple tiles.
Note that we fall through the platforms and go behind them.
We need to fix this.
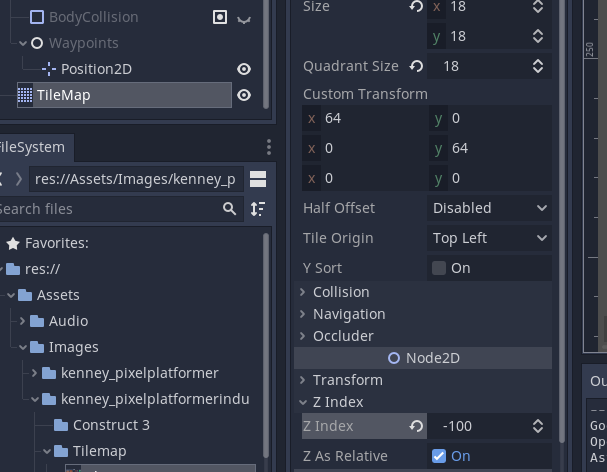
To have the player in front of the tilemap change it's z-index value.
A value of -100 will put it behind the other objects (negative is away from the player, positive is closer or on top of the other layer).
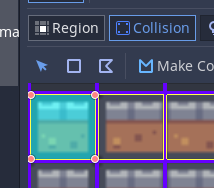
Now we want to add collisions to the tiles.
Open the Tile Set again and select a tile.
Select collision and draw a collision shape on the area of the tile you wish to add collision to.
Note that you can only add the collision for each tile individually. If you double click inside each tile it will add a collision for the entire tile.
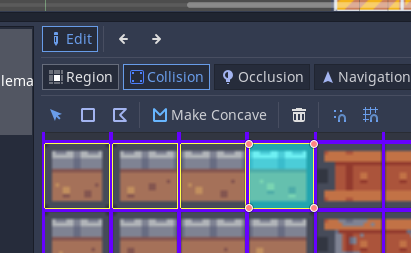
We have now added collisions to the tiles.
Test your work.
Go ahead an make your level