We will create a main menu scene to allow the user to start the game and see other details.
There is a guide here to create a title screen that has been produced by Godot.
Laying out the UI
Create a new User Interface scene.
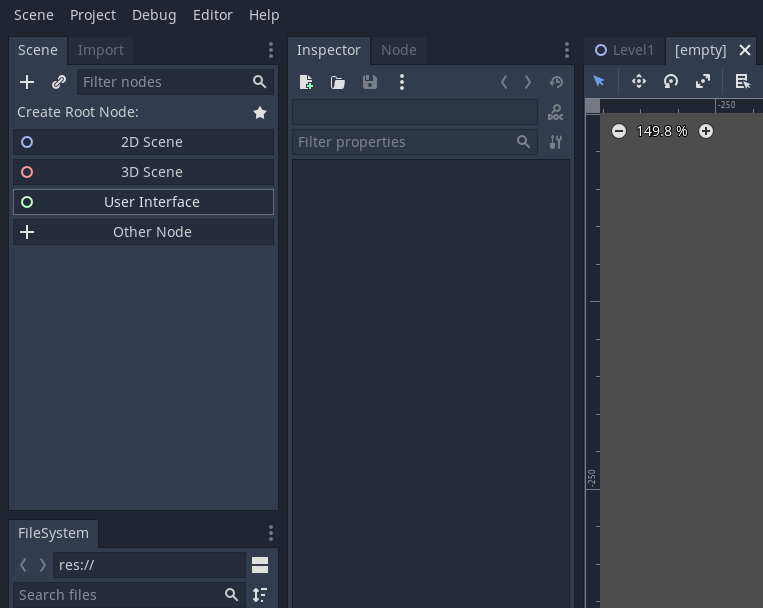
Save the scene as MainMenu

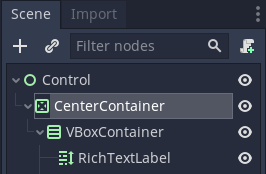
Add a CenterContainer node to the root node. This is used to center child nodes of this node.
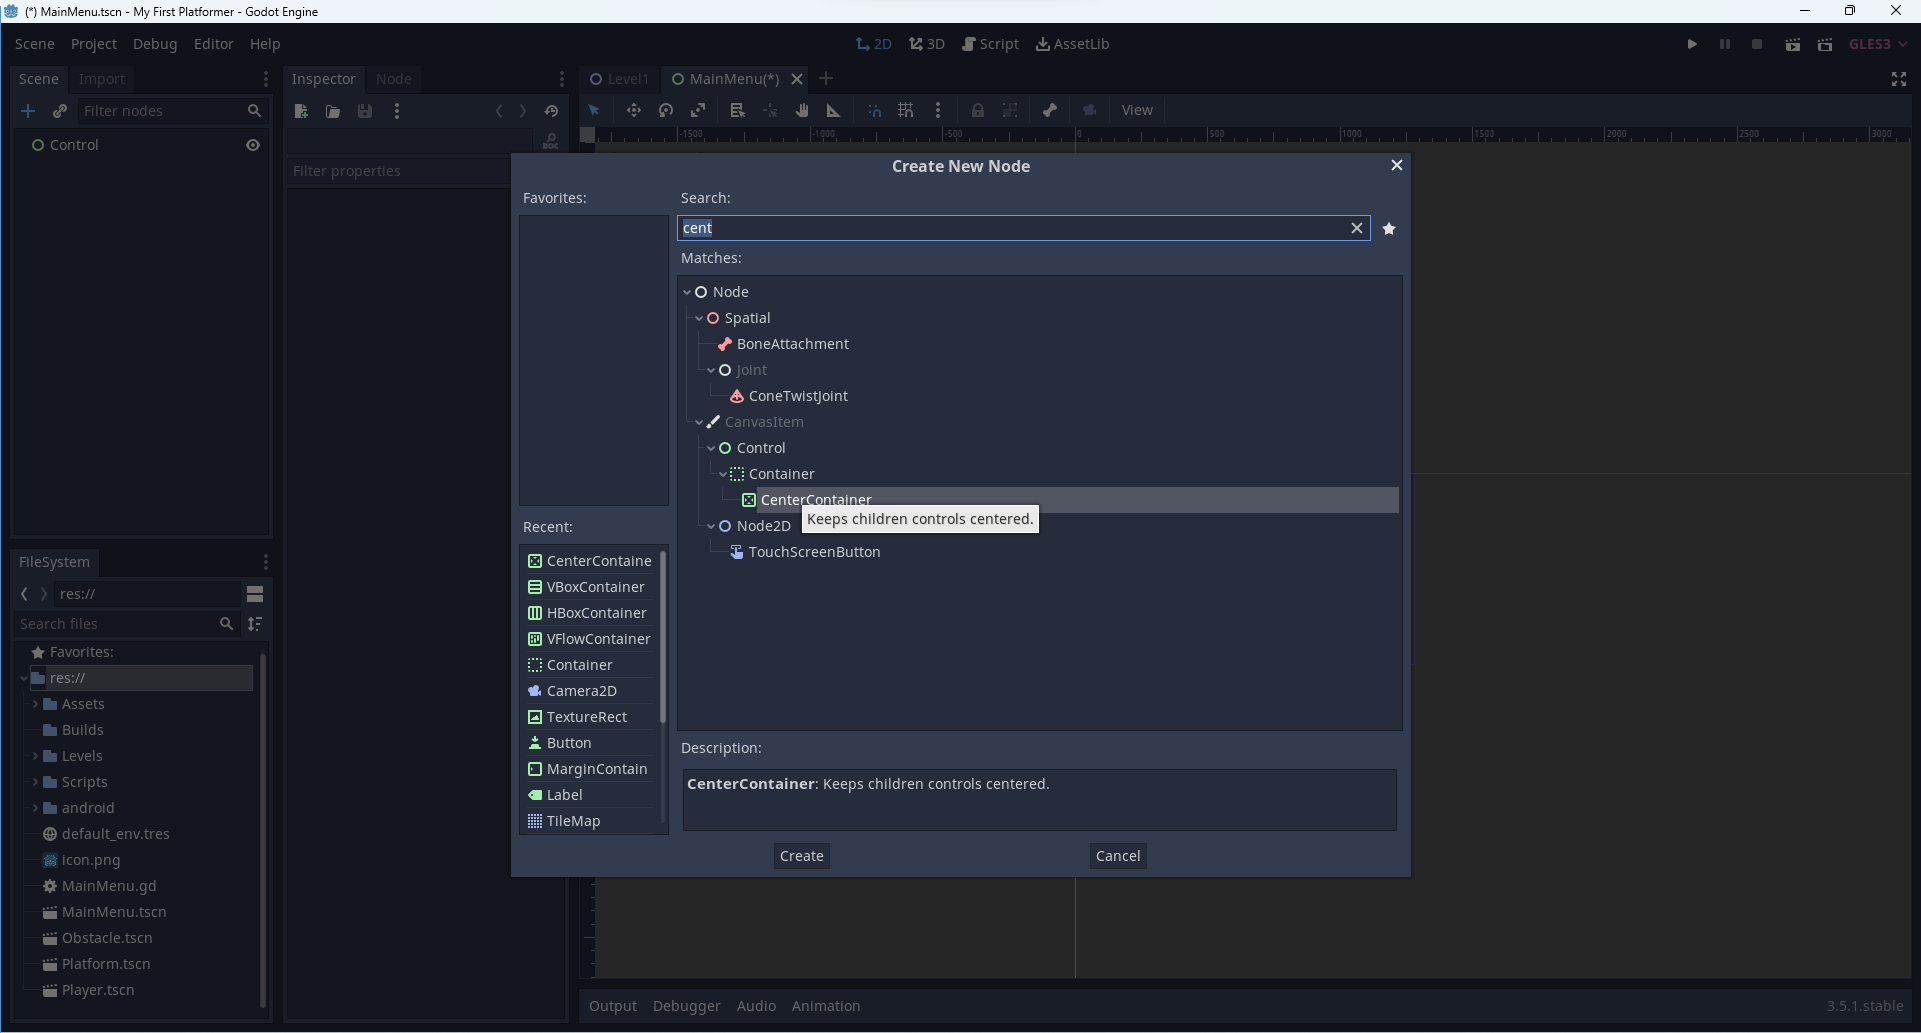
To the CentreContainerNode add a VBoxContainer node, this is a vertical box container.
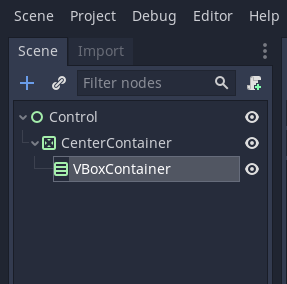
Now we will add our content to the Main Menu.
This will involve four components
-
RichTextLabel for the title of the game
-
TextureRect for storing an image / logo
-
Play button name this PlayButton
-
Exit button name this ExitButton
Add these to as children of the VBoxContainer node.
Layouts can be annoying, save regularly.
Select the RichTextLabel and enter the text into the area in the inspector.
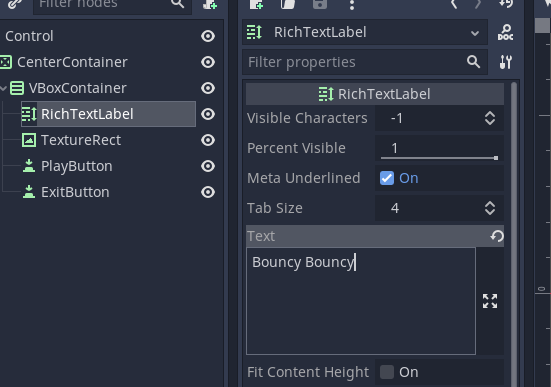
Note that you won't see the text in game yet as we need to set the size of the label.

In the Control section set a min x and min y size.
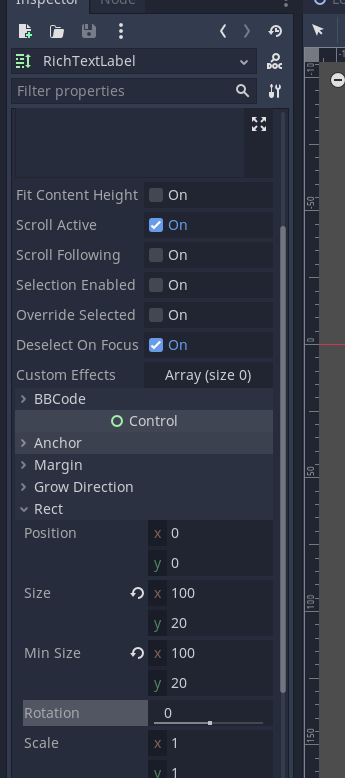
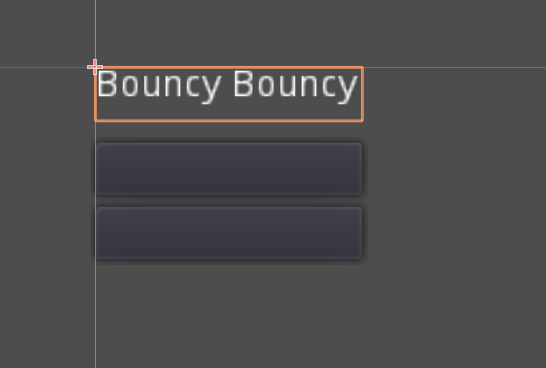
You should now see the text.
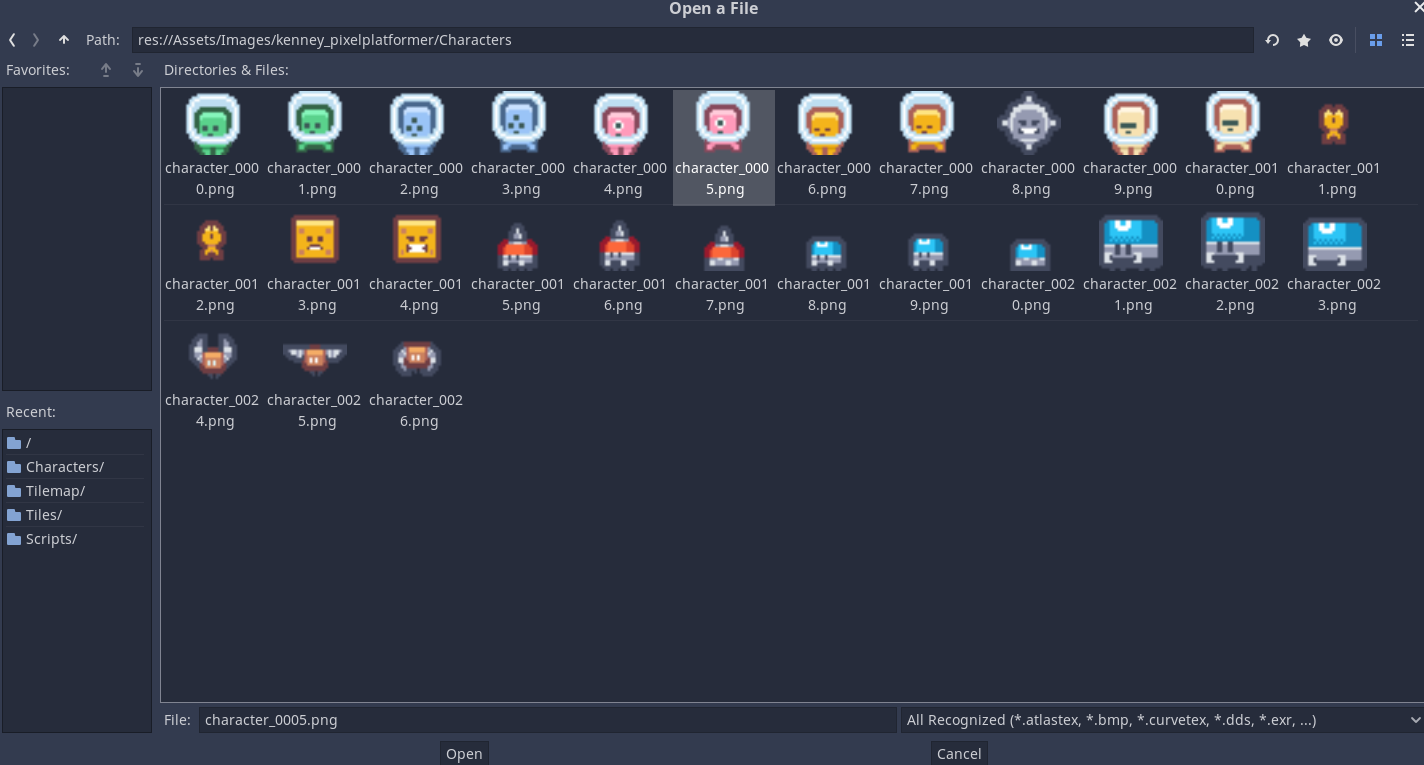
Next select the TextureRect node.
Click empty next to Texture and select Load
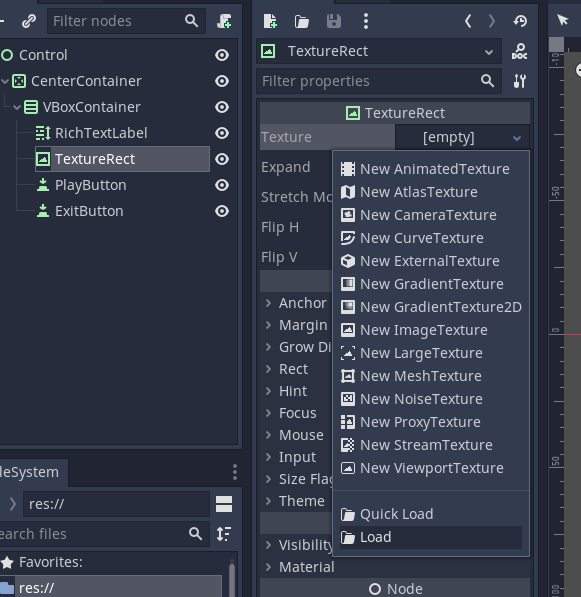
Select an image to use.
Set a suitable min size for the image.
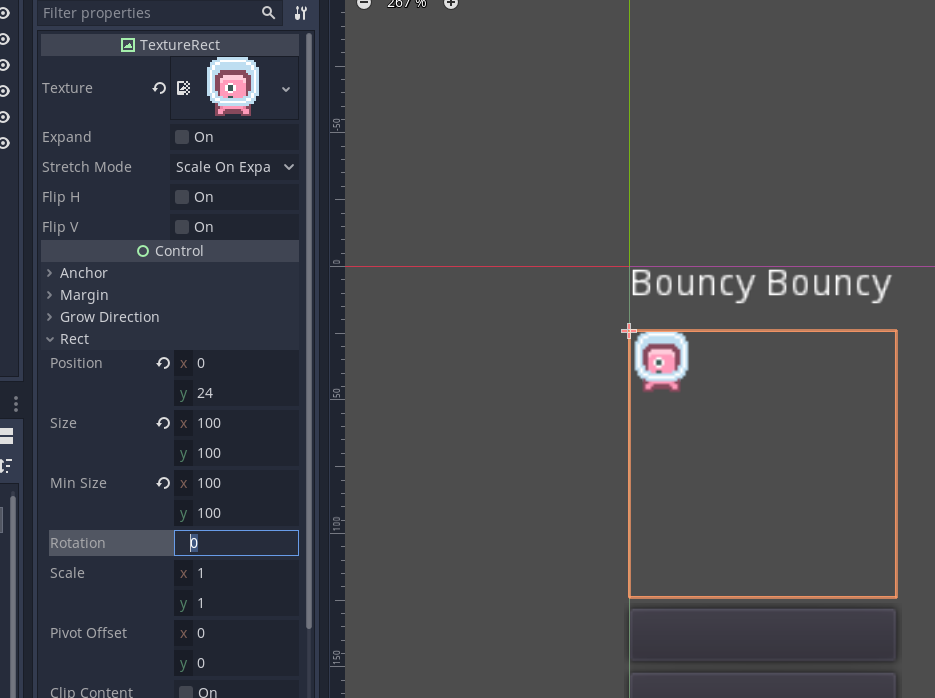
Check Expand to make the image fill the box.
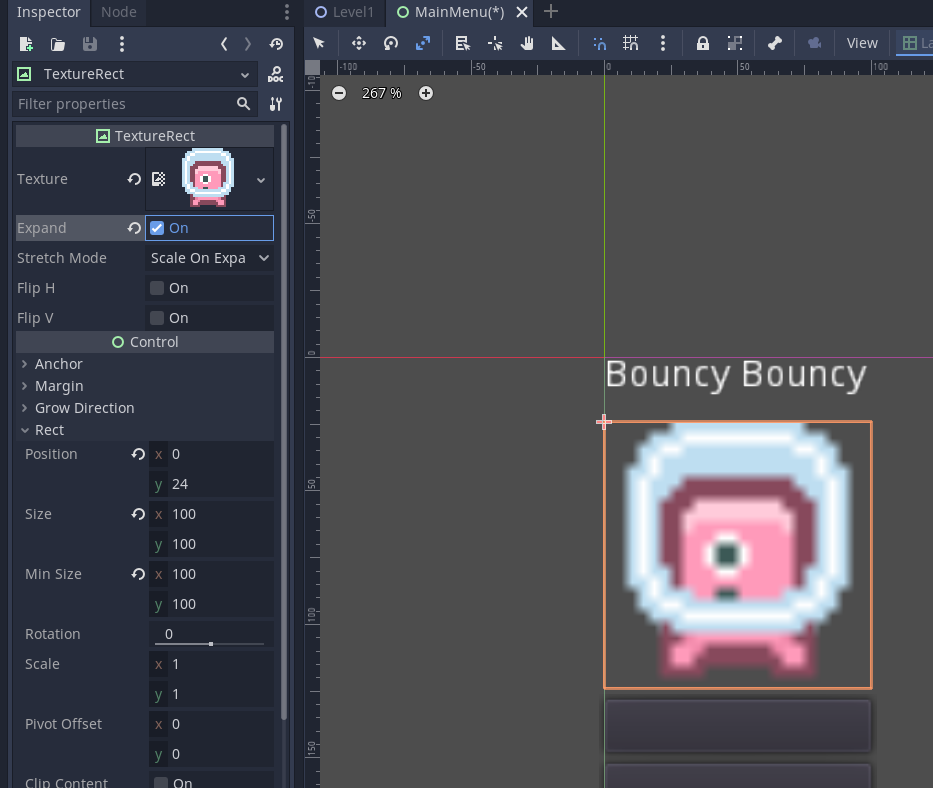
Not for each of the buttons add suitable ext to them
Note that the background is the default grey. To change the background colours of object we need to change the theme.
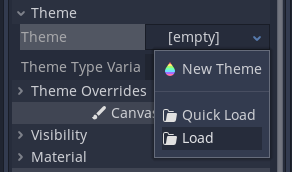
elect New Theme in the inspector.
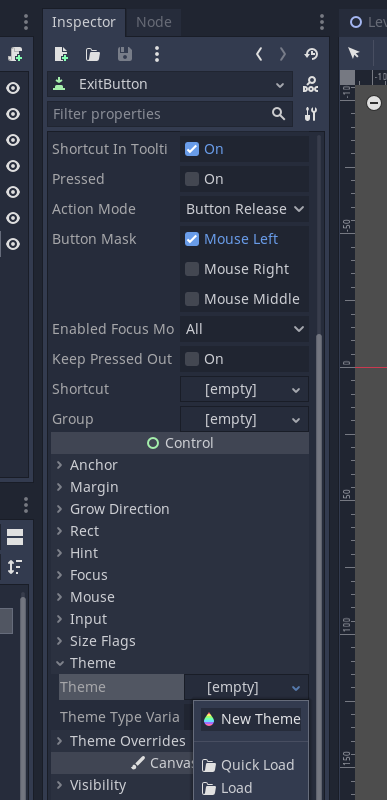
Then click on Theme.
![]()
We now have the theme editor.
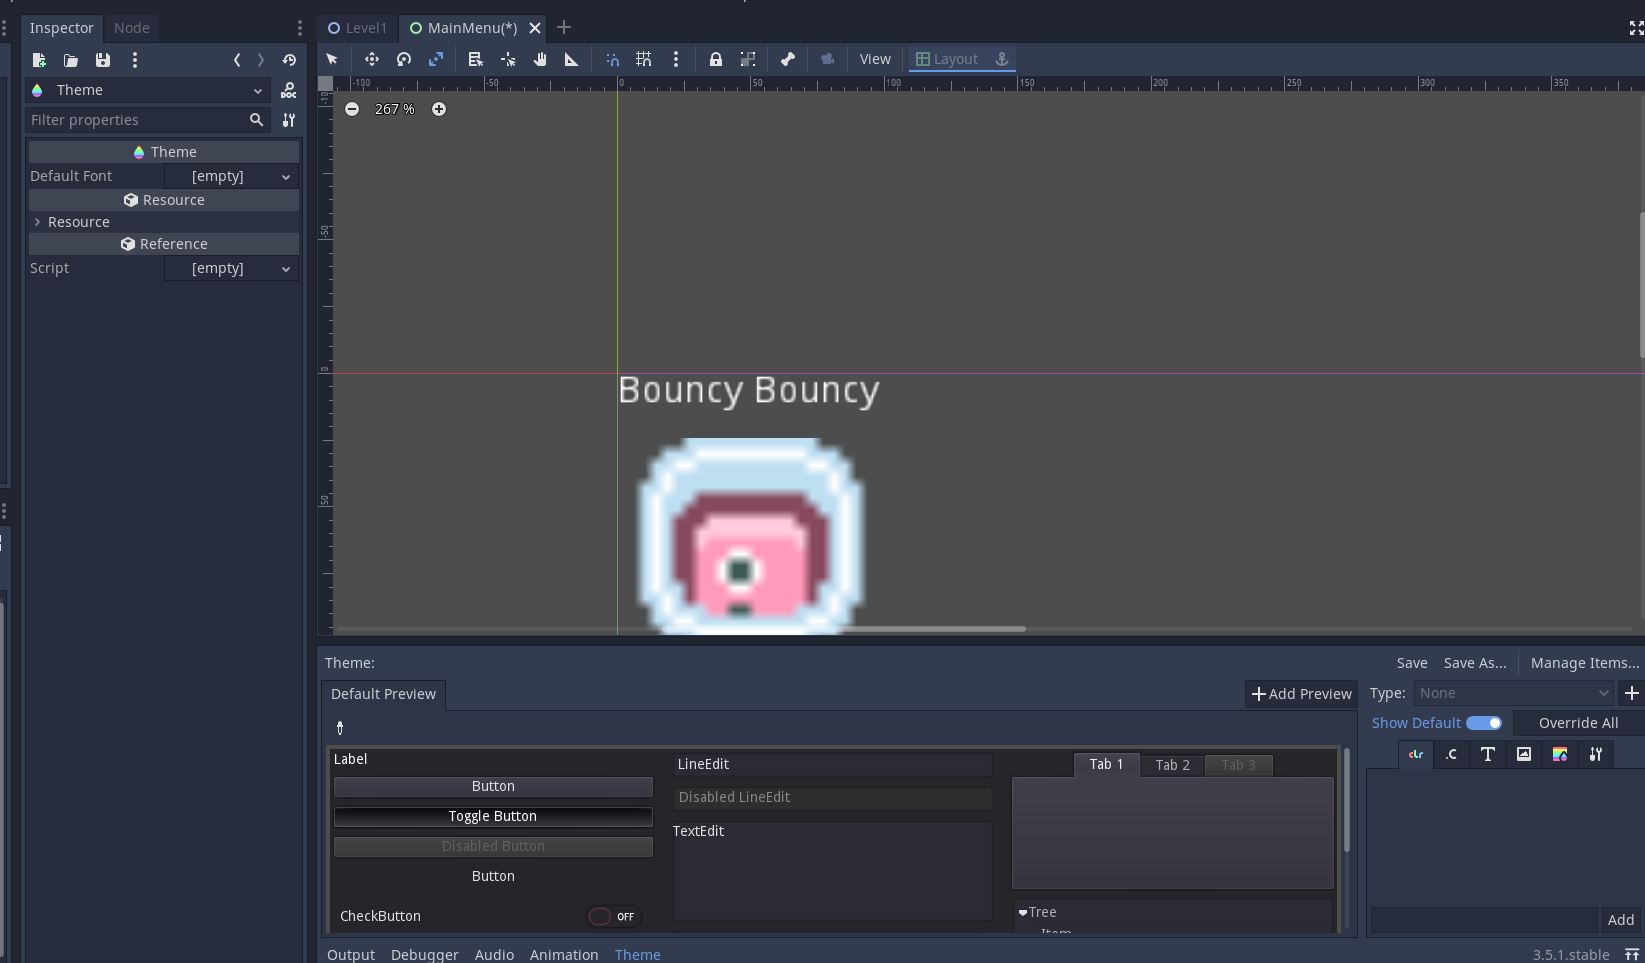
Chick the + next to Type on the right of the screen to open the Add Item Type menu.
Select Button and choose Add Type
We now have settings that we can change for the button.
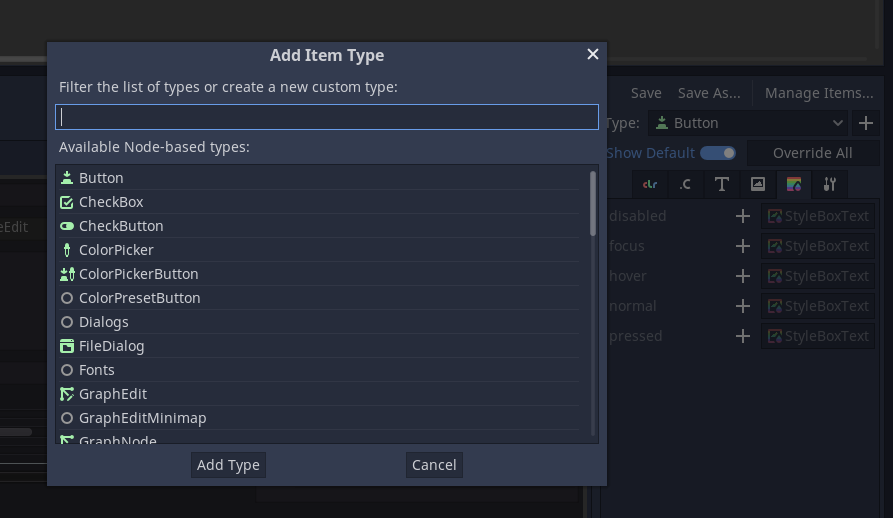
Click the colourful button to change colours.
![]()
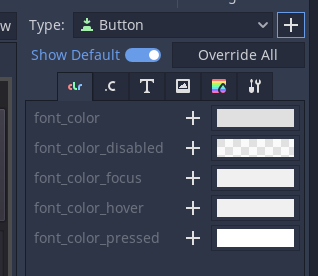
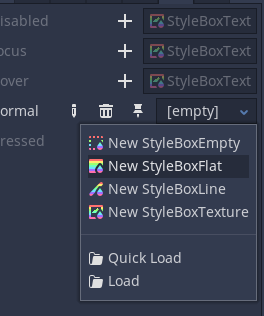
Click the + next to normal to change the default background colour.
![]()
Choose a Style type, StyleBoxFlat provides flat buttons and is a good default. You can also load an existing Style.
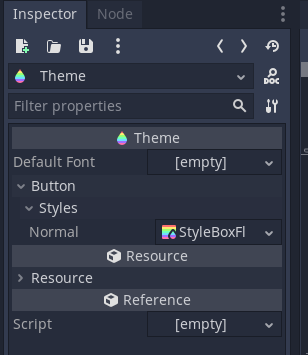
In the inspector Button is now in the Theme.
Open the drop downs and click on StyleBox next to Normal
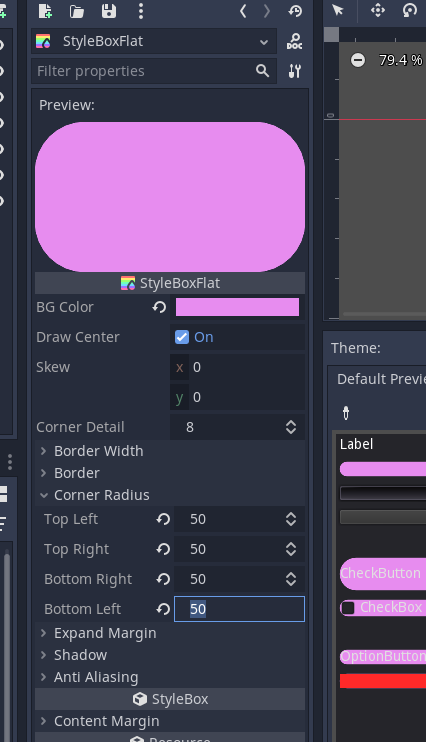
We are now in the editor fo the colours.
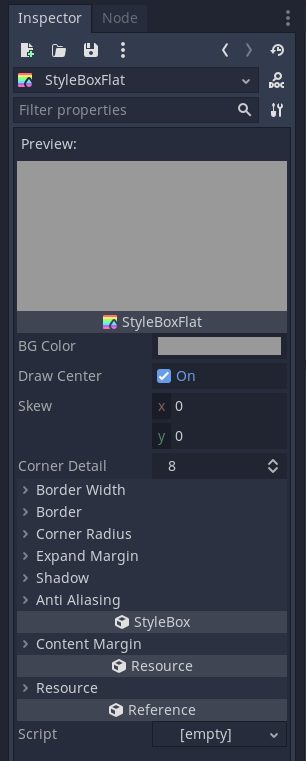
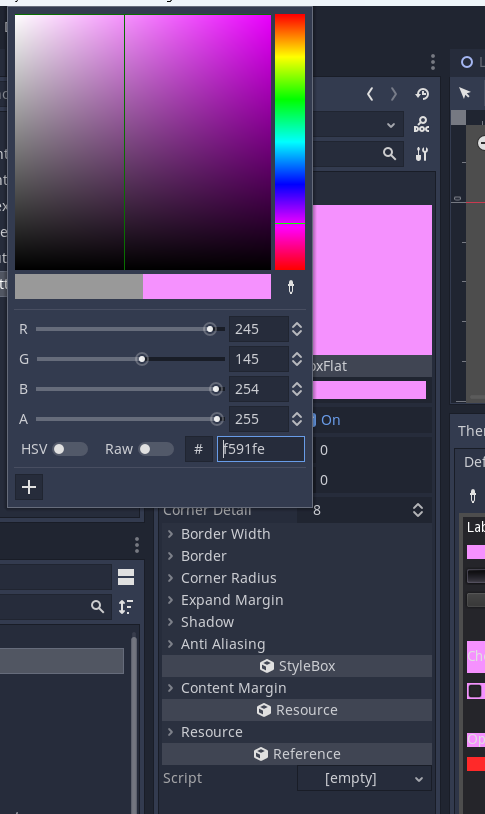
Change the BG (Background) colour to one that you want to use. You can press + to add multiple
You can also adjust other button settings here such as the corner radius
In the theme click the Save button.


Note the button you had selected has now changed.
We still need to apply the theme to the other button.
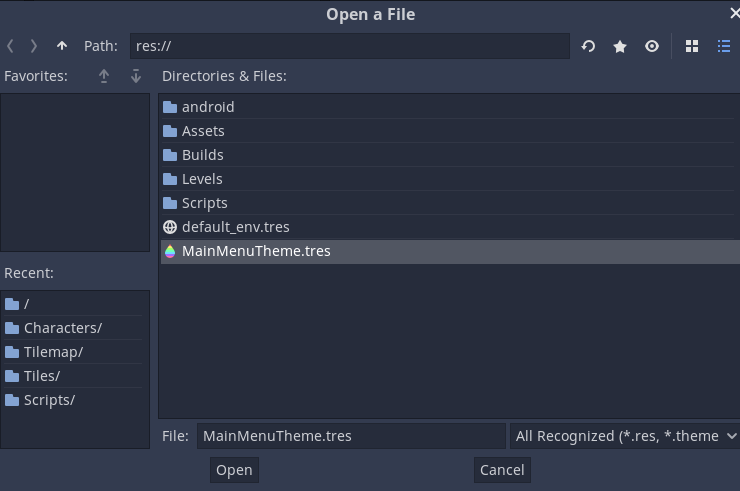
Go to the other button and click Load by theme.
Select the theme.
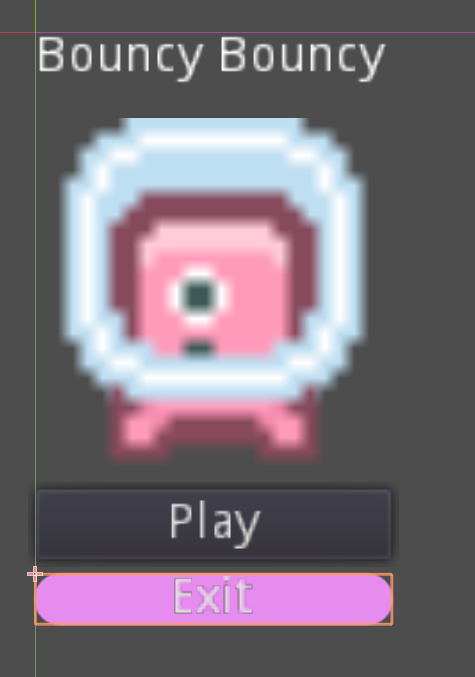
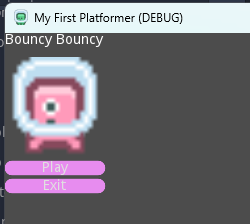
Both buttons have now been changed.
To preview this scene when it is not the default scene press F6 or the button in the top right corner shown below.
![]()
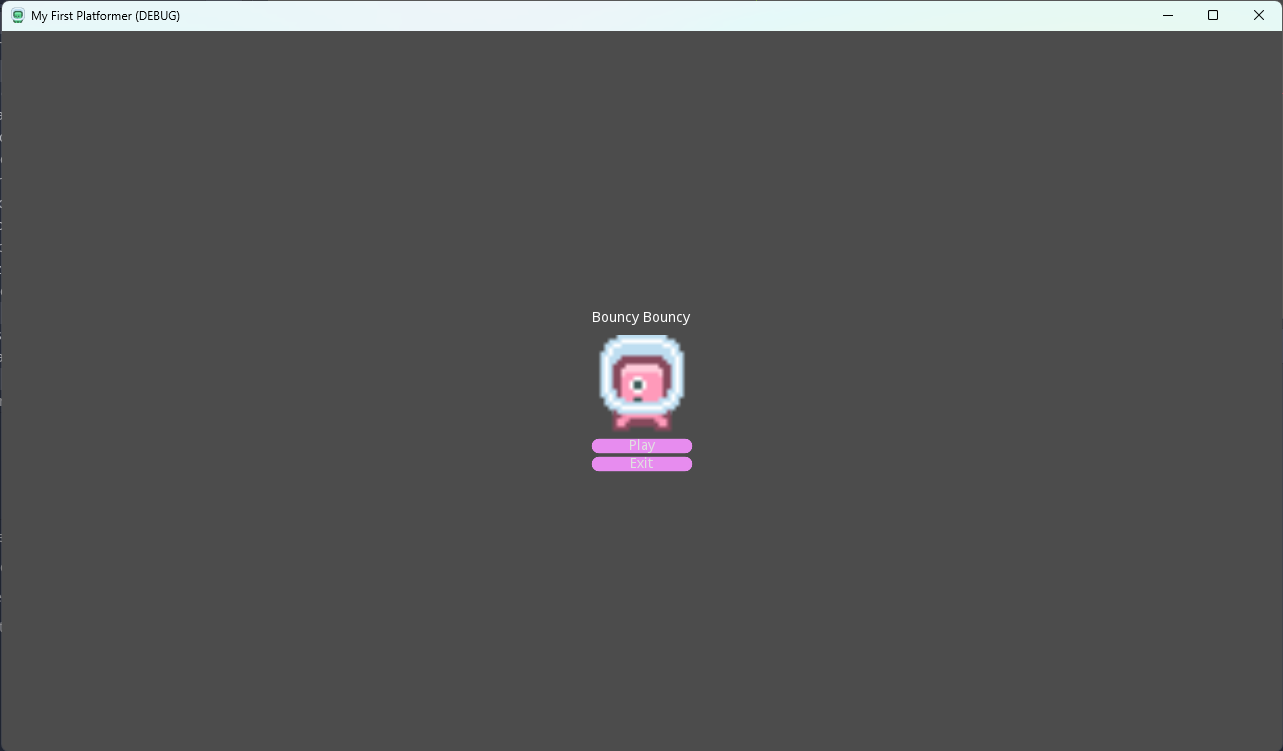
When we run the program our button is stuck in the top left. We want to center it on the screen.
Select CenterContainer.
Select Layout and then Center.
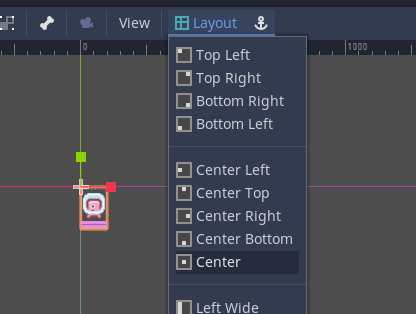
The container objects have now been centered.

Test the scene again to check it works.
Our buttons still don't do anything. We now want to add code to our buttons.
Making the buttons with with script
Create a new script called MainMenu and attach it to the Control node of the main menu scene.

Select the play button and then the node tab.
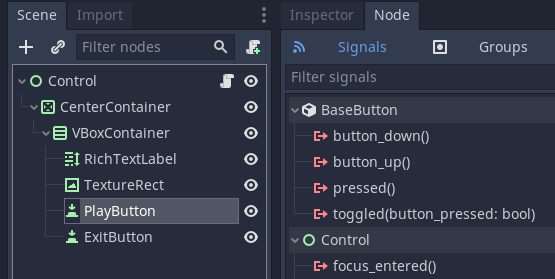
Add a signal pressed()
We need to add code to load the scene. We need to get the tree of nodes for the project and then run the change scene function. It will give you a list of scenes you can change to.
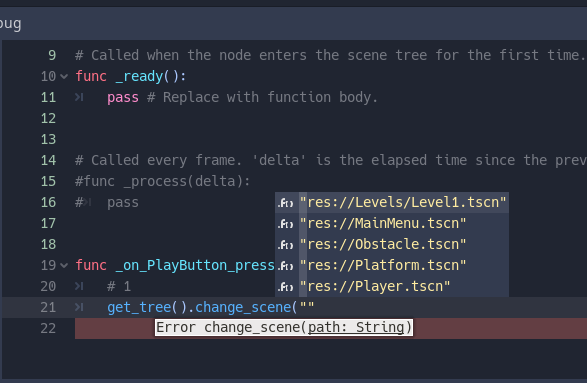
Point 1 shows how to load a scene that is in the levels folder and named Level1.tscn
extends Control


# Declare member variables here. Examples:
# var a = 2
# var b = "text"


# Called when the node enters the scene tree for the first time.
func _ready():
	pass # Replace with function body.


# Called every frame. 'delta' is the elapsed time since the previous frame.
#func _process(delta):
#	pass


func _on_PlayButton_pressed():
	# 1 Get the tree of nodes for the project and change the scene to the one at the location.
	get_tree().change_scene("res://Levels/Level1.tscn")
Now add a node for pressed() for the exit button.
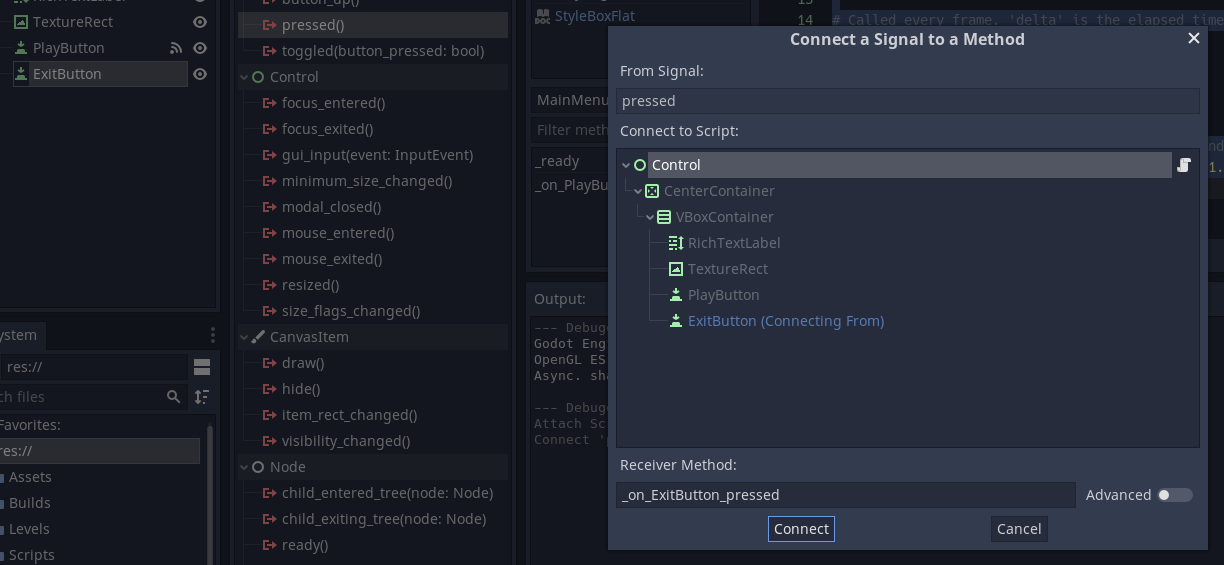
Now we add code to quit the program, this is shown at point 1.
extends Control


# Declare member variables here. Examples:
# var a = 2
# var b = "text"


# Called when the node enters the scene tree for the first time.
func _ready():
	pass # Replace with function body.


# Called every frame. 'delta' is the elapsed time since the previous frame.
#func _process(delta):
#	pass


func _on_PlayButton_pressed():
	# 1 Get the tree of nodes for the project and change the scene to the one at the location.
	get_tree().change_scene("res://Levels/Level1.tscn")


func _on_ExitButton_pressed():
	# 2 Quit the program when the button is pressed.
	get_tree().quit()
Now run the scene and test the buttons. Remember to press F6 to test this scene.
Now we want to switch the initial scene for the program so that the main menu will load.
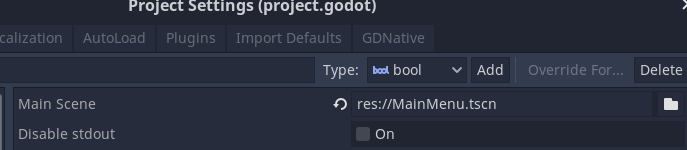
Go to Project > Project Settings

Select Run

Change the main scene to the MainMenu.
Test your program by running it.