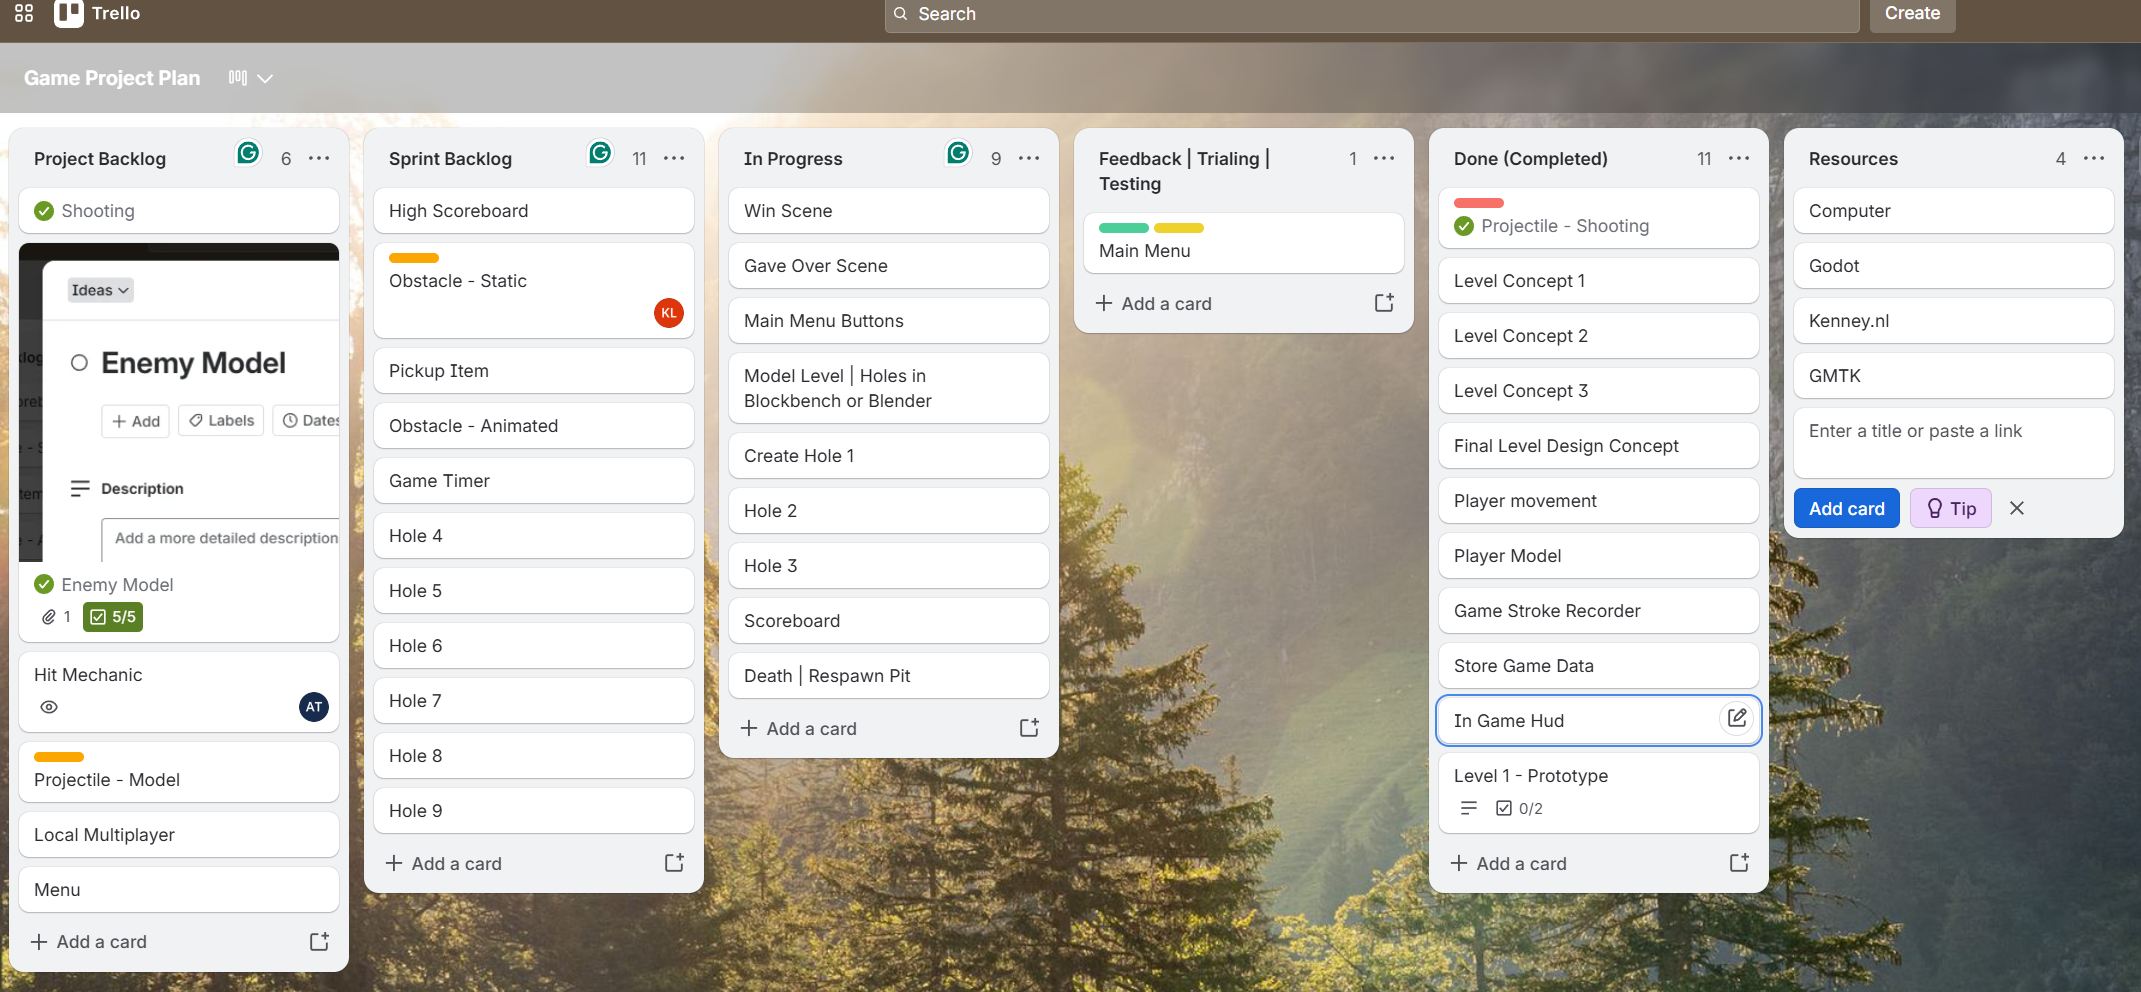
Building a game in Godot or developing a website is an exciting journey, but it’s easy to get lost in the code, assets, and Design choices. To keep your Project on track, you will be using Trello, a visual Project management tool—alongside Agile/Scrum principles.
Your Project will be broken down into 6 sprints, with each sprint lasting 2 to 3 weeks. Here is your step-by-step Guide to setting up your board and managing your workflow like a professional developer.
Part 1: Setting Up Your Trello Board
Before writing a single line of code, you Need to structure your digital workspace. Create a new Trello board and set up the following six columns (lists) from left to right:
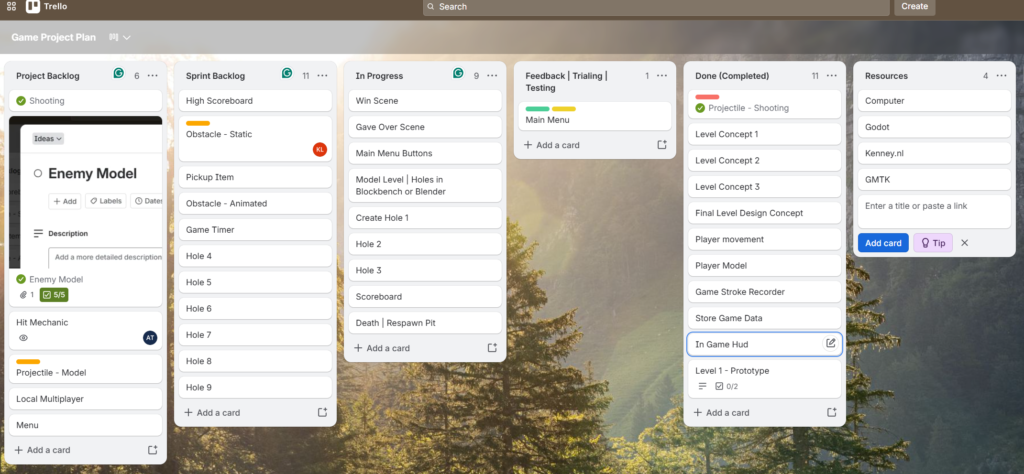
What goes in each Column?
- Project Backlog: The “master list” of everything that could be built. Every feature, idea, Bug fix, or asset goes here first.
- Sprint Backlog: The specific tasks your team commits to completing only during the current 2-to-3-week sprint.
- In Progress: What you are actively working on today. (Tip: Limit this to 1 or 2 cards per person to avoid getting overwhelmed).
- Testing / Review: For code that needs to be tested, websites that Need cross-browser checking, or game builds that Need playtesting.
- Done: Features that are 100% complete, tested, and working.
- Resources: A handy storage spot for style guides, Github Repository links, asset packs, and tutorial bookmarks.
Part 2: Best Practices for Writing Trello Cards
A good Trello card should be clear enough that anyone on your team (or your teacher) can understand what is being done.
1. Write Clear Titles
Instead of writing “Player”, write:
[Godot] Code Basic player movement (WASD)or[Web] Design responsive navigation bar.
2. Use Checklists
Break large cards down into smaller, actionable steps.
Example Checklist for a Web Contact Form:
- [ ] Create HTML form layout
- [ ] Style form with CSS (mobile-friendly)
- [ ] Write JavaScript validation for email input
- [ ] Test form submission
3. Apply Colour-Coded Labels
Labels help you see the balance of your Project at a glance. Set up these custom labels:
- 🔴 High Priority (Must-have features)
- 🔵 Design/Assets (UI, 3D/2D art, sound, fonts)
- 🟢 Code/Implementation (GDScript, HTML/CSS, JavaScript)
- 🟡 Documentation/Testing (Report writing, Bug tracking, user Feedback)
Part 3: The 6-Sprint Roadmap
Here is a roadmap template designed to take your game or website from a blank page to a polished, completed product over 12 to 18 weeks.
Sprint 1: Setup, Planning & Wireframing (Weeks 1–3)
Goal: Establish the foundation. No Complex coding yet.
- Godot Tasks: Set up the Git repository | Create a basic Game Design Document (GDD) | Set up project folders (Scenes, Scripts, Assets) | Create a placeholder player scene (a simple Sprite/shape) with Basic movement physics.
- Website Tasks: Draw low-fidelity wireframes of key pages | Select a colour palette, typography, and layout grid | Set up your development Environment (VS Code, GitHub, HTML/CSS skeleton).
Sprint 2: Core Mechanics / Core Layout (Weeks 3–6)
Goal: Build the “Must-Have” features.
- Godot Tasks: Implement core gameplay mechanics (e.g., jumping, shooting, or puzzle-solving) | Set up basic collision detection and physics layers | Create a simple camera follow script.
- Website Tasks: Build the responsive semantic HTML structure for the homepage | Apply CSS (or Tailwind/Bootstrap) to layout the navigation bar, hero section, and footer | Ensure the layout scales nicely on mobile screens.
Sprint 3: Progression & Data Management (Weeks 5–9)
Goal: Make the Project interactive and functional.
- Godot Tasks: Create collectable items, a basic UI/HUD (score, health bar), and a basic enemy or obstacle | Write a Game Manager script to track the game state (score, lives).
- Website Tasks: Create sub-pages (e.g., About, Contact, Gallery) | Add Basic JavaScript interactivity (e.g., mobile hamburger menu, interactive image carousel, or dark mode toggle).
Sprint 4: Level Design / Advanced Features (Weeks 7–12)
Goal: Expand the Project scale.
- Godot Tasks: Design a full level using TileMaps or basic 3D environments | Implement hazard zones, spawn/respawn logic, and level-transition portals.
- Website Tasks: Build out custom features (e.g., search filters, dynamically generated cards, or a working contact form using a service like Formspree) | Optimise all image assets for fast web loading.
Sprint 5: Asset Integration & Polish (Weeks 9–15)
Goal: Replace placeholders with final visuals and audio.
- Godot Tasks: Import final 2D sprites/3D models, animations, and particle effects | Add sound effects (SFX) and background music | Create a working Main Menu and Pause Menu.
- Website Tasks: Incorporate final high-quality graphics, SVG icons, and custom branding | Add subtle hover animations, page transitions, and interactive visual feedback | Ensure Accessibility (alt tags on images, high contrast, keyboard navigation).
Sprint 6: Testing, Bug Fixing & Exporting (Weeks 11–18)
Goal: Eliminate bugs and deliver a finished, deployable product.
- Godot Tasks: Run playtests with peers and note down bugs as Trello cards | Fix game-breaking bugs and physics glitches | Export the game to HTML5, Windows, or macOS.
- Website Tasks: Test website compatibility across multiple browsers (Chrome, Safari, Firefox) | Run performance checks (e.g., Lighthouse) and fix broken links | Deploy the website live using a free hosting platform (GitHub Pages, Netlify, or Vercel).
Part 4: The Sprint Routine (How to use this daily)
To make this management System work, your team needs to follow three simple habits:
- The Sprint Planning (Day 1 of each Sprint): Look at the Project Backlog together. Drag the cards you Need for the upcoming 2 to 3 weeks into the Sprint Backlog. Assign names/members and due dates to those cards.
- The Daily Check-In (10 mins): At the start of each class or work session, open your Trello board. Each person should update their cards, moving completed items to Testing / Review and dragging their next task into In Progress.
- The Sprint Review (Last day of the Sprint): Look at your Done Column. Celebrate what you completed! If any cards are left in In Progress or Sprint Backlog, evaluate why they weren’t finished and move them back to the Project Backlog to be reprioritised for the next sprint.