2D Animation using Sprites (Unity Animator and States)
This lesson assumes you have completed the previous one (2D Top Down Movement (Up, Down, Left, Right, aka RPG Style)) or have a scene where a player is able to be moved using Player Input.
We want to be able to press a button and have a different animation play depending on if we have pressed up, down, left, right, or are not pressing a button.
Converting the Images to Sprites
We can't just use a jpg or png in Unity, we need to convert it to the Unity Sprite format.
You can download the template images from the link at the bottom of the page.
Import all of the images into your assets folder.
Select all of the images

Go to the Inspector and change the Texture Type to Sprite (2D and UI)

Click Apply in the bottom right of the inspector.

Each asset will now have a drop down triangle and the image attached to it.

Adding Animations to an object (Player)
Select four of the sprites and drag them as a group onto the player object.
A file save window will appear.
This is to save the Animation object that will be created when these sprites are added to a scene.
Give it a title in this example DownAnimation and click Save

If this is the first animation you have created you will see a Player animator (or the name of the object you dropped the sprites onto) has been created. This is the object that manages all of the animations for the object.

Repeat this for the other animations you want to create. In this example:
- Idle
- Right
- Up
- Down

Editing the Animations
We can Edit the Animations.
Double Click on an Animation.

This opens the Animation Panel, you want to bve able to see the scene view to use this.
Note in the screenshot above the Add Property is greyed out and not selectable.
You need to select the object that the animations are on to be able to view and edit the animations.
Now the Animation is selectable.
From the amination drop down you can see the different animations that are attached to this object / animator.
Open the Player:Sprite and you will be able to see the timeline for the animation.
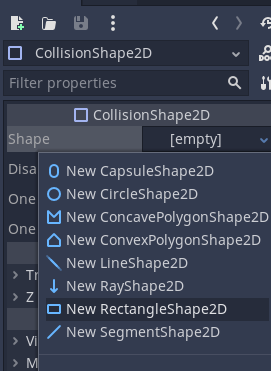
You can drag them to move the sprites around
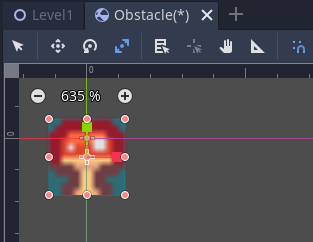
In the Scene panel you can also change their position. Don't do this here as it will result in the animation jumping to different locations. You need to press record before moving the items.
Press play on the Animation panel to preview the animation
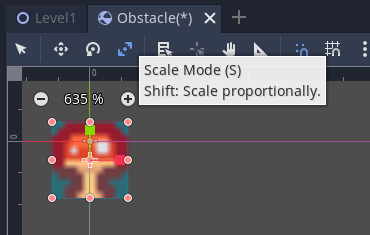
Using the Animator
Select the Player and then go to the Animator component in the Inspector.

Double Click on the Player (or the animator you want to edit, it's usually the name of the object) animator.
This opens up the animator.

It will often open it over the Game or Scene window.
Move the panel so that you can see the Game or Scene panel. Preferably both but the either is useful.
Press Play. Note if you play, the first animation you created will play. That is because this is the default animation.
Also sometime the first sprite placed on the player object might be visible at times.

You can either disable it in the inspector.

Or change it's Z value.

Changing the Animation States
Now we want to customise the animations so that it changes depending on what we want it to do.
To do this we need to set up transitions.
Each animation has been created as a state. A state is a situation where the animation can be in e.g. idle, moving left, running, jumping, etc.
Go back to the Animator panel.
The green Entry is where the animation will start from and the orange state is what animation will be played by default.
The teal Any State block allows us to change from any state into another. This can save us having to write multiple transitions for all of the different possible outcomes. e.g. Down to Up, Left to Down
In this example the DownAnimation is the default state. We want it to be IdleAnimation.
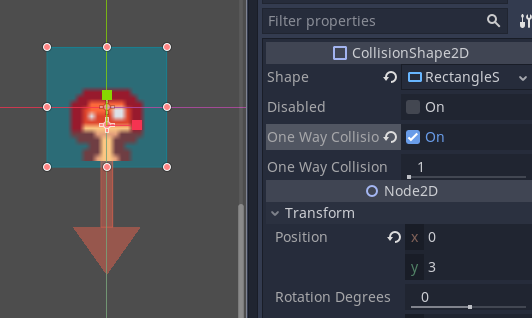
Right click on IdleAnimation and select Set as Layer Default State
Entry will now have an orange arrow that points to an orange IdleAnimation.
This is now our default state.
Right click on Any State and choose Make Transition.
You can now draw an arrow to another animation state.
Click on the other state to confirm the transition.
Make transitions from the Any State to the other animation states.
It is a good idea to rearrange the diagram to make it easier to read.
Now we need to add some parameters to enable us to be able to switch states.
We are going to read in the movement x and y values. These are stored in a Vector2 object as a float.
Unity Animator parameters can be float, int, bool or trigger.
We need to add two int parameters. Name them xInput and yInput respectively. We use int rather than float as we can more easily compare if no button is pressed.
Leave their default values as 0.
Remember -1 is left for x and down for y, 1 is right for x and up for y and 0,0 is centered.
Now click on one of the transition lines.
We will start with the Any State > IdleAnimation
In the Inspector click the plus in the Conditions section.
Change the condition to be equals 0
Add another condition for the yInput
This transition is now complete.
Select the Up Animation transition.
Add a yInput > 0 condition.
Repeat for the other three.
Down Animation
Left Animation
Right Animation
Changing States Through Code
We can easily modify our code to set the parameters for the animator.
Open your player movement script.
Add a Animator variable. This is shown below on line 12.
Then assign the Animator component to the variable as shown on line 18.
Not we need to set the values of the parameters when we update the player movement.
This occurs in the following example in the OnMove method.
Lines 23 and 24 set the xInput and yInput parameters respectively.
How we access them is different to usual variables in C#, this is due to them being part of the Unity Animator rather than a part of C#. We pass access the animator variable and the SetInteger method of it by writing animator.SetInteger(). The SetInteger method takes two parameters. The first is a string which is the name of the parameter in the animator e.g. xInput. The second is the value we want to change it to.
As movement.x is a float we need to convert it to an integer. We do this through a process called casting to cast a variable as another type we put the type we want to cast it to inside () in front of the variable. In this example (int)movement.x will convert the x float into and integer.
The animator also have methods SetBool, SetFloat and SetTrigger for accessing the other parameter types of an animator.
using System.Collections;
using System.Collections.Generic;
using UnityEngine;
using UnityEngine.InputSystem;

public class PlayerMovement2D_TopDown_UDLR_Animation : MonoBehaviour
{
    // Object Variables
    Rigidbody2D rb;
    Vector2 movement;
    public float playerSpeed = 5;
    Animator animator;

    // Start is called before the first frame update
    void Start()
    {
        rb = GetComponent<Rigidbody2D>();
        animator = GetComponent<Animator>();
    }

    void OnMove(InputValue iv) {
        movement = iv.Get<Vector2>();
        animator.SetInteger("xInput", (int)movement.x);
        animator.SetInteger("yInput", (int)movement.y);
    }

    // Update is called once per frame
    void Update()
    {
        rb.MovePosition(rb.position + movement * playerSpeed * Time.deltaTime);
    }
}
Be careful with the parameter names as if they don't match your program will run but the animations won't.
You have now created sprite based animations for a player.
This process can be applied to 3D objects as well.
