2D Top Down Player Movement (Asteroids Style Space Shooter)

Click the Image to load a preview.
Create a new Scene
Is you don't have 2D objects in the GameObject Menu. Follow the instructions in this lesson to add them.

Set the Scene to 2D

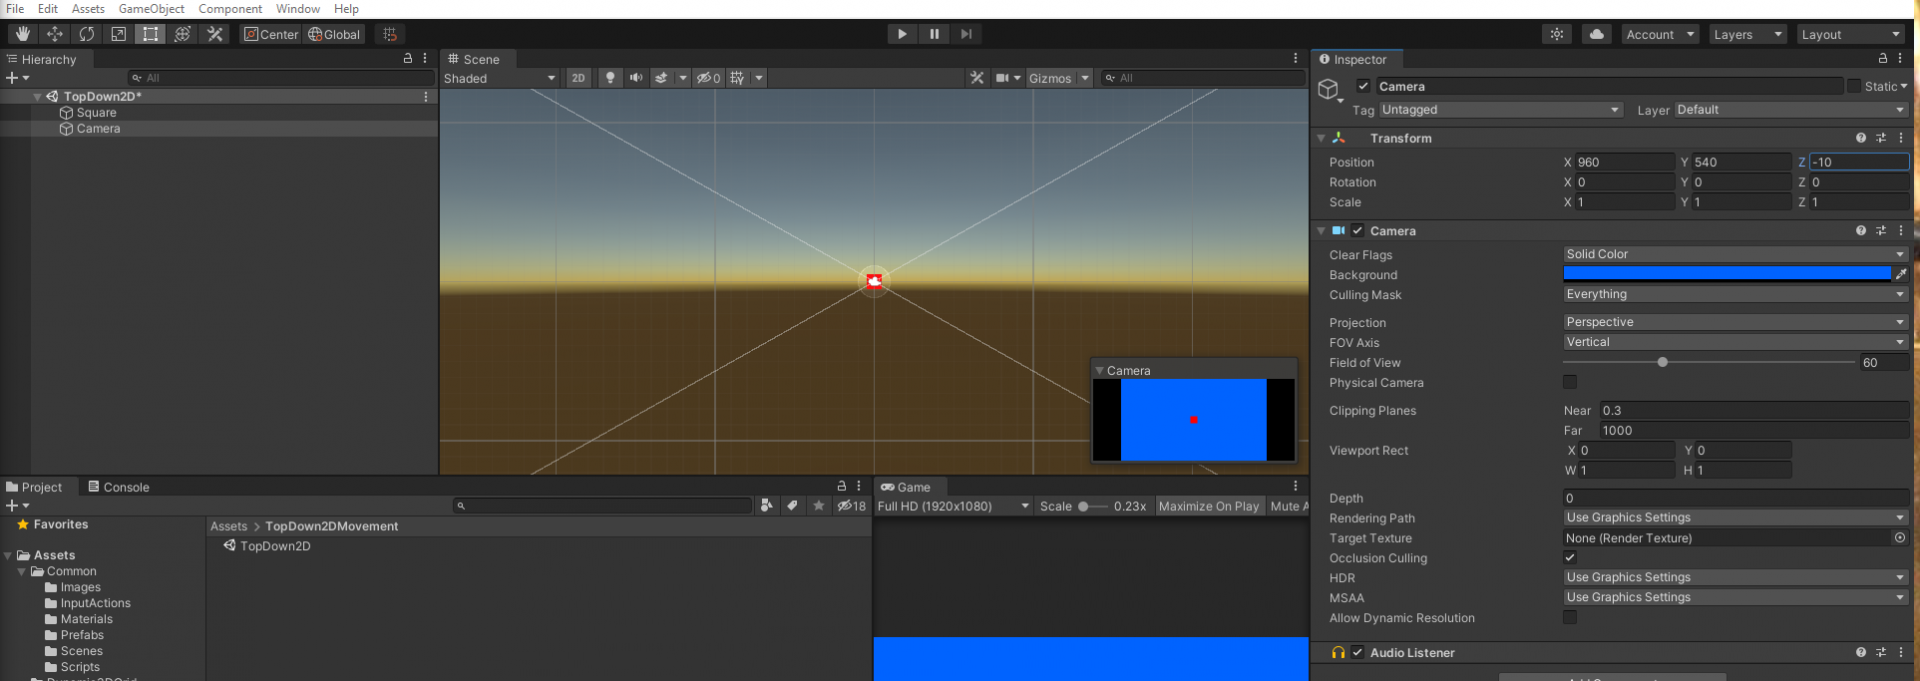
Add a Camera to the scene.
Change the Z axis value to -10 (or similar) to move the camera back from the main z=0 plane.
You can change the background colour for the camera to Solid to make it easier to see components. Also change the Clear Flags to Solid Color to make things stand out.

Add a Sprite to the scene.

Change the colour of the sprite.
In your editor of choice create an image for your character. You can also search the asset store for assets.
Save this player into an appropriate folder in your assets folder of the Unity project.
Switch back to Unity.
Note if you try to drag the image onto the Scene, or hierarchy Unity won't let you.
This is because the image needs to be converted to a Sprite.
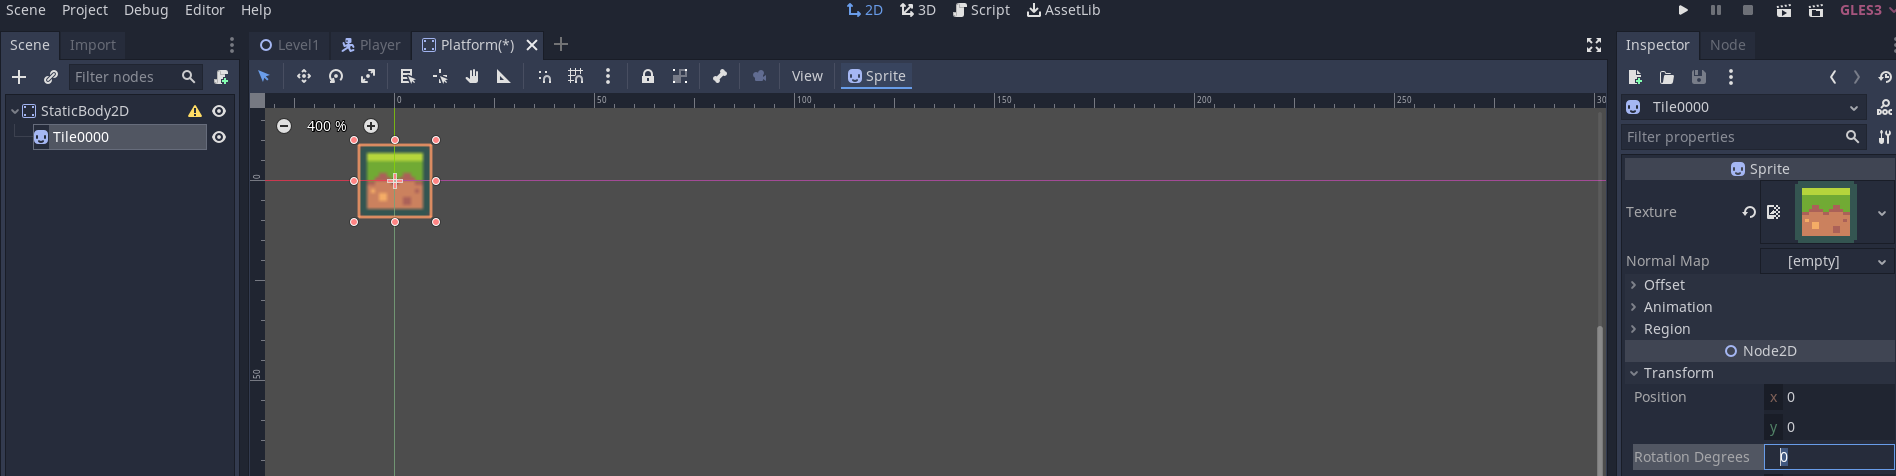
Select the image

Go to the inspector and change the Texture Type to Sprite.

Click Apply.
Note you can adjust the size of the sprite by changing the value in Pixels Per Unit. Try to have this consistent across all of your sprites.
You can now drag the sprite onto the scene.
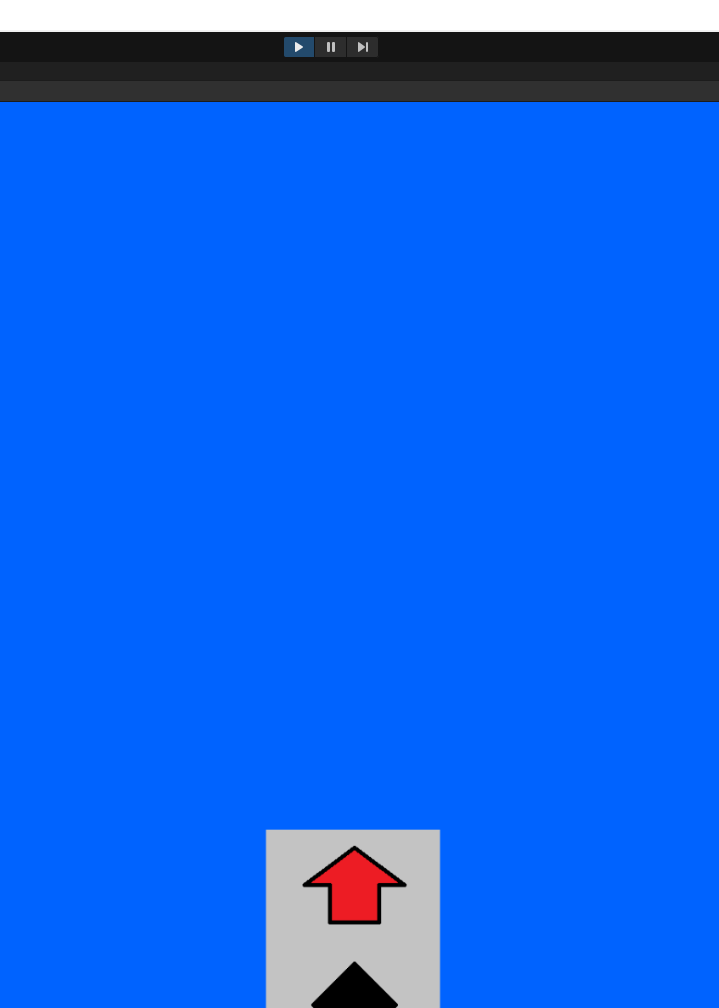
We can now see the Player sprite and the square on the scene.

Move the objects on the scene.
Now we will get the Player-up object moving.
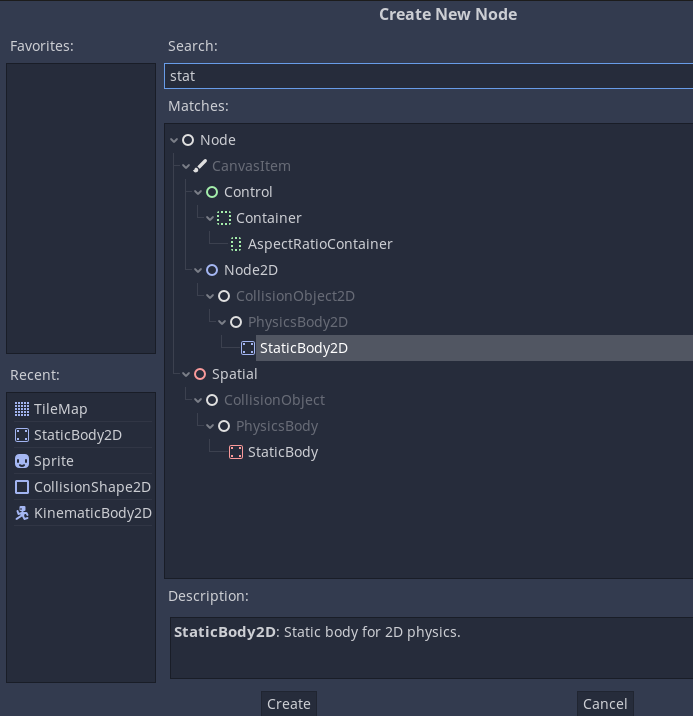
Select your player object.
Add a Rigidbody 2D component.
Press Play.
You player will fall off the screen due to gravity.
On the Rigidbody 2D turn the gravity to 0.
When you hit play now the player should stay in one place.
Next we need to add code to move the player.
We will add controls that will move the player forward and backward when we press up/down and rotate the player when we press left/right.
Make sure that the New Input System is installed. See the first section of Moving the player using the Input System.
Add a Player Input component to the player object.
Create a default set of input actions.
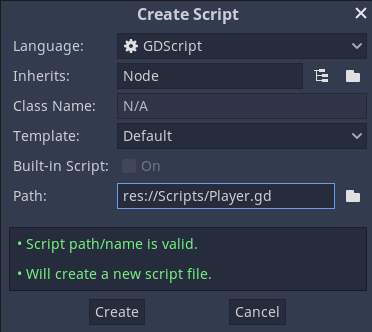
Create a new script for playermovement -
Open the script in your editor of choice.
First we need to set up the variables for handling the speed, turning speed, storing the movement and the Rigidbody 2D for physics.
On Line 4 add using UnityEngine.InputSystem; to make the input system available to the class / script.
Then on lines 9-11 inside the PlayerMovement2D class add variables for the movment, rigidbody, speed and rotation as shown below.
using System.Collections;
using System.Collections.Generic;
using UnityEngine;
using UnityEngine.InputSystem;

public class PlayerMovement2D : MonoBehaviour
{
    Vector2 movement;
    Rigidbody2D rb;
    public float speed = 5;
    public float turnSpeed = 50;

}
Next add a Start() method. Inside this method assign the Rigidbody2D of the object to the rb variable. This is shown on lines 14-17
using System.Collections;
using System.Collections.Generic;
using UnityEngine;
using UnityEngine.InputSystem;

public class PlayerMovement2D : MonoBehaviour
{
    Vector2 movement;
    Rigidbody2D rb;
    public float speed = 5;
    public float turnSpeed = 50;

    // Start is called before the first frame update
    void Start()
    {
        rb = GetComponent<Rigidbody2D>();
    }

}
Next we need to handle / detect the movement. We need to create an OnMove(InputValue iv) method here. Note that OnMove matches the actions in the input actions asset attached to the player input component. As there is an action called Move we can create an event handler called OnMove that will detect when one of the Move actions is carried out.
Add the method structure as shown on lines 19 and 21.
Inside the method we need to convert the InputValue parameter to a Vector2 and assign this value to the movement variable. This occurs on line 20.
For testing add in a Debug.Log as shown on Line 21. This will help to check that the inputs are being detected.
using System.Collections;
using System.Collections.Generic;
using UnityEngine;
using UnityEngine.InputSystem;

public class PlayerMovement2D : MonoBehaviour
{
    Vector2 movement;
    Rigidbody2D rb;
    public float speed = 5;
    public float turnSpeed = 50;

    // Start is called before the first frame update
    void Start()
    {
        rb = GetComponent<Rigidbody2D>();
    }

    void OnMove(InputValue iv) {
        movement = iv.Get<Vector2>();
        Debug.Log(movement.x + " - " + movement.y);
    }

}
Now that we know that the input is being detected we can add code to move the player object.
This is carried out in the FixedUpdate() method. This will run a fixed number of times every second. By default 50.
There are two lines that are added here.
AddForce is used to move the object forward and backwards while MoveRotation is used to rotate the player object.
Looking at line 25 we add a force to the rigidbody using rb.AddForce(). Inside the () we pass a Vector direction to apply force to the object. transform.up gets the up (forward) direction of the object as a vector. We then multiply this vector by the speed and the y axis value from the movement input variable. movement.y accesses the value between -1 and 1 that is stored when we press a movement input. We then multiply this by the amount of time that has passed using Time.deltaTime. Finally we use ForceMode2D.Impulse to apply the force in the form of an impulse.
On line 26 we rotate the object by passing the current rotation (rb.rotation) and then adding the turnSpeed and multiplying this by the moxement.x value and Time.deltaTime. Note we invert the movement.x value by multiplying it by -1 to get the left and right rotation working correctly.
using System.Collections;
using System.Collections.Generic;
using UnityEngine;
using UnityEngine.InputSystem;

public class PlayerMovement2D : MonoBehaviour
{
    Vector2 movement;
    Rigidbody2D rb;
    public float speed = 5;
    public float turnSpeed = 50;

    // Start is called before the first frame update
    void Start()
    {
        rb = GetComponent<Rigidbody2D>();
    }

    void OnMove(InputValue iv) {
        movement = iv.Get<Vector2>();
        Debug.Log(movement.x + " - " + movement.y);
    }

    void FixedUpdate() {
        rb.AddForce(transform.up * speed * movement.y * Time.deltaTime, ForceMode2D.Impulse);
        rb.MoveRotation(rb.rotation + turnSpeed * -movement.x * Time.deltaTime);
    }
}
Test your program.
We now have movement and rotation.
Note that we don't currently have collision detection sorted.
To do this add collider (usually Box Collider 2D) components to all of the objects.


You should now have collisions working.
